


Cutting MDF is a common DIY and woodworking task. MDF is smooth, dense, and affordable, so it is often used for furniture panels, shelves, signs, crafts, and model making.
But clean cuts depend on the tool you use. The best way to cut MDF depends on the board thickness, the shape you need, and whether you are cutting MDF board at home by hand or using power tools.
In this guide, you'll learn how to cut MDF using three practical methods: a saw, a router, and a laser cutter. We'll also explain when each method works best, including how to cut MDF sheets, thicker boards, and thin 3mm MDF.

In this article:
- Method 1: Cut MDF with a Saw
- Method 2: Cut MDF with a Router
- Method 3: Cut MDF with a Laser Cutter
- FAQs: Hot Questions About Cutting MDF
Method 1: Cut MDF with a Saw
A saw is the most common tool for cutting MDF board at home. It works well for straight cuts, large MDF sheets, curves, and quick trims. The key is to use a sharp fine-tooth or carbide-tipped blade so the edge stays clean and does not chip.
Tools Needed:
- Circular saw, table saw, jigsaw, or hand saw
- Fine-tooth or carbide-tipped blade (to reduce chipping)
- Clamps to secure the MDF sheet
- Straight edge or guide rail for accuracy
Steps to Do
1. Place the MDF sheet on a stable surface and secure it with clamps.
2. Measure and mark your cutting line with a pencil or chalk.
3. Choose the right saw:
Circular saw – for long, straight cuts.
Table saw – for precise, repeatable cuts.
Jigsaw – for curves or irregular shapes.
Hand saw – for quick, small cuts without power tools.
4. Align the saw blade with your cutting line.
5. Cut slowly and steadily, letting the blade do the work.
6. Sand the cut edges if needed for a smoother finish.
Pros and Cons of Cutting MDF with a Saw
Pros
- Versatile—different saws for different needs
- Works for MDF of all thicknesses
Cons
- Creates a lot of dust (safety gear is essential)
- Risk of chipping if the wrong blade is used
Method 2: Cut MDF with a Router
A router is a good choice when you need clean edges, grooves, circles, or shaped cuts in MDF. It is more precise than a basic saw and works well for cabinetry, shelving, furniture parts, and custom templates.
Use a router when the cut needs to look neat, not just be straight. It can trim MDF panels, create dados, follow patterns, and shape decorative edges with the right bit.
Tools Needed
- Router (with plunge or fixed base)
- Appropriate router bits (straight, flush trim, or pattern bits)
- Clamps to secure the MDF
- Guide or template for straight or patterned cuts
How to Cut MDF with a Router
- Place the MDF on a stable work surface.
- Clamp the board firmly so it cannot shift.
- Choose the correct router bit for your cut.
- Mark the cutting line or attach a guide, jig, or template.
- Set the router depth. For deeper cuts, use several shallow passes.
- Move the router steadily along the guide or template.
- Check the edge and sand lightly if needed.
Best For
- Cutting grooves, dados, and rabbets in MDF
- Trimming MDF panels to match a template
- Making circles, curves, and repeated shapes
- Creating smooth or decorative edges for furniture and cabinets
Pros and Cons of Cutting MDF with a Router
Pros
- Produces clean, smooth edges with minimal chipping
- Works for both straight and curved cuts with guides
Cons
- Requires some skill to control the tool steadily
- Slower than saws for large straight cuts
Method 3: Cut MDF with a Laser Cutter
A laser cutter is one of the best ways to cut MDF when you need fine details, repeatable shapes, or clean patterns. It works especially well for thin MDF sheets, craft parts, model pieces, signs, and decorative designs.
This method is useful if you want to cut 3 - 20mm MDF or other thin to medium boards with high accuracy. However, MDF creates smoke and fumes when burned, so good ventilation or a fume extraction system is essential.
Tools Needed
- Laser cutter for MDF
- Computer or Mobile Devices with design software (to prepare patterns)
- Ventilation or fume extraction system (since cutting MDF produces smoke and odor)
- Protective eyewear if recommended by your machine's safety guidelines
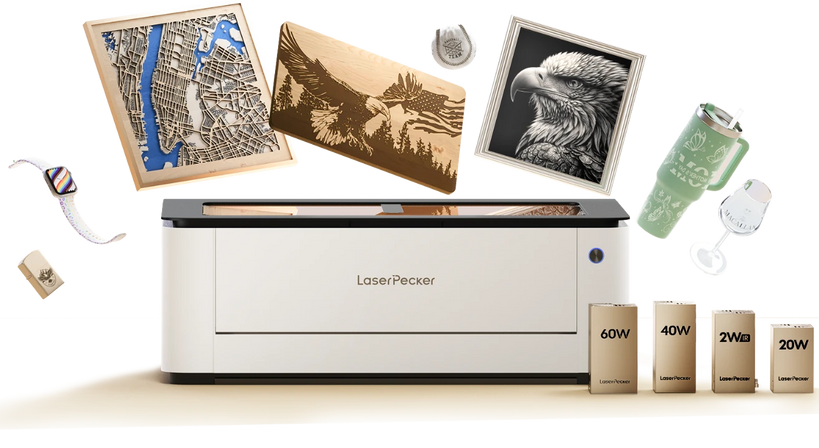
Recommended Powerful Laser Cutter for MDF Cutting: LaserPecker LX2
The LaserPecker LX2 is a high-performance desktop laser cutter designed for cutting MDF with cleaner edges, stronger cutting capability, and more precise woodworking results.
Compared with manual saws and basic cutting tools, the LX2 offers a more efficient digital workflow for cutting MDF used in signs, crafts, decorative panels, models, and custom furniture projects.
-
Up to 60W High-Power Diode Laser
The LX2 supports 20W, 40W, and 60W laser modules, providing stronger MDF cutting capability with deeper penetration and faster cutting performance. -
Precise Cutting for Cleaner MDF Edges
The LX2 delivers accurate cutting performance suitable for MDF signs, decorative panels, craft projects, and detailed woodworking designs with smoother and more professional-looking results. -
Large Working Area for Bigger MDF Projects
The spacious workspace allows users to process larger MDF sheets or multiple wooden components in a single cutting session for improved productivity. -
Camera-Assisted Alignment for Better Accuracy
The built-in camera system helps improve MDF positioning accuracy and material alignment, reducing setup errors and improving cutting consistency.
How to Cut MDF with a Laser Cutter
- Create or import your design in the laser software.
- Place the MDF sheet flat on the machine bed.
- Secure the board so it does not move during cutting.
- Set the laser power, speed, and number of passes based on the MDF thickness.
- Run a small test cut to check the settings.
- Start the cut and monitor the machine during the process.
- Remove the MDF and clean away smoke marks or residue if needed.
Best For
- Cutting 3mm MDF and other thin MDF sheets
- Making detailed shapes, patterns, letters, and craft parts
- Creating repeatable designs for small-batch projects
- Producing clean cuts without using a saw blade
Pros and Cons of Cutting MDF with a Laser Cutter
Pros
- Very accurate for detailed designs
- Good for thin MDF sheets and small parts
- Creates repeatable results with less manual cutting
Cons
- Needs proper ventilation because MDF creates smoke and fumes
- Not ideal for very thick MDF boards
FAQs: Hot Questions About Cutting MDF
2. How to cut MDF board by hand?
For small or thin MDF sheets, you can use a hand saw or a utility knife. Secure the board on a flat surface, mark your cutting line, and cut slowly along the guide. Hand cutting is suitable for rough cuts or small adjustments.
3. How to cut MDF without power tools?
You can cut MDF without electricity using a hand saw for thicker sheets or a knife for very thin sheets (≤3mm). Use clamps to secure the MDF and work slowly to avoid splintering.
4. How hard is MDF to cut?
MDF is denser than plywood or particleboard, so it can be tough to cut with dull blades. Thin sheets are easier to score or cut by hand, but thicker MDF requires sharp blades and proper tools. Using the right saw or router minimizes splintering and makes cutting much easier.
FAQs: Common Questions About Cutting MDF
1. What is the best tool to cut MDF?
The best tool depends on the cut you need. For most home projects, a circular saw or table saw is the best way to cut MDF sheets in straight lines. A jigsaw works better for curves and cutouts. A router is best for grooves, edges, and template work. A laser cutteris ideal for thin MDF and detailed designs.
2. How do you cut MDF board by hand?
To cut MDF board by hand, clamp the board to a stable surface, mark your cut line, and use a sharp hand saw. Cut slowly with steady pressure to reduce rough edges. For very thin MDF, such as 3mm MDF, you may also score the line several times with a sharp utility knife before snapping or finishing the cut.
3. How do you cut MDF without power tools?
You can cut MDF without power tools by using a hand saw for thicker boards or a utility knife for very thin sheets. This method is best for small cuts, quick trims, and thin MDF sheets. Always secure the board first so it does not move while cutting.
4. How hard is MDF to cut?
MDF is not difficult to cut, but it is dense. A dull blade can make the job harder and may leave chipped or rough edges. For clean results, use a sharp fine-tooth blade, support the board well, and cut at a steady speed.
5. How do you cut 3mm MDF?
The easiest way to cut 3mm MDF is with a portable laser cutter like LP2 Plus, utility knife, or fine-tooth saw. A laser cutter gives the most accurate results for detailed shapes. A utility knife works for simple straight cuts if you score the line several times. A fine-tooth saw is better when you need a faster manual cut.
Conclusion
There is no single best way to cut MDF for every project. The right method depends on the MDF thickness, the shape you need, and the tools you have at home.
For most straight cuts and large MDF sheets, use a circular saw or table saw with a sharp fine-tooth blade. For curves, grooves, templates, or decorative edges, use a router or jigsaw. For thin sheets, detailed patterns, and clean repeatable designs, a laser cutter is a strong option.
No matter which method you choose, secure the MDF board before cutting, use the right blade or settings, and protect yourself from fine MDF dust or smoke. With the right setup, cutting MDF board can be simple, accurate, and clean.