Maps are more than just navigation tools — they capture memories, tell stories, and make stunning pieces for décor, education, or thoughtful gifts.
With laser cutting, you can transform digital maps into intricate works of art that are both personal and visually striking. From detailed city layouts to world maps, every line and contour can be reproduced with incredible precision.
In this guide, we'll walk you through the best materials for laser-cut maps, step-by-step instructions to create them, and explain why the LaserPecker LP5 is the perfect choice for crafting your own customized map art.

In this article:
Part 1: Tools and Materials Needed for Cutting a Map with Laser
Make sure you have all your tools and materials ready before you begin. This way, things should go off without a hitch. Here's a list of things that you're going to need:
A laser cutter/engraver: Make sure it's able to do fine work and cut cleanly.
Map File: Prepare your map as a vector file (SVG, DXF, or AI) so the laser cutter can read it correctly.
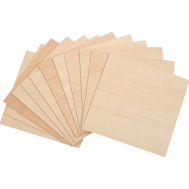
Material: Wood like basswood or plywood, acrylic, or even cardboard can work. These are good for the main map shape and the little details.
Part 2: Step-by-Step Guide to Laser Cutting a Map
Laser cutting a map with layers might seem hard, but Steve's video breaks it down into simple steps. Let's get started:
1. Find Your Map Image
Start by choosing a map that's meaningful to you — it could be your hometown, a favorite travel destination, or even a world map. You can grab one from Google Maps or an open-source map platform. Make sure the resolution is high enough so the details don't get lost when tracing.
2. Convert the Image to a Vector File
Open your chosen image in Inkscape (a free design tool) or similar software. Use the Trace Bitmap feature to convert your image (PNG or JPG) into a vector format like SVG or DXF. Once traced, delete the original image to keep only the clean vector paths.
For a layered map, you can separate it into four layers:
- Base layer – represents the water background.
- Land layer – includes coastlines and main shapes.
- Street layer – shows engraved streets or smaller details.
- Frame layer – adds borders, titles, or decorative edges.
3. Adjust and Clean Up Your Design
Refine your vector by removing unnecessary lines or stray nodes. Simplify areas that are too detailed, and make sure each layer aligns perfectly. Adjust the stroke width to ensure your laser cutter reads them correctly as engrave or cut paths.
4. Laser Cutting and Engraving
Import your layers into your laser cutting software. You'll typically want to:
- Engrave the streets first: low power, high speed to etch surface details.
- Cut the land outlines: high power, slower speed for clean cuts.
- Cut the frame last: this brings all your layers together neatly.
5. Assemble the Layers
After cutting, carefully organize your pieces: base (water), land, streets, and frame. Apply glue evenly — a small brush works best for corners. Layer them in order: base at the bottom, land on top, then engraved streets, and finally the frame with the title.
6. Add the Finishing Touches
Let the glue dry completely, then lightly sand any rough edges. You can seal the wood with a clear finish or paint for extra color contrast. Once done, your map art is ready to hang or gift — a beautiful, laser-cut keepsake full of personal meaning.
Part 3: Recommended Laser Cutter for Map Projects
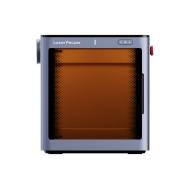
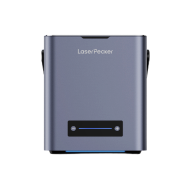
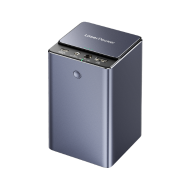
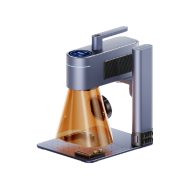
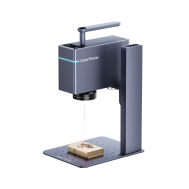
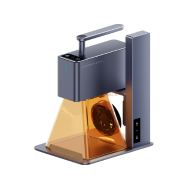
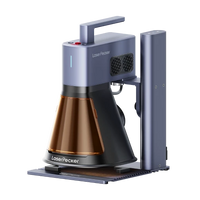
When you're creating maps with lots of details, you want a laser that's spot-on, fast, and can do lots of things. The LaserPecker LP5 is a great pick since it uses two lasers, giving you more choices.

The 20W Diode Laser has the power to cut through stuff like basswood that's up to 20mm thick. You can also engrave on wood, acrylic, and leather. And the 20W Fiber Laser? It's awesome for small, detailed designs or text where you need to be super precise.
Here are other things that make the LP5 good
- Speed & Accuracy: It engraves at speeds of up to 10,000mm/s, so you can make complex maps quickly.
- Engraving and Cutting:It makes layered textures, like a 3D effect, so map details stand out.
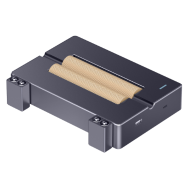
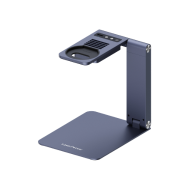
- Bigger Work Area: The slide extension gives you a work area of up to 160 × 300mm, good for big maps.
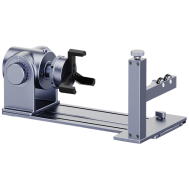
- Round Object Tool: You can engrave on round things, like adding map coordinates to mugs.
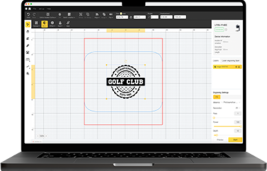
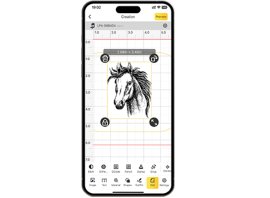
- Easy-to-Use Software: It works well with LightBurn and LaserPecker Design Space.
- Safe to Use Inside: The Safety Enclosure makes the LP5 a Class 1 laser, so it's safe for your house or workshop.
Because of these things, the LP5 helps you cut precise shapes and engrave fine map details fast and predictably.
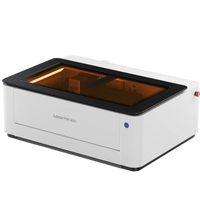
Or, you can choose the LaserPecker LX2. With powerful 20W/40W/60W diode laser options, it's built to cut through larger materials effortlessly—making it the ultimate choice for large-scale map cutting projects.
Part 4: Tips for Cutting a Map by Laser
Here's how to make your laser-cut map look its best:
Start Simple
For your first try, pick big shapes like countries, states, or lakes. Easy designs let you learn how the laser impacts your material without struggling with small streets. Later, try harder city maps.
Use Layers
Make your maps deeper by cutting or engraving things like borders and rivers on separate layers. Stack them to give your map a 3D feel.
Try New Materials
Wood looks classic, and acrylic feels modern. Cardboard is good for cheap tests. Trying different stuff shows you how engraving changes the look of your design.
Stay Clean
Dust can make marks on your engraving. Clean your material before cutting. Also, clean the laser lens often to keep cuts sharp.
Play With Finishes
After cutting, stain or paint the wood maps. Put lights behind acrylic maps or put cardboard maps on colored backgrounds. These touches will make your map look special.
Part 5: FAQs about Laser Cutting Maps
1. What are the best materials for laser-cut maps?
Wood is popular since it's strong, cuts well, and its natural look goes great with maps. Basswood and plywood work nicely. Acrylic is also good if you want a shiny, modern look, great for backlight décor. Cardboard is cheap for practice, and metal, while trickier, makes tough, industrial-looking pieces.
2. Do I have to be a design expert to make a map file?
No. Lots of online programs can make vector files from map info pretty easily. Beginners can use these and then do simple changes in programs, Illustrator, or Inkscape. You just need to learn how to change line thickness and make paths simpler so the laser cutter can follow them smoothly. You can learn to do more advanced designs later, but getting started is easier than you think.
3. Can I copy tiny streets and rivers?
Yes, if your laser is accurate. Machines like the LP5 can copy very fine details without losing quality. For top results, use a high-quality vector map and adjust your laser so the lines show up well but aren't too deep. If you're doing city streets, zoom in while designing to fix small overlaps, which will make the final product look sharper.
4. What's the biggest laser-cut map I can create?
That depends on your machine's work area. Usually, you're stuck with smaller decorative maps. But if you get an LP5 with its slide extension, you can make the workspace bigger – up to 160 × 300mm, big enough for wall décor. For really big maps, you can cut the design into parts and put them together. It's a cool way to make bigger maps than your machine can manage in one go.
Conclusion
Laser-cut maps are a cool project that mixes design, skill, and tech. Using the right stuff and a good cutter like the LP5, you can make awesome maps. These maps can be used to decorate your home, give as great gifts, or sell as products. Whether you're engraving small details or cutting big shapes, the process is quick, artistic, and easy for anyone to pick up, whether you're just starting or are a pro.


