


Learning how to engrave a knife is a great way to personalize a favorite blade, create a custom gift, or add a professional touch to your tools. Whether you want a clean logo, initials, or decorative artwork, there are several ways to handle knife engraving at home.
Some methods focus on precision and speed, while others offer a more hands-on, traditional experience. The right option depends on your budget, tools, and the type of finish you want.
In this article, we'll explore 3 effective ways to engrave a knife at home: using a fiber laser engraver, hand engraving, and chemical etching. Whether you want a high-tech solution, a hands-on approach, or a chemical process, there's a method here for you.

In this article:
- Method 1: Engrave Knife with a Fiber Laser Engraver
- Method 2: Engrave Knife via Hand Engraving
- Method 3: Engrave Knife via Chemical Etching
Method 1: Engrave Knife with a Fiber Laser Engraver
Knife laser engraving is one of the fastest and most precise ways to customize a blade at home. A fiber laser creates permanent, high-contrast marks on metal without physically touching the knife surface.
If you want precise, professional-quality results, a fiber laser engraver for knives works especially well on stainless steel (including detailed and color laser engravings) and other metal blades.
What You'll Need for laser engraving knives:
- Fiber laser engraving machine for knife
- Knife to be engraved (preferably stainless steel or compatible metal)
- Design software (e.g., LightBurn, LaserPecker Software & App)
- Fixture or jig to hold the knife steady during engraving
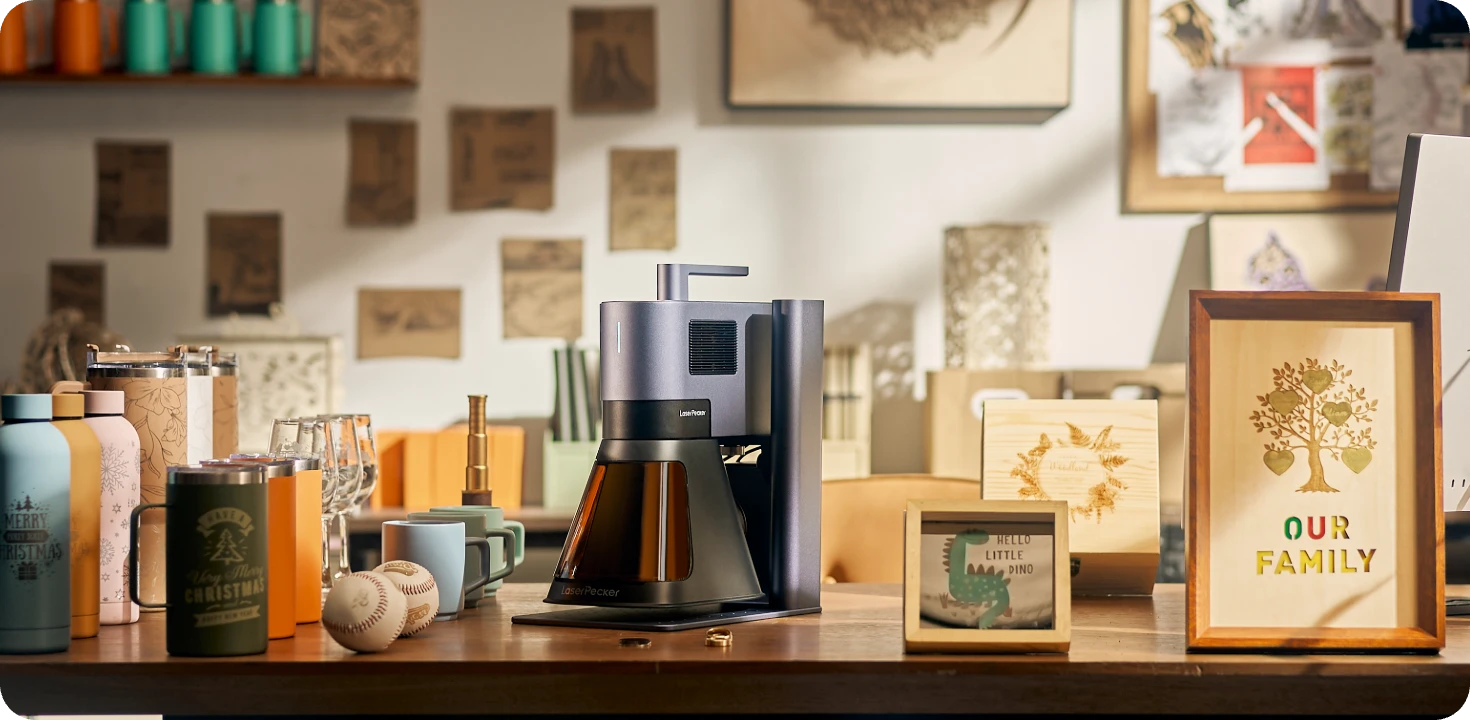
Recommended Laser Engraver for Knife Engraving at Home: LaserPecker LP5
The LaserPecker LP5 is a powerful dual-laser engraver designed for high-precision metal engraving projects such as custom knives, EDC gear, tools, and personalized metal accessories.
With its 20W fiber laser and ultra-fast galvo system, the LP5 can engrave detailed logos, names, patterns, serial numbers, and even color engraving effects on stainless steel knife blades and metal handles.
-
20W Fiber Laser for Stainless Steel Engraving
The 20W fiber laser is optimized for engraving stainless steel, titanium, anodized aluminum, and other metals commonly used for knife blades and handles. -
Dual-Laser System (20W Fiber + 20W Diode)
Besides metal knife engraving, the 20W diode laser can also engrave wood, leather, and acrylic for customized knife boxes, wooden handles, and leather sheaths. -
10,000 mm/s High-Speed Engraving
The ultra-fast galvo system allows users to engrave knife logos, custom names, blade markings, and detailed artwork quickly and efficiently. -
High-Precision Engraving for Fine Blade Details
The LP5 supports highly detailed engraving performance, making it ideal for intricate knife patterns, serial numbers, small text, and professional-quality customization.
Step 1: Prepare the Knife and Design
Clean the knife blade thoroughly with isopropyl alcohol to remove oils and dirt. Open your laser engraving software, create or import your design, and adjust its size to fit the blade. Set the engraving parameters such as power, speed, and frequency based on the metal type.
Step 2: Position the Knife in the Laser Engraver
Secure the knife firmly in the engraving fixture or jig to prevent movement. Proper positioning ensures accurate placement of your design on the blade.
Step 3: Start Engraving Process
Start the engraving through the software interface. The fiber laser will etch your design precisely onto the blade surface. Keep an eye on the process to ensure stability and accuracy.
Step 4: Clean and Inspect
After engraving, wipe the blade gently to remove any residue. Inspect the engraving for quality and depth, and adjust settings if necessary for re-engraving.
Pros and Cons of Fiber Laser Engraving on Knives
✔️Pros:
Extremely precise and detailed engravings.
Permanent and durable marks that resist wear and corrosion.
Fast and repeatable for multiple knives.
Non-contact process, so no physical pressure or damage to the blade.
❌Cons:
Requires specialized laser engraver.
Method 2: Engrave Knife via Hand Engraving
Hand engraving is a traditional method that gives you complete creative control over your design. Unlike knife laser engraving, this technique is fully manual and creates a handcrafted look that many knife makers and hobbyists appreciate.
What You'll Need:
- Engraving tools (such as a handheld rotary tool with engraving bits, or traditional hand gravers)
- Clamp or vise to hold the knife steady
- Pencil or marker to sketch the design on the blade
Step 1: Prepare the Knife and Design
Start by cleaning the knife blade thoroughly to remove any dirt or oils. Lightly sketch your design or initials onto the blade using a pencil or fine marker as a guide. Secure the knife in a clamp or vise to keep it stable during engraving.
Step 2: Begin Engraving
Using your handheld rotary tool or gravers, carefully trace over your design on the blade. Work slowly and steadily, applying even pressure to create clear grooves. Use magnification if needed for detailed or small designs. Take breaks if necessary to maintain control and avoid fatigue.
Step 3: Clean and Inspect
Once you've finished engraving, wipe the blade clean with a cloth and alcohol to remove any metal dust. Inspect your work and make any refinements or touch-ups as needed with the engraving tool.
Pros and Cons of Hand Engraving on Knives
✔️Pros:
Highly customizable with full creative control over design.
Hands-on craft with a traditional, authentic feel.
❌Cons:
Time-consuming and requires patience and steady hands.
May not be suitable for very complex or precise designs
Method 3: Engrave Knife via Chemical Etching
Chemical etching is a popular DIY method for creating permanent designs on metal blades. This process uses an acid or vinegar-based solution to etch exposed areas of the blade surface.
If you're looking for how to etch a knife blade with vinegar or other accessible materials, this method is an affordable option for beginners and hobbyists.
What You'll Need:
- Acid etching solution
- Protective gloves and safety goggles
- Plastic or glass container for the etching solution
- Knife to be engraved
Step 1: Prepare the Knife and Design
Clean the knife blade thoroughly with soap and water, then wipe it with isopropyl alcohol to remove oils. Apply your stencil or resist material carefully to the blade where you want the design to appear. Make sure the edges are sealed well to prevent the acid from seeping under.
Step 2: Apply the Etching Solution
Put on your gloves and goggles for safety. Submerge the exposed blade area in the acid etching solution or apply it with a brush, depending on your setup. Leave the knife in the solution for the recommended time (usually 5–15 minutes), checking regularly to see the design developing.
Step 3: Neutralize and Clean
Once the desired depth is achieved, remove the knife from the solution and immediately neutralize the acid by rinsing the blade with a baking soda solution. Then, wash the blade thoroughly with water and soap. Remove the stencil or resist material and dry the knife completely.
Pros and Cons of Chemical Etching on Knives
✔️Pros:
Works well on various metals including stainless steel.
Produces a smooth, clean etched finish.
❌Cons:
Requires handling hazardous chemicals—safety precautions are a must.
Less precise than laser engraving for very fine details.
Conclusion
Learning how to engrave a knife at home gives you the freedom to create custom blades with names, logos, artwork, or personal designs. The best method depends on the level of detail you want, your budget, and the tools you have available.
Knife laser engraving delivers the most precise and professional-looking results, especially on stainless steel and other metal blades. A quality laser engraver for knives is ideal for detailed artwork, repeat projects, and permanent markings.
Hand engraving offers a traditional, artistic touch, perfect for those who enjoy craftsmanship and have patience. Chemical etching provides a middle ground with detailed, permanent marks using accessible materials but involves careful handling of chemicals.
Whichever method you choose, proper preparation and safety are key to achieving the best results. Now, with these creative options in hand, you’re ready to make your knife truly one-of-a-kind.