


Learning how to make custom keycaps is one of the best ways to personalize your mechanical keyboard. Whether you're a gamer, keyboard enthusiast, or creative maker, custom keycaps can improve both the appearance and feel of your setup.
From simple painted designs to laser engraved keycaps and resin creations, there are many ways to create unique keycaps that match your style.
In this guide, you'll learn how to make keycaps using 5 popular methods, compare their advantages, and follow a step-by-step tutorial for DIY custom keycaps with laser engraving.

In this article:
- Part 1: Introduction to Custom Keycaps
- Part 2: 5 Popular Methods for DIY Custom Keycaps
- Method 1: Laser Engraving
- Method 2: Painting
- Method 3: Resin Casting
- Method 4: 3D Printing
- Method 5: Dye-Sublimation
- Part 3: How to Make Custom Keycaps via Laser Engraving
- Part 4: FAQs About Custom Keycaps
Part 1: Introduction to Custom Keycaps
Custom keycaps have become a popular way to personalize mechanical keyboards. Whether you use your keyboard for gaming, work, or everyday typing, replacing standard keycaps can dramatically improve both appearance and typing comfort.
What Are Keycaps?
Keycaps are the removable covers that sit on top of keyboard switches. They come in different materials, profiles, sizes, and designs, all of which affect how a keyboard looks, feels, and sounds.
Common keycap materials include ABS plastic, PBT plastic, resin, metal, and wood. Each material offers unique benefits. For example, PBT keycaps are known for durability, while resin keycaps are popular for artistic and custom designs.

Why Customize Keycaps?
If you're wondering how to make custom keycaps, the first step is understanding why enthusiasts customize them in the first place. Custom keycaps offer benefits beyond appearance.
- Express Your Personality: Create a keyboard that reflects your interests, favorite themes, or personal style.
- Improve Typing Feel: Different keycap profiles and materials can make typing more comfortable and satisfying.
- Upgrade Keyboard Aesthetics: Custom colors, textures, and designs can transform a standard keyboard into a unique setup.
Part 2: 5 Popular Methods for DIY Custom Keycaps
If you're learning how to make custom keycaps, choosing the right customization method is an important first step. Some techniques are beginner-friendly and inexpensive, while others require specialized tools but deliver professional-quality results.
Below are five of the most popular ways to create DIY custom keycaps, along with their advantages, limitations, and ideal use cases.
Method 1: Laser Engraving
Laser engraving is one of the most precise and durable methods for customizing keycaps. A focused laser beam permanently engraves text, logos, patterns, or artwork onto the keycap surface, creating clean details that won't peel, fade, or wear away easily.
Laser engraved keycaps are especially popular among keyboard enthusiasts because they offer a professional finish and excellent long-term durability. The process works on various materials, including ABS plastic, PBT plastic, coated metals, wood, and acrylic.

If you're wondering what should I use to engrave keycaps, a dedicated laser engraver is the best option for achieving sharp, consistent, and permanent results.
Method 2: Painting
Painting is one of the easiest ways to make custom keycaps at home. Using acrylic paint, enamel paint, or paint markers, you can create custom colors, artwork, gradients, and themed designs without expensive equipment.
After painting, applying a clear protective coating helps prevent chipping and extends the life of the design. This method is ideal for beginners looking for a low-cost entry into DIY custom keycaps.
Method 3: Resin Casting
Resin casting allows you to create completely unique artisan keycaps from scratch. Liquid resin is poured into molds and can be customized with pigments, glitter, miniature objects, dried flowers, or other decorative elements.
This technique produces eye-catching three-dimensional designs that are difficult to achieve with other methods. Although resin casting requires more practice, it offers nearly unlimited creative possibilities.
Method 4: 3D Printing
3D printing gives you full control over the shape and structure of your keycaps. It is ideal for creating custom profiles, novelty keycaps, and experimental designs that are unavailable commercially.
FDM printers are suitable for basic prototypes, while resin printers provide finer details and smoother finishes. Printed keycaps can also be painted, engraved, or coated to achieve a more professional appearance.
Method 5: Dye-Sublimation
Dye-sublimation uses heat to transfer ink directly into the keycap material. Because the design becomes part of the keycap rather than sitting on the surface, the graphics remain sharp and resistant to fading over time.
This method is commonly used on PBT keycaps and is an excellent choice for creating long-lasting legends, logos, and colorful themed keycap sets.
Comparison Summary for Keycaps Customization
| Method | Difficulty | Cost | Durability | Best Use Case |
|---|---|---|---|---|
| Laser Engraving | Medium | Medium–High | Very High | Detailed text, logos, and graphics on plastic or metal keycaps |
| Painting | Easy | Low | Medium | Colorful designs, custom artwork, and themed keycap sets |
| Resin Casting | High | Medium–High | High | Artisan keycaps, 3D effects, and embedded decorative objects |
| 3D Printing | Medium | Medium | Medium | Custom shapes, novelty keycaps, and prototype designs |
| Dye-Sublimation | Medium | High | Very High | Long-lasting legends, logos, and colorful keycap sets |
Among all customization methods, laser engraving is one of the best options for creating durable, professional-looking keycaps. It produces precise details, works on multiple materials, and creates designs that won't peel or fade over time.
Part 3: How to Make Custom Keycaps via Laser Engraving
Tools and Materials You'll Need
Before starting your DIY custom keycaps project, gather the following tools and materials:
- laser engraver
- Blank ABS or PBT keycaps
- Design software
- Safety glasses
- Cleaning wipes or isopropyl alcohol
- Masking tape (optional)
- Small clamps or positioning jig
- Good ventilation system
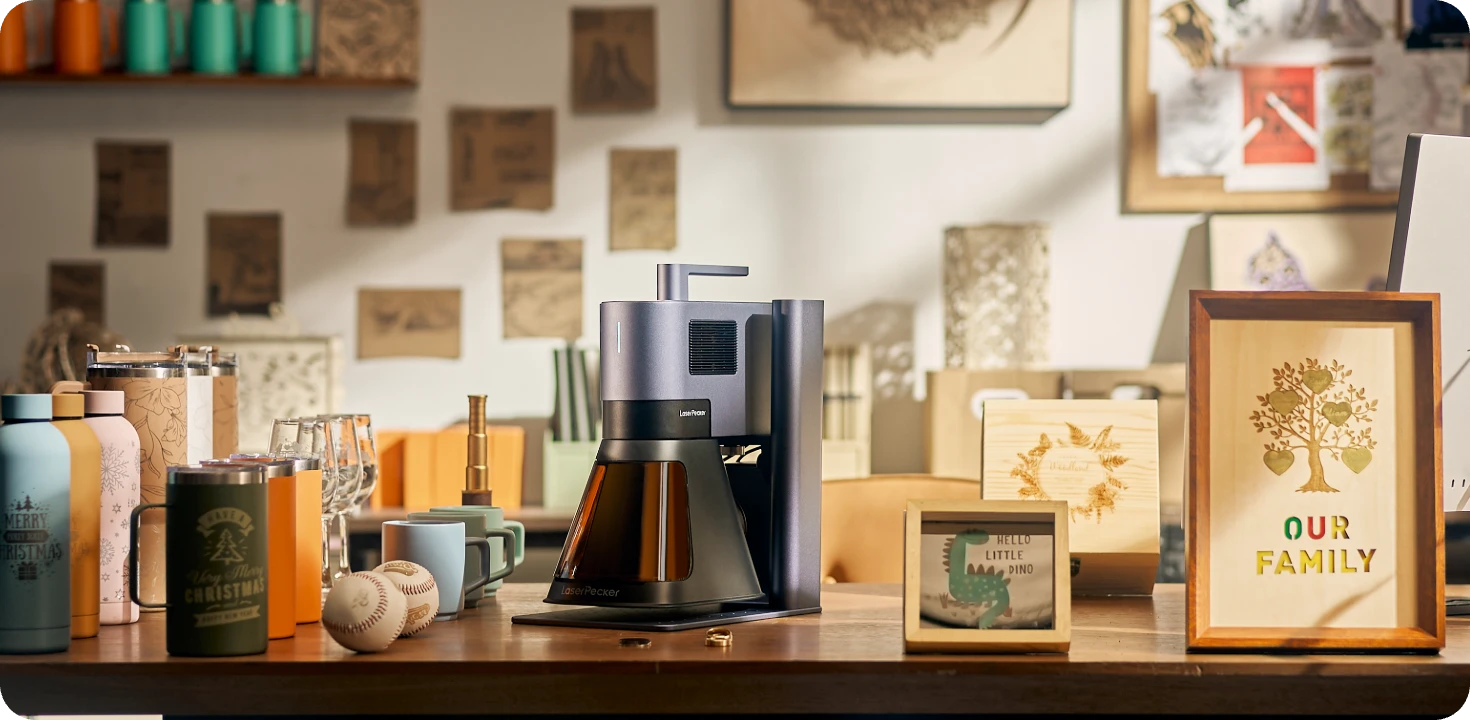
Recommended Laser Engraver for Custom Keycaps: LaserPecker LP5
The LaserPecker LP5 is a high-precision dual-laser engraver designed for creating custom keycaps, keyboard accessories, gaming peripherals, and personalized desktop setups.
With its ultra-fast galvo system and precise laser control, the LP5 can engrave legends, symbols, logos, artwork, and custom designs on a variety of keycap materials with professional-quality results.
-
High-Precision Engraving for Small Keycap Details
The LP5 delivers highly detailed engraving performance, making it ideal for keycap legends, icons, gaming symbols, custom fonts, and intricate artwork on compact keycap surfaces. -
20W Fiber + 20W Diode Dual-Laser System
The dual-laser setup supports a wide range of keycap materials, including metal keycaps, coated keycaps, wood keycaps, acrylic keycaps, and other custom keyboard accessories. -
10,000 mm/s Ultra-Fast Engraving Speed
The high-speed galvo system allows users to quickly produce single custom keycaps or small-batch keycap sets with efficient workflow and consistent quality.
Step 1: Create or Import Your Design
Start with a simple design such as text, symbols, logos, or geometric patterns. High-contrast vector artwork typically produces the cleanest engraving results.
If you're new to laser engraved keycaps, beginning with simple legends or icons allows you to learn the engraving process before moving to more complex artwork.
Step 2: Prepare the Keycaps
Clean each keycap thoroughly to remove dust, fingerprints, and oils. A clean surface helps ensure consistent engraving quality.
If necessary, apply masking tape to areas you want to protect during engraving.
Step 3: Adjust Laser Settings
Select the correct laser power, speed, and number of passes based on the keycap material.
- ABS Keycaps: Lower power settings help prevent melting.
- PBT Keycaps: Typically require slightly higher power for clear markings.
- Metal-Coated Keycaps: May require specialized settings depending on the coating.
Always test your settings on a spare keycap before engraving your final pieces.
Step 4: Engrave the Keycaps
Secure the keycap in the engraving area and align the design carefully. Run a preview if your machine supports it to confirm positioning.
For sculpted or angled keycaps, multi-angle engraving can help maintain consistent engraving depth and detail across the surface.
Step 5: Clean and Finish
Once engraving is complete, remove any masking material and clean away residue.
For additional durability and visual impact, you can:
- Apply paint fill to engraved areas.
- Add colored resin accents.
- Use a clear protective coating.
Part 4:FAQs About Custom Keycaps
1. Can Laser Engraving Damage Keycaps?
Laser engraving is generally safe when the correct settings are used. The key is matching the laser power and speed to the keycap material.
Too much power can melt or warp plastic keycaps, while settings that are too low may produce weak or incomplete engravings. Always test on a spare keycap before engraving your final design.
When done correctly, laser engraved keycaps offer permanent markings that resist fading, peeling, and everyday wear.
2. Can I Add Color to Laser Engraved Keycaps?
Yes. While laser engraving itself usually creates a monochrome design, you can enhance the engraved areas with paint, resin, or color-fill techniques.
This is a popular way to create vibrant logos, legends, and decorative artwork while maintaining the durability of the engraving underneath.
Many keyboard enthusiasts combine laser engraving with painting or resin filling to create highly customized keycaps.
3. How Long Do Laser Engraved Designs Last?
One of the biggest advantages of laser engraved keycaps is durability. Because the design is engraved directly into the material, it does not peel like stickers or wear away as quickly as surface printing.
With proper care, engraved designs can remain visible for many years, even on frequently used keyboards.
To maximize lifespan, clean your keycaps with mild soap and water and avoid harsh chemical cleaners.
4. Can I Buy Blank Keycaps for Customization?
Yes. Blank keycaps are widely available and are often used for engraving, painting, dye-sublimation, and resin projects.
You can purchase individual blank keycaps for testing or complete blank keycap sets for larger customization projects.
Starting with blank keycaps gives you maximum freedom to create unique designs without modifying existing legends.
Conclusion
Now that you know how to make custom keycaps, you can choose the method that best fits your skills, budget, and design goals. From DIY custom keycaps to laser engraved keycaps, each approach offers a unique way to personalize your keyboard. Start small, experiment with different techniques, and create a keyboard setup that's truly your own.