


"Has anyone ever laser engraved a golf ball?"
Golf ball laser engraving is a popular way to create personalized gifts, promotional products, tournament giveaways, and branded merchandise. Using a dedicated golf ball engraver, you can produce permanent markings that look professional and resist fading over time.
Whether you're new to laser engraving golf balls or looking to improve your results, this guide covers everything you need to know. You'll learn how golf ball engraving works, what type of machine to use, and the exact steps to laser engrave golf balls successfully.

In this article:
Part 1: What Is Golf Ball Laser Engraving and What Machine Do You Need?
1.1 How Does Laser Engraving Work on Golf Balls?
Golf ball laser engraving is the process of using a focused laser beam to permanently mark a golf ball with text, logos, names, serial numbers, or custom artwork.
Most golf balls feature covers made from materials such as urethane, Surlyn, or ionomer. A laser engraver applies controlled heat to the surface, creating precise markings without the need for ink, labels, or adhesives.
Because the process is contact-free, laser engraving golf balls helps maintain the ball's shape and performance while producing clean, highly detailed results. The finished engraving is durable, professional-looking, and resistant to wear compared with other golf ball customization method.

1.2 Golf Ball Engraver Machine/Tool
To begin laser engraving golf balls, you'll need a laser engraver. This tool is essential for achieving precise, long-lasting engravings on the ball's surface. It ensures accuracy and efficiency, making the customization process seamless.
With various laser engraving machines available, you may wonder: What laser is best for golf ball engraving? or What machine do I need to engrave golf balls?
For home or small-scale golf ball engraving, diode laser engravers are an excellent choice. They offer portability, convenience, and cost-effectiveness, making them the ideal option for personalizing golf balls with names, logos, or unique designs.

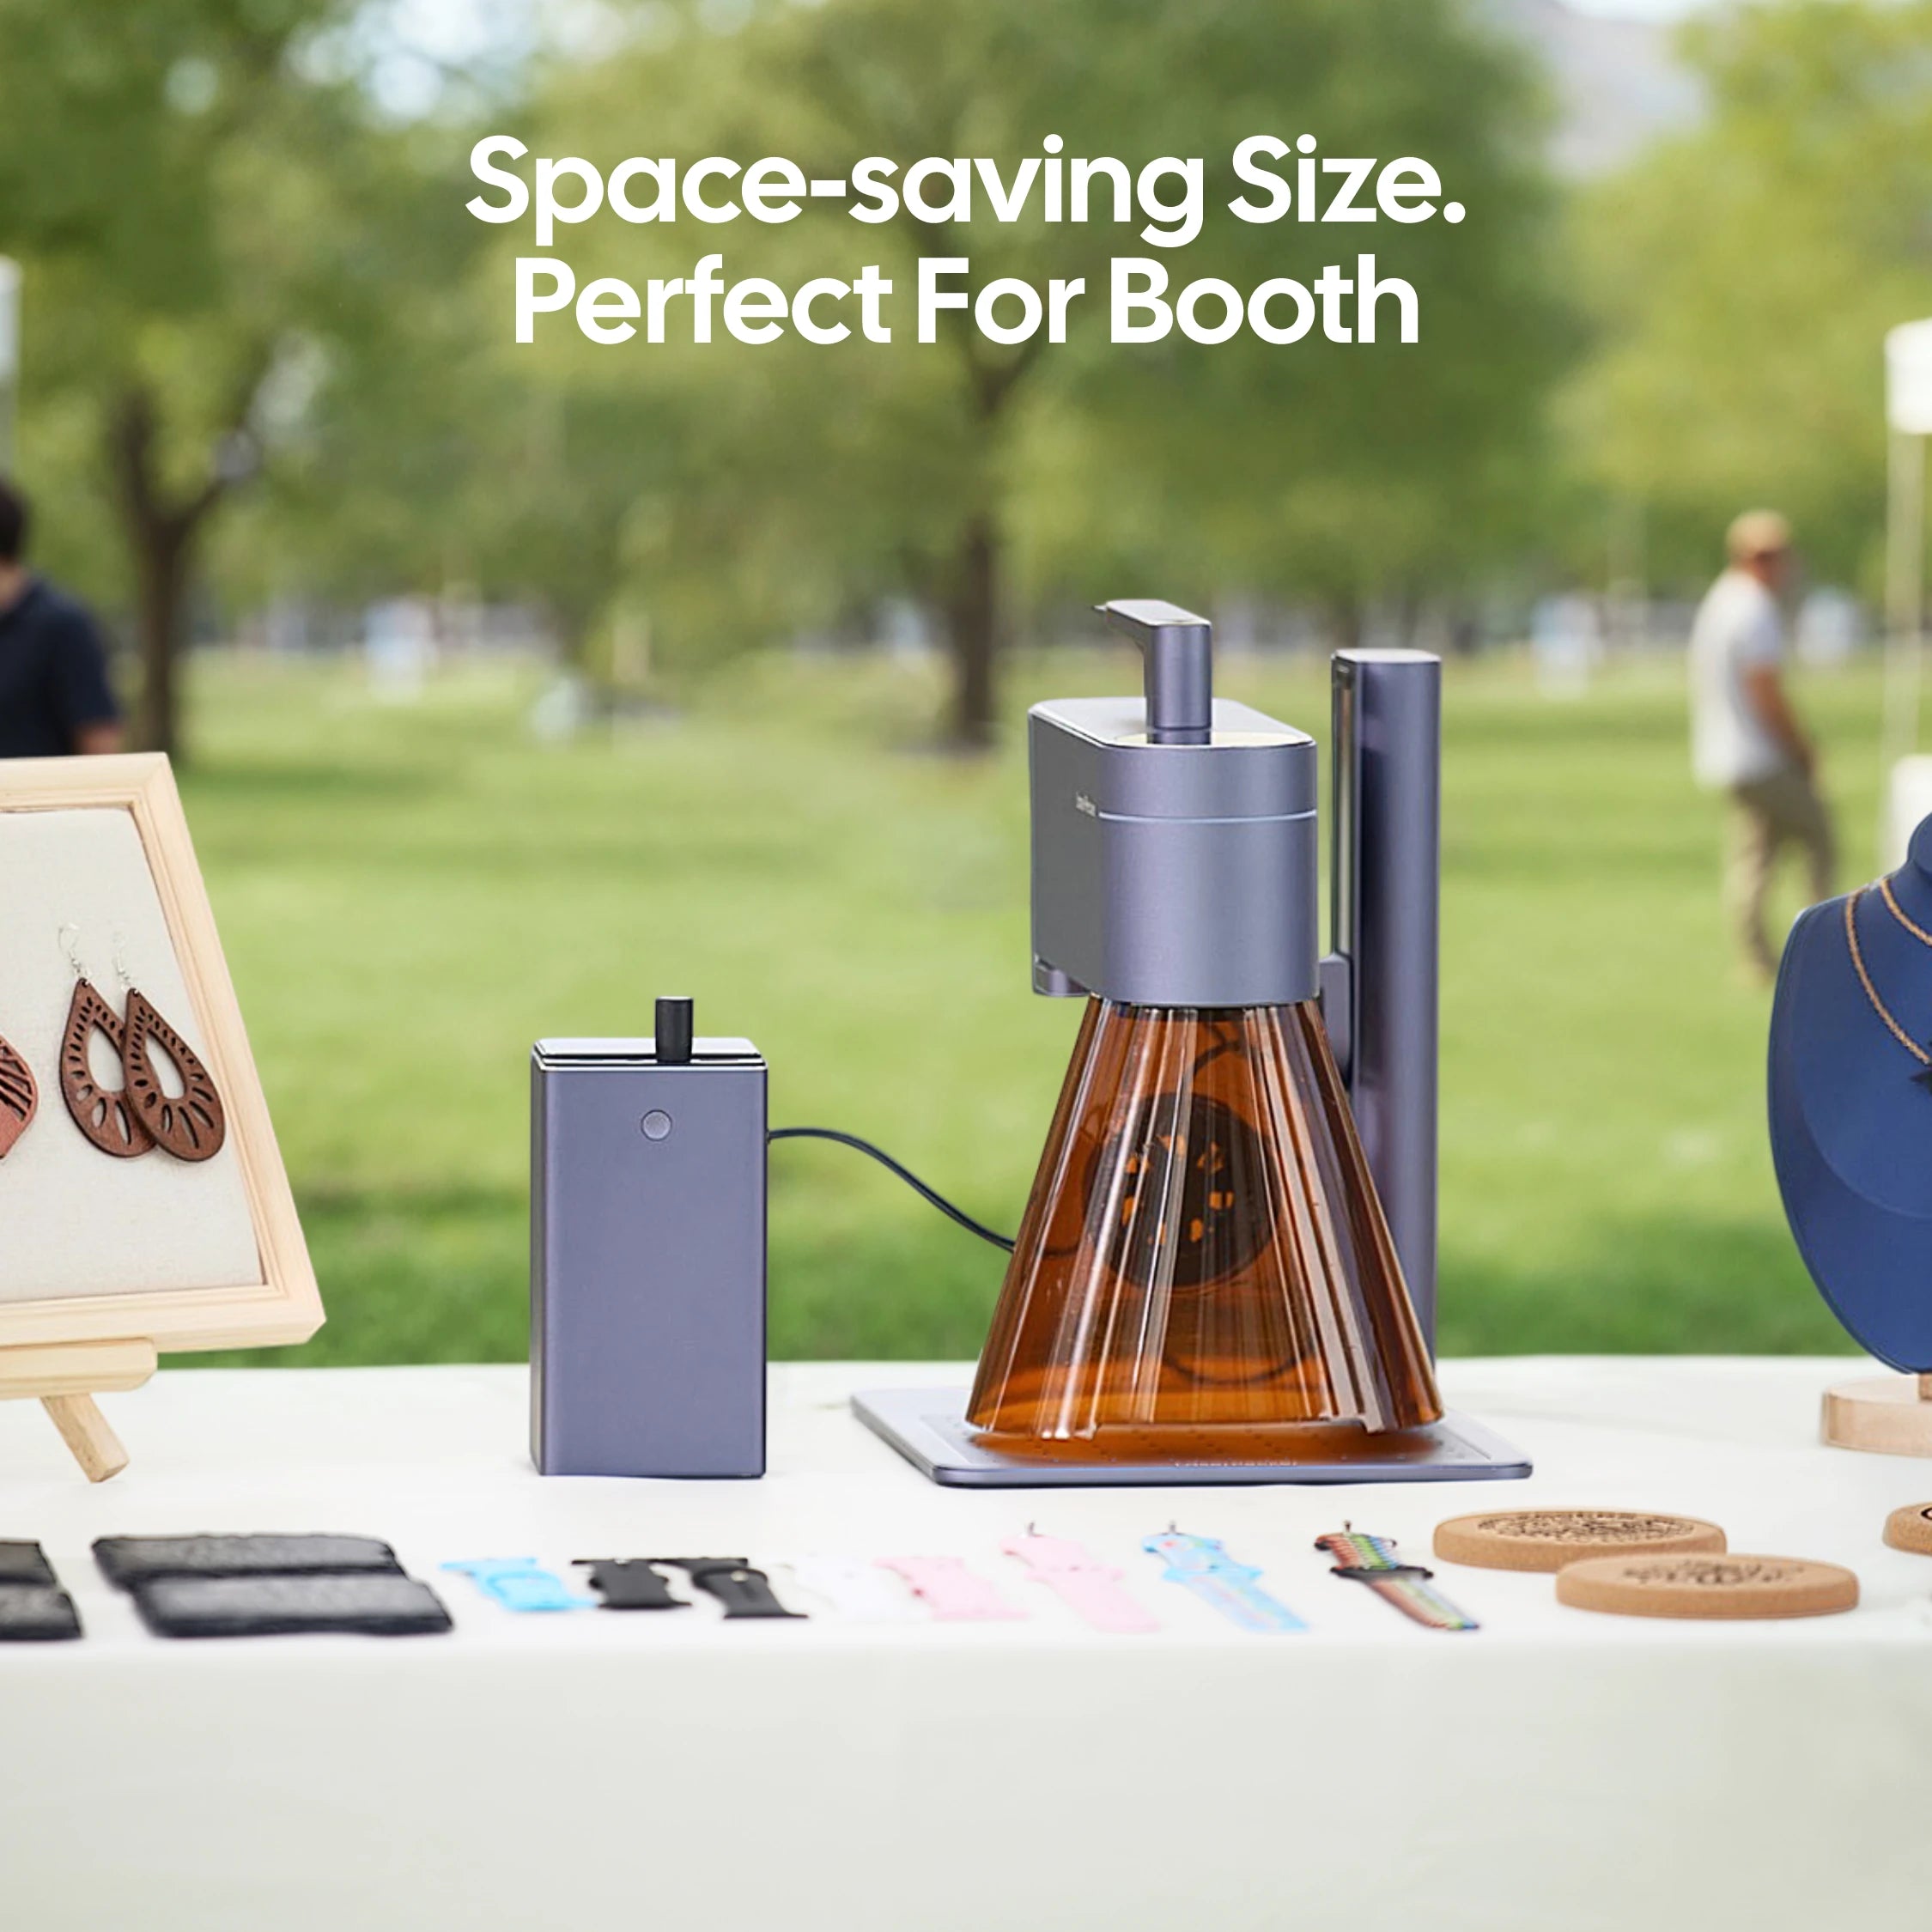
Recommended Laser Engraver for Golf Ball Engraving: LaserPecker LP4
The LaserPecker LP4 is a compact dual-laser engraver designed for personalizing golf balls, sports accessories, promotional products, and custom gifts.
-
High Precision for Small Curved Surfaces
The LP4 delivers detailed engraving performance, making it ideal for names, logos, monograms, tournament markings, and custom artwork on the limited surface area of a golf ball. -
4,000 mm/s High-Speed Engraving
The high-speed galvo system allows users to personalize golf balls quickly, making it suitable for tournament giveaways, corporate gifts, golf shops, and small-batch production. -
Rotary Extension for Accurate Golf Ball Positioning
The optional Rotary Extension helps stabilize and position spherical objects like golf balls, improving engraving consistency and reducing setup time for batch customization.
1.3 Why Use a Laser for Golf Ball Engraving?
Compared with traditional printing and mechanical engraving methods, laser technology offers several advantages for customizing golf balls.
Reason 1: Exceptional Precision
Lasers create sharp details and clean edges, making them ideal for small text, company logos, and intricate graphics.
Reason 2: Contact-Free Engraving
The laser never physically touches the golf ball. This reduces the risk of surface damage and helps preserve the ball's balance and performance characteristics.
Reason 3: Fast Customization
Designs can be changed instantly through software, allowing quick personalization without additional tooling or setup time.
Reason 4: Consistent Results
Whether engraving one golf ball or hundreds, laser systems deliver uniform markings with repeatable quality.
Case Study: Laser Engrave Plastic Golf Ball Within 5 Steps
Wondering how to laser engrave a golf ball? The process is easier than most people think. With the right golf ball engraver, proper settings, and a simple design, you can create professional-looking custom golf balls in just a few minutes.
Preparation checklist for laser engraving golf balls:
- Engraving Material: Golf Ball
- Engraving Machine: Laser Engraver
- Engraving Design: Name, Logo, Images, Patterns, etc.
Follow the five steps below to create clean, permanent golf ball engraving results without affecting the ball's appearance or performance.
Step 1: Choose the Right Golf Ball Material
Selecting the correct golf ball is the first step toward achieving high-quality engraving results. Different golf ball cover materials react differently to laser energy, so testing settings before production is always recommended.
Before you laser engrave golf balls, verify that the material is suitable for laser processing and can be safely engraved. This helps prevent poor results and avoids potential safety concerns.
For this case study, we'll use a plastic golf ball to demonstrate the golf ball engraving process.

Step 2: Choose the Right Laser Engraving Machine for Golf Ball Engraving
Here, we choose LaserPecker 4 (LP4), which is a dual-laser and multi-functional laser engraver that excels in plastic golf ball engraving.
*Alternative
If you want faster engraving speed and better effect on plastic golf ball surfaces, you can try a more powerful laser engraver like the LP5.
Step 3: Prepare Your Engraving Design
Use a free graphic design app/software to create or import the image or type the text you want to engrave on the golf ball's surface. Consider size, shape, and details like text or patterns.
Step 4: Set up the Golf Ball Laser Engraving Machine
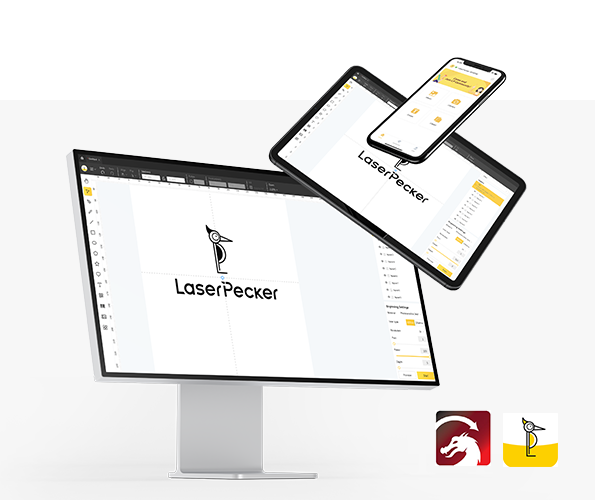
Firstly, Make sure your engraver is powered on, and then connect your laser engraver to your computer or mobile device using the appropriate connection method, such as USB or Bluetooth.
Secondly, open the laser engraving software and import the design you created in the previous step.
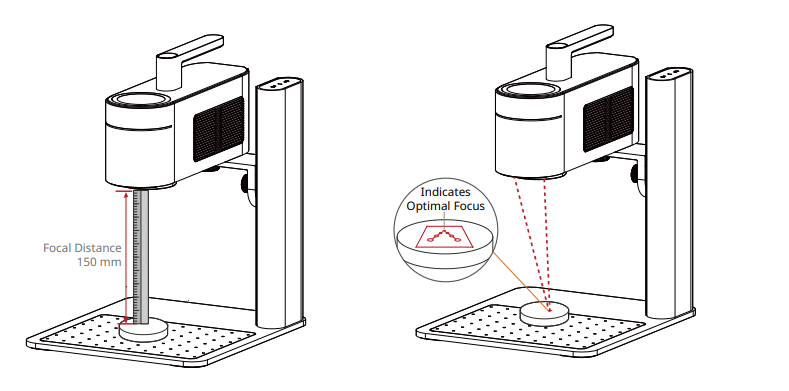
Thirdly, ensure that the laser is properly focused before engraving. Most laser engravers provide a preview mode or focusing guide to help you achieve accurate positioning. To verify it, you have 2 methods.
If you choose LaserPecker 4 (LP4), the first method is to use a ruler to measure the distance between the golf ball's surface and the machine, with a recommended distance of 15cm or 150mm.
*Ensuring the laser engraving machine is properly focused is essential for achieving a high-quality engraving!
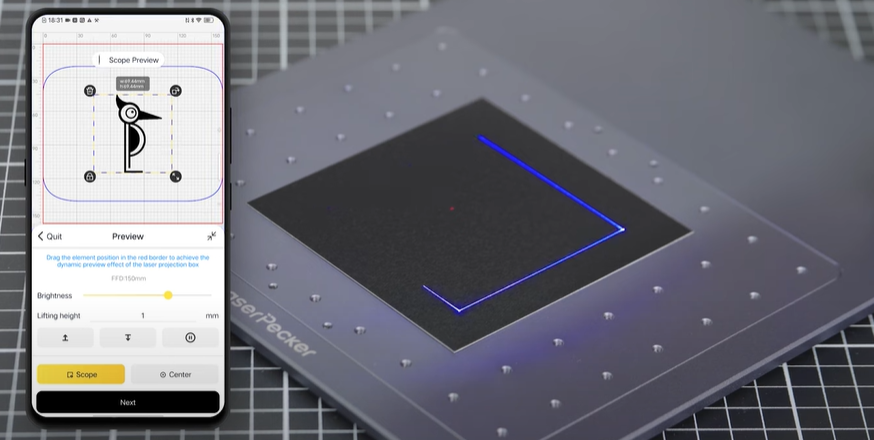
Fourthly, place the golf ball within the machine's working area and use the preview function to check the design placement. If needed, adjust the size, position, or orientation of the artwork to ensure it fits the engraving area correctly.
Finally, Access the software's laser settings to adjust parameters like power, speed, and resolution according to the golf ball's properties and design intricacy. You might be wondering, "How much laser power is needed to engrave golf ball?" Rest assured, I've got you covered!
To get the best result, the recommended laserpecker 4 material settings for golf ball is 2 W 1064 nm; Resolution: 2k; Power: 100%; Depth: 60%; Pass: 1
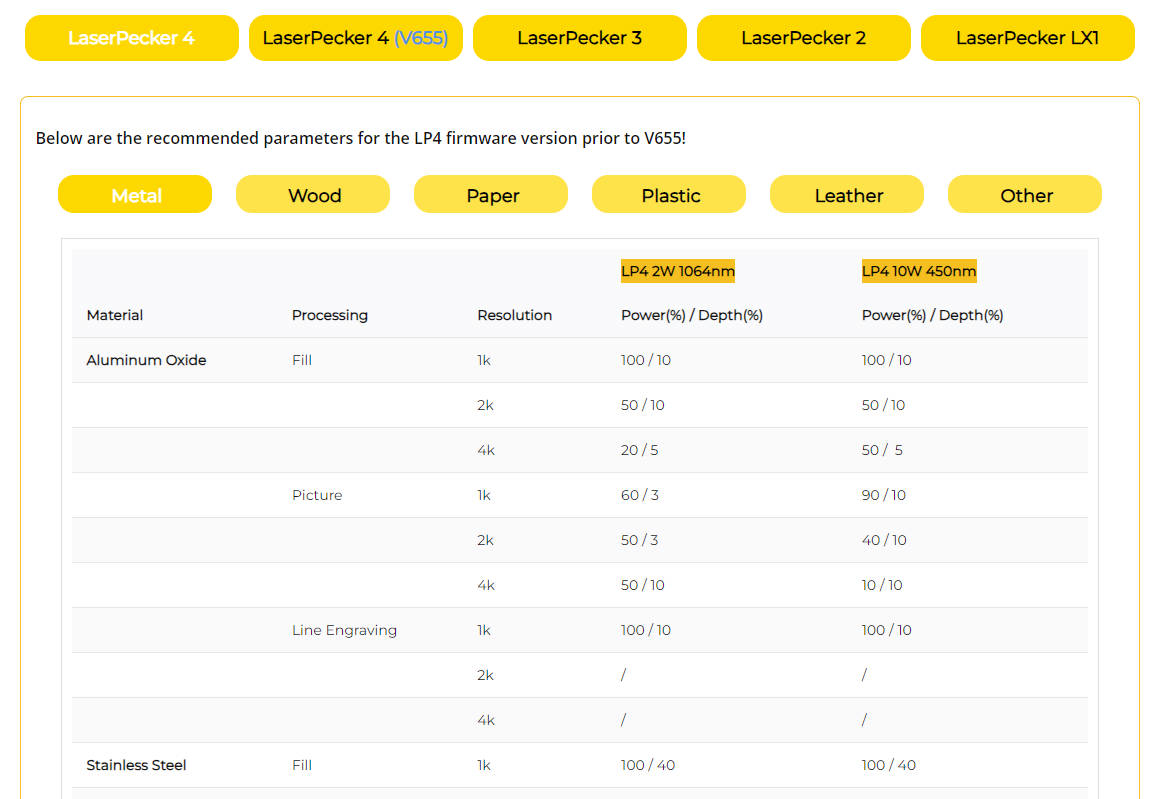
To explore other recommended laserpecker engraving and cutting parameters, refer to the settings table that applies to any laserpecker machines, including LP1, LP2, LP3, LP4 LP5 and LX2.
Step 5: Start Engraving Your Golf Ball With Laser Now
Double-check everything to avoid mistakes. Then, hit the start button and watch the magic happen. The laser brings your design to life. Keep an eye on it, and you're all set!
Additionally, please be mindful that smoke or toxic gases may be emitted during the golf ball laser engraving process. Wearing a mask or employing an air purifier is essential for safety.
Conclusion
Golf ball laser engraving is one of the most effective ways to create personalized golf balls with names, logos, text, and custom designs. The process delivers permanent, high-quality markings while preserving the ball's appearance and performance.
Whether you're creating unique gifts, promotional products, tournament souvenirs, or branded merchandise, a reliable golf ball engraver can help you achieve precise and professional results with minimal effort.
Ready to start laser engraving golf balls? Choose a quality laser engraver, prepare your design, and begin creating custom golf balls that stand out on and off the course.