


Unlike traditional wood carving methods that require specialized tools and extensive manual work, laser embossing allows you to create intricate raised and recessed effects with precision and consistency. With the right settings and suitable wood material, even complex artwork can be reproduced with remarkable detail.
In this guide, you'll learn what wood embossing is, which wood types work best, how to create embossed designs with the LaserPecker LP5.

In this article:
Part 1: What Is Wood Laser Embossing?
Wood embossing is a technique that creates raised, recessed, or sculpted designs on the surface of wood, adding depth, texture, and a three-dimensional appearance. Traditionally, wooden embossing was achieved through carving, stamping, or specialized woodworking tools, often requiring significant skill and time.
Today, laser embossing offers a faster and more precise alternative. By using grayscale images and variable-depth engraving, a laser engraver can create highly detailed relief artwork directly on wood without the need for chisels or carving tools.
In laser embossing, different shades of gray determine how much material is removed. Darker areas are engraved deeper, while lighter areas remain closer to the surface. This variation in depth creates realistic shadows, highlights, and contours that give the finished design a true 3D appearance.
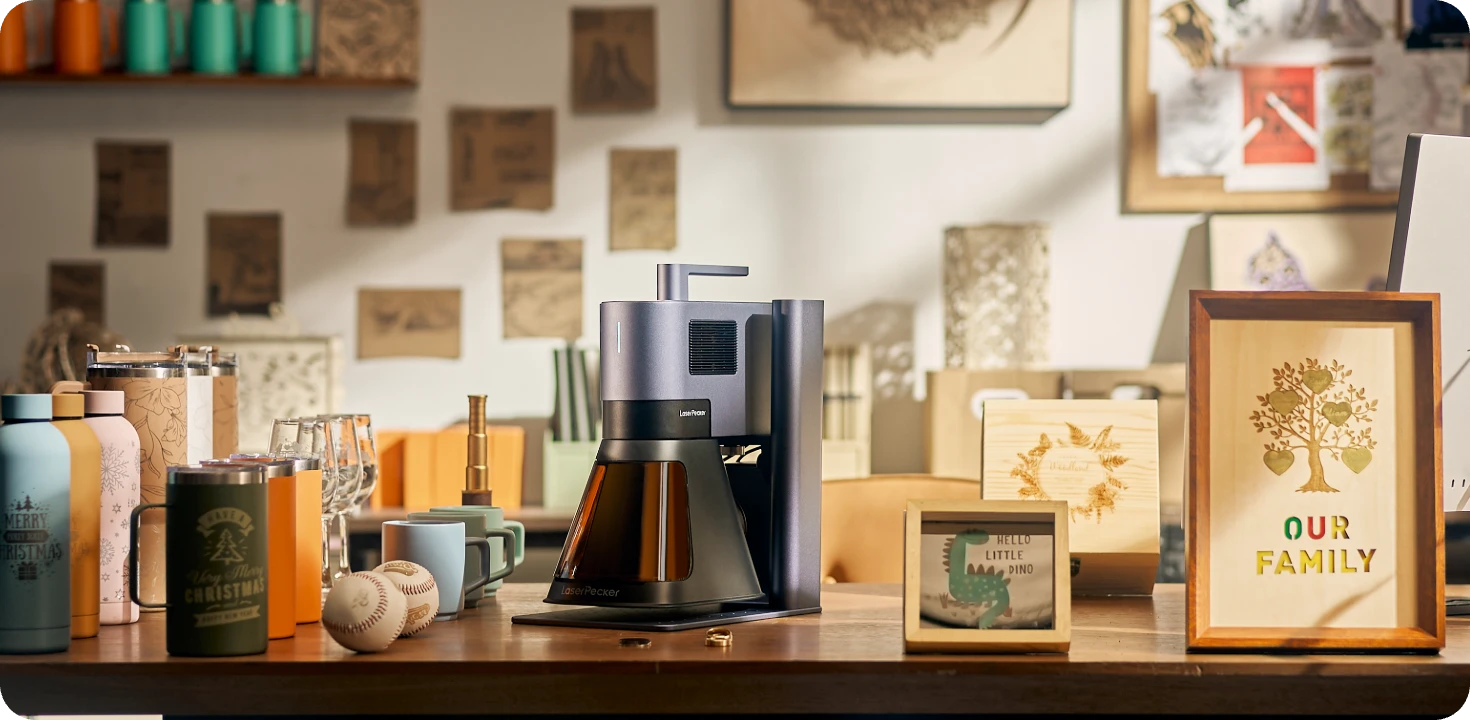
Recommended Laser Engraver for Wood Laser Embossing: LaserPecker LP5
The LaserPecker LP5 is a powerful dual-laser engraver designed for creating embossed-style effects on wood signs, plaques, artwork, furniture accents, gifts, and custom woodworking projects.
-
3D Grayscale Embossing Capability
The LP5 supports advanced 3D grayscale engraving, allowing users to create layered textures, relief-style artwork, and realistic embossed effects on wood surfaces. -
20W Fiber Laser for Fine Embossing Details
The 20W fiber laser enables precise control over engraving depth and texture, helping create realistic relief effects, intricate details, and premium embossed-style finishes on wooden surfaces. -
10,000 mm/s Ultra-Fast Engraving Speed
The high-speed galvo system helps complete embossing and engraving projects efficiently while maintaining professional-quality results.
Part 2: What Type of Wood Is Best for Laser Embossing?
The quality of your wood embossing project depends heavily on the type of wood you choose. Different wood species vary in grain pattern, density, resin content, and engraving behavior, all of which affect the final embossing result.
For the best laser embossing results, choose wood that engraves evenly, produces minimal charring, and has a consistent grain structure. This allows the laser to create smoother depth transitions and finer details.
Best Wood Types for Wood Embossing
- Basswood – One of the best choices for beginners. Its soft texture and uniform grain make it ideal for detailed embossing and 3D engraving.
- Birch Plywood – Affordable, widely available, and capable of producing clean engraving and cutting results with good detail retention.
- Maple – Features a smooth surface and tight grain pattern that works well for high-detail embossing projects.
- Cherry – Offers excellent engraving depth and produces attractive contrast with a rich, warm appearance.
Wood Types to Avoid
Some woods can make wooden embossing more difficult due to inconsistent engraving behavior or excessive burning.
- Resin-heavy woods such as pine can produce uneven burns and excessive residue.
- Very soft woods may lose fine detail during deep engraving.
- Highly textured woods can create inconsistent depth and reduce image clarity.
- Woods with knots or irregular grain patterns may produce uneven embossing results.
Part 3: How to Create Wood Embossing with the LaserPecker LP5?
Step 1: Import a Depth Map Image
Open LaserPecker Design Space (LDS) and import a depth map image. Depth maps use grayscale values to control engraving depth, making them essential for creating realistic 3D embossing effects.
You can download depth map images online, use designs from LaserPecker CraftZone, or create your own using image-editing software.

Step 2: Select the 3D Grayscale Effect
Select the image and open the Effects menu. Choose 3D Grayscale and then select one of the following engraving modes:
- Concave Engraving – Creates a recessed design by engraving directly into the artwork.
- Convex Engraving – Removes the surrounding material to create a raised embossing effect.
Convex engraving is typically used for wooden embossing because it creates a raised design that closely resembles traditional embossing techniques.

Step 3: Adjust the Layer Count
The layer setting ranges from 0 to 254. Higher layer counts create smoother transitions and finer details, while lower layer counts reduce engraving time but may produce a rougher appearance.
For highly detailed embossing projects, using more layers generally produces better results.
Step 4: Preview the Engraving Layers
Use the Layer Preview feature to review how each engraving layer will be processed. If the first or final layers appear completely black or white, reducing the total layer count can help shorten engraving time without significantly affecting image quality.

Step 5: Adjust the Design Size and Position
Resize and position the design to match the dimensions of your wood piece. Proper alignment helps ensure the finished engraving is centered and proportioned correctly.
Step 6: Configure the Engraving Settings
For wood embossing, start with the following settings:
- Laser Source: 450nm
- Resolution: 2K
- Power: 70%
- Depth: 1%
- Layer Height: 0.02
These settings provide a reliable starting point, but adjustments may be required depending on the wood species, thickness, and desired embossing depth.
Step 7: Position and Focus the Material
Place the wood in the engraving area and use the preview function to confirm positioning. Adjust the focus carefully to ensure maximum engraving precision and consistent depth across the entire design.
Step 8: Start the Embossing Process
Once all settings have been verified, begin engraving. Depending on the design complexity and layer count, the embossing process may take some time to complete.

Part 4: How to Clean and Finish Wood After Laser Embossing
After completing your wood embossing project, proper cleaning and finishing can significantly improve the appearance of the engraved design. Removing surface residue and applying a finish helps reveal fine details, enhance contrast, and protect the wood from moisture and wear.
Follow these simple steps to give your embossed wood a clean, professional-quality finish.
Step 1: Remove Burn Marks and Surface Residue
A light bleach wash can help reduce discoloration and remove residue left behind during laser embossing. Use standard household bleach and mix it with an equal amount of water.
Submerge the engraved wood in the solution for 5–10 minutes, then rinse thoroughly with clean water to stop the bleaching process.

Step 2: Allow the Wood to Dry Completely
Place the wood in a dry, well-ventilated area and allow it to air dry fully. Any remaining moisture can affect the appearance and performance of the final finish.
Depending on the wood type and environmental conditions, drying may take several hours.
Step 3: Apply a Protective Finish
Once the wood is completely dry, apply a thin coat of wood varnish, finishing oil, or wood conditioner using a soft cloth or brush.
Conclusion
Whether you're creating custom signs, wall art, personalized gifts, or decorative woodworking projects, laser embossing offers a faster and more accessible alternative to traditional carving methods while maintaining exceptional detail and consistency.
Choose your design, prepare your material, and start exploring the creative possibilities of laser wood embossing. The more you experiment with depth, contrast, and texture, the more impressive your results will become.