


If you're wondering how to customize a Stanley Cup, you're not alone. Stanley tumblers have become incredibly popular thanks to their durability, stylish designs, and excellent insulation. But what makes them even more appealing is the ability to personalize them to match your personality, brand, or lifestyle.
Whether you want to add your name, a favorite quote, custom artwork, or a company logo, there are plenty of ways to make your tumbler stand out. From simple accessories and DIY decorations to professional laser engraving, there is a customization method for every budget and skill level.
In this guide, you'll learn how to personalize a Stanley Cup, explore different Stanley customization methods, and discover how to make custom Stanley Cups that look professional and last for years.

In this article:
- Part 1: Four Ways to Customize the Stanley Cup
- Method 1: Laser Engraving
- Method 2: Use Accessories (Sleeves, Handle Straps, Charms)
- Method 3: DIY Decor (Vinyl Stickers, Spray Paint, Embellishments)
- Method 4: Custom Paint Designs
- Part 2: How to Make a Custom Stanley Cup with LP4
- Part 3: FAQs for Customizing a Stanley Cup
Part 1: Four Ways to Customize the Stanley Cup
There are different ways to personalize your Stanley tumbler. The method you pick depends on whether you want something permanent, colorful, or professional-looking.
Method 1: Laser Engraving
Laser engraving is one of the most durable and professional ways to customize a Stanley Cup. A laser engraver permanently marks the surface with names, logos, artwork, monograms, or custom graphics.
Unlike stickers or paint, laser engraving won't peel, fade, or wear away with daily use. The process creates a clean, food-safe design directly on the tumbler, making it ideal for personal use, gifts, promotional products, and small businesses.

Recommended Laser Engraver for Stanley Cup Customization: LaserPecker LP4
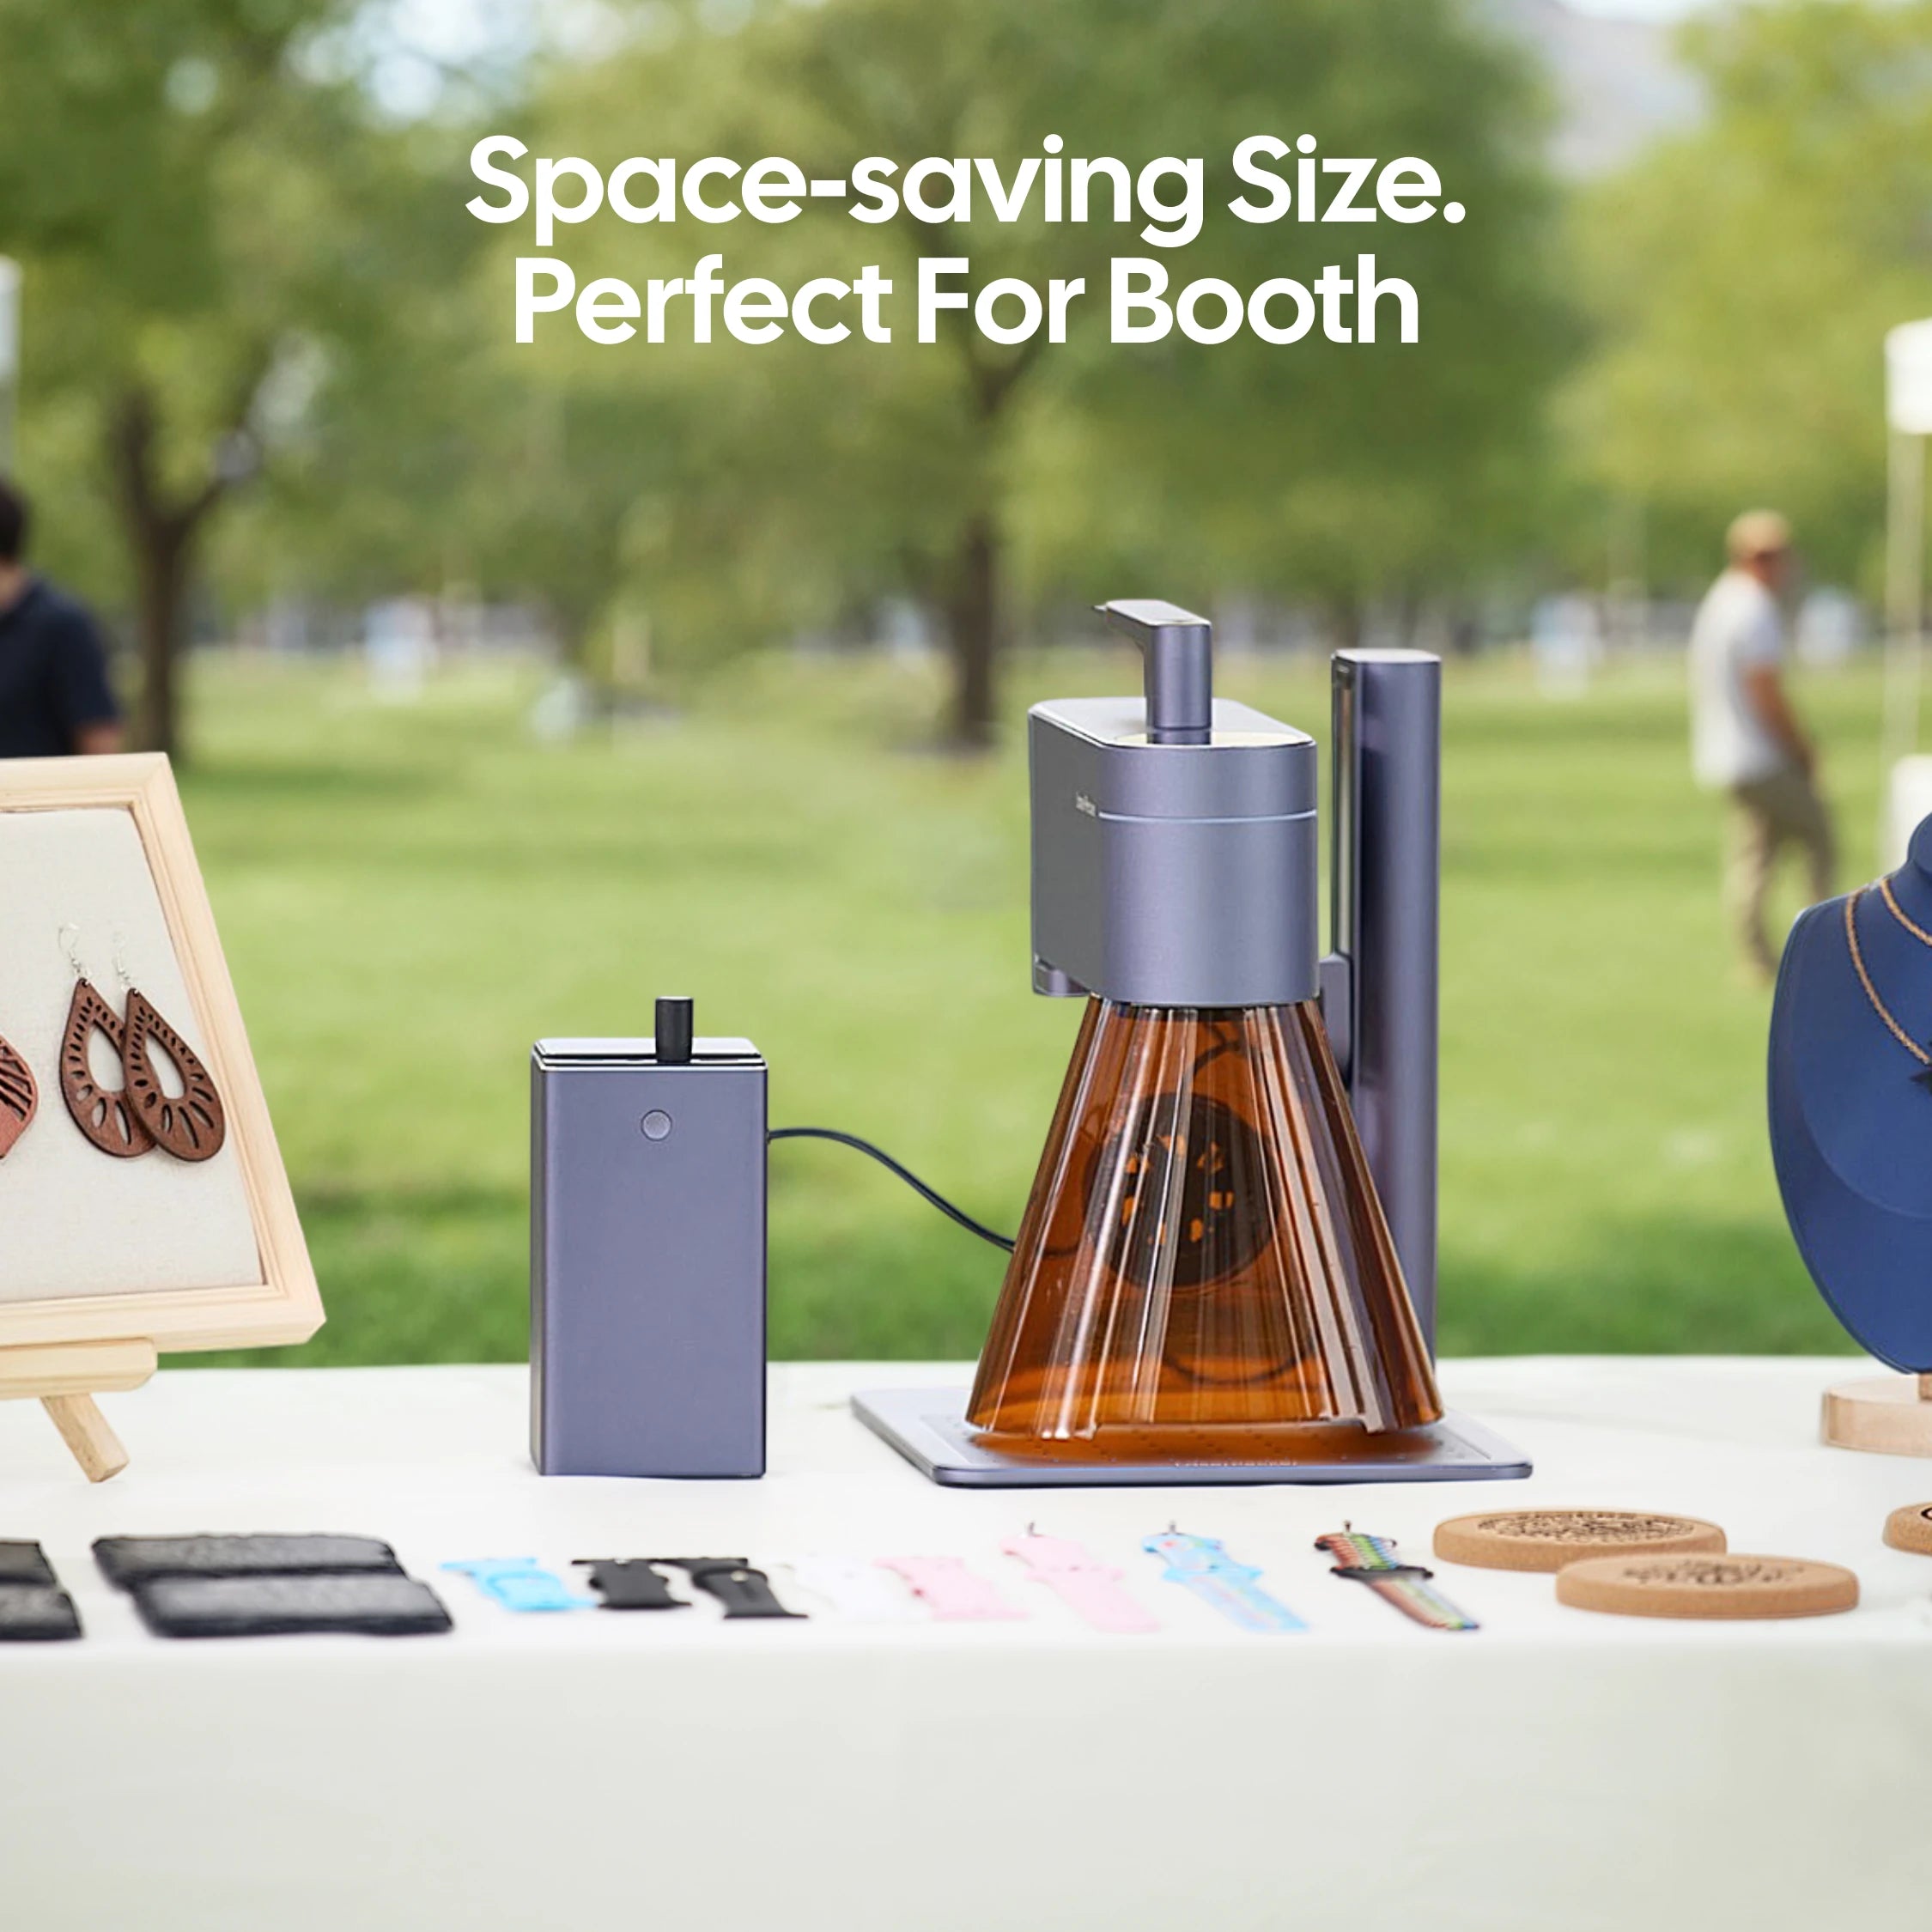
The LaserPecker LP4 is a compact dual-laser engraver designed for personalizing Stanley cups, tumblers, water bottles, mugs, and custom drinkware gifts.
Whether you're engraving names, monograms, logos, quotes, or decorative patterns, the LP4 offers a fast and precise way to customize Stanley cups with professional-looking results.
-
Dual Laser System (10W Diode + 2W Infrared)
The LP4 supports a wide variety of Stanley cup materials and accessories, including coated metals, anodized surfaces, leather tags, and custom drinkware accessories. -
Rotary Engraving Support for Tumblers and Bottles
When paired with the Rotary Extension, the LP4 can engrave names, logos, and wrap-around designs on curved Stanley cup surfaces with greater accuracy. -
4,000 mm/s High-Speed Engraving
The high-speed galvo system allows users to quickly personalize Stanley cups for gifts, events, small businesses, and custom drinkware orders. -
High Precision for Detailed Designs
The LP4 delivers detailed engraving performance suitable for monograms, custom artwork, brand logos, decorative patterns, and fine-text personalization.
Method 2: Use Accessories (Sleeves, Handle Straps, Charms)
Accessories are one of the easiest ways to personalize a Stanley Cup. They require no tools, no special skills, and can be changed whenever you want a new look.
- Silicone sleeves: They give you a better grip and add color.
- Handle straps or clips: Great for when you're out and about.
- Base protectors: Keep those scratches away.
- Charms or tags: Show off your initials or a cool symbol.
Method 3: DIY Decor (Vinyl Stickers, Spray Paint, Embellishments)
If you enjoy creative projects, DIY decorating offers endless possibilities. You can customize your Stanley tumbler with vinyl decals, stencils, spray paint, rhinestones, glitter, or decorative tape.
Vinyl stickers are especially popular because they're inexpensive, easy to apply, and available in countless designs. Spray paint can create bold colors and unique effects that make your tumbler stand out.
However, DIY decorations may fade, chip, or peel over time, especially with frequent washing. They're best suited for occasional use or users who enjoy updating their designs regularly.
Method 4: Custom Paint Designs
Custom painting and airbrushing allow you to create colorful, artistic designs that completely transform the appearance of your tumbler.
With the proper primer, paint, and protective clear coat, you can create:
- Gradient color fades
- Custom artwork
- Patterned finishes
- Textured effects
While painted designs can look impressive, they require more preparation and maintenance than other customization methods. Frequent use and washing may eventually cause paint to chip or wear.
| Method | Look | Durability | Skill | Reversible |
|---|---|---|---|---|
| Accessories | Simple, colorful | High | ★ | Yes |
| DIY Decor | Creative, varied | Medium | ★★ | Partial |
| Laser Engraving | Sleek, permanent | Very High | ★★★ | No |
| Custom Paint | Bold, full-color | Medium–High | ★★★★ | No |
What's the best way to go?
For something that lasts, looks sharp, and doesn't need much upkeep, laser engraving is your best bet. It's permanent, safe, and gives a high-end feel with no extra work. Accessories are good for fast, personal touches. DIY is cool for unique projects, and custom paint is the way to go if you want artistic, colorful designs.
Part 2: How to Make a Custom Stanley Cup by Yourself with LP4
Got an LP4 laser engraver? You can make cool, pro-looking custom stuff without leaving your house.
How to Do It:
1. Prep Your Cup
First, prep your Stanley Cup by emptying it and washing it thoroughly. Remove any lids, rubber seals, or extra attachments, and make sure the cup is completely dry.
2. Keep the Cup Steady
Next, keep the cup steady while engraving. Use a rotary tool or stand to hold the cup in place as it spins, which ensures that your design will be even across the curved surface.
3. Set Up Your Design
Then, set up your design in LightBurn or LaserPecker Design Space. Adjust the size and position so it fits the area you want to engrave, making sure the design stays below the top edge for safety and comfort when drinking.
4. Pick the Right Laser Setting
Next, pick the right laser settings. Stanley Cups and tumblers are stainless steel, but most have a painted or coated surface. This means you can use any of LP4's lasers. The 450 nm diode laser can cut through the coating to show the metal underneath. The 1064 nm IR laser gives a finer, better finish (up to 8K) with deeper contrast and cleaner details. If you want a top-notch result, use the IR laser.
5. Engrave and Check
Finally, engrave and check your work. Begin with a small test to make sure the result looks good. If satisfied, proceed with the full design and then gently wipe the engraved area with a soft cloth.
Why Use the LP4?
The LP4 laser engraver lets you mark stainless steel without any spray, saving both time and money. It creates clean, durable engravings perfect for everyday cups-no fading or peeling. The Rotary Extension lets the LP4 do 360° engraving, which works great on things like tumblers, mugs, and bottles. You can easily engrave all the way around, making smooth, pro designs that totally wrap around your cup.
Part 3: FAQs About Stanley Cup Customization
Q1. Can You Customize a Stanley Cup?
Yes, Stanley tumblers are highly customizable. Their stainless steel construction makes them suitable for several personalization methods, including:
- Laser engraving
- Vinyl decals and stickers
- Custom paint designs
- Silicone accessories and charms
If you're wondering can you customize a Stanley Cup with a permanent design, laser engraving is one of the most durable and professional options available. Unlike stickers or paint, engraved designs won't peel, fade, or wear away with daily use.
Q2. How Much Does It Cost to Customize a Stanley Cup?
The cost depends on the customization method and design complexity.
- Accessories and charms: Usually $5–$30
- Vinyl decals: Typically $5–$25
- Custom paint: Often $20–$100+
- Professional laser engraving: Zero Cost
Simple name engravings tend to cost less, while larger logos, wraparound designs, and detailed artwork may increase the price.
If you frequently create personalized tumblers, investing in a tumbler laser engraver can be more cost-effective over time.
Q3. How Do You Remove Stickers or DIY Decorations from a Stanley Cup?
Most decals and stickers can be removed without damaging the tumbler.
To remove adhesive decorations safely:
- Warm the sticker with a hair dryer.
- Peel it away slowly from one corner.
- Remove remaining residue with rubbing alcohol or a stainless-steel-safe adhesive remover.
- Wipe the surface clean with a soft cloth.
Avoid abrasive pads or harsh chemicals that could scratch or dull the finish.
Q4. How Long Does Laser Engraving Last on a Stanley Cup?
Laser engraving is one of the most durable forms of Stanley customization. Because the design is engraved directly into the surface rather than applied on top, it won't peel, crack, or fade like stickers or paint.
With normal use and proper care, an engraved Stanley Cup can maintain its appearance for the life of the tumbler.
Conclusion
For anyone interested in how to make custom Stanley Cups at home, the LP4 Dual-Laser Engraver provides a professional and user-friendly solution. Its dual-laser technology, precision controls, and compatibility with stainless steel tumblers make it easy to engrave names, logos, monograms, and custom artwork with long-lasting results.
No matter which customization method you choose, the goal is to create a Stanley Cup that's uniquely yours. With the right tools and a little creativity, you can turn an everyday tumbler into a personalized accessory, thoughtful gift, or memorable promotional product.