


Backpacks aren't just for lugging books; they're like a billboard for your personality. Switching things up lets you ditch the boring, create something awesome from an ordinary bag, or breathe life into an old favorite. Whether you're artsy, in school, or just dig expressing yourself, tons of options exist to make your backpack pop!
In this guide, we'll explore five ways to customize your backpack and inject some you into it. We'll see how laser engraving carves out cool designs, point out common mistakes to dodge, and answer any burning questions you might have.

In this article:
- Part 1: Five Ways to Customize a Backpack
- Method 1: Dyeing
- Method 2: Laser Engraving
- Method 3: Sewing
- Method 4: Embroidery
- Method 5: Duct Tape Designs
- Part 2: How to Customize a Backpack by Laser Engraver
- Part 3: Best Laser Engraver to Customize Backpack You Can't Miss Out
- Part 4: Common Mistakes to Avoid for Customizing a Backpack
- Part 5: FAQs about Customizing a Backpack
Part 1: Five Ways to Customize a Backpack
Want to make your backpack stand out? Here are five easy ways to give it a cool, custom look. Some are cheap and simple, others give you a pro finish that lasts.
Whether you're into quick fixes like duct tape designs or want to try something fancy like laser engraving, what you pick depends on your backpack's material, what you're good at, and the style you're after.
Method 1: Customize Backpack via Dyeing
Dyeing lets you go wild with color. Think tie-dye explosions, mellow fades (ombre), or bold, solid hues. Stencils or tape can help you add letters, shapes, or whatever crazy design pops into your head. Cotton or canvas backpacks work best. It's cheap, simple, and you don't need to be an artist. Cover the whole thing or make detailed patterns. Mix colors, go wild! Breathe new life into that old, faded pack or just shout your style to the world.
Method 2: Customize Backpack via Laser Engraving
Laser engraving uses heat to burn designs into your backpack, creating a clean and permanent look. It works on leather, faux leather, coated fabrics, canvas, and even small metal parts like zipper pulls or nameplates. You can engrave names, initials, logos, motivational quotes, or detailed artwork, whether on the main body panels, straps, patches, or buckles.
This method delivers sharp, lasting results that won't peel or fade, and it keeps the surface smooth without adding bulk, making it perfect for a professional, durable customization.
Method 3: Customize Backpack via Sewing
Sewing lets you add patches, fabric, extra pockets, or reinforce weak spots. It's about both looks and making your backpack last longer. Create custom designs, add your initials, or beef up those areas that always wear out.
Method 4: Customize Backpack via Embroidery
Embroidery adds texture and color. Do it by hand for detailed work, or use a machine to get it done quicker. Add letters, logos, flowers, or whatever you like. Mix embroidery with patches or laser engraving for even wilder effects!
Method 5: Customize Backpack with Duct Tape Designs
Duct tape isn't just for fixing things. Slap on stripes, shapes, or layer patterns to bring your backpack to life. With tons of colors and designs available, you are only limited by your imagination. Emphasize zippers or pockets, too. It's fast, cheap as chips, and easy to do. Change your mind? Peel it off and try something else. It sticks to practically anything and lets you try out different looks. Perfect for details without making a big commitment.
Comparison Table
| Method | Durability | Difficulty | Materials Best For | Unique Benefit |
|---|---|---|---|---|
| Dyeing | Medium | Easy | Cotton, canvas | Bold color changes |
| Laser Engraving | Very High | Moderate | Leather, faux leather, coated fabrics, canvas, metal parts or accessories of a backpack (zipper pulls, nameplates, buckles) | Permanent, precise designs |
| Duct Tape | Low–Medium | Easy | Any backpack surface | Quick, quirky, removable |
| Sewing | High | Moderate | Fabric, mixed textiles | Add function + style |
| Embroidery | High | Harder | Fabric, canvas | Elegant and textured |
Part 2: How to Customize a Backpack by Laser Engraver
To personalize your backpack, consider laser engraving. Choosing the right backpack and working carefully lets you create lasting, attractive designs. Here's how to do it to make sure your backpack looks exactly as you imagine.
1. Where to Engrave:
Leather, fake leather, or canvas items are awesome for engraving. Think about engraving the main part, the straps, or even some patches. Metal bits like zippers, name tags, and buckles can work too.
2. Grab the Right File:
To make sure your engraving turns out great, the file type matters. If you want outlines that stay sharp no matter the size, go for vector files (SVG or DXF). For logos, words, or pics that are filled in, use high-quality PNG or JPG files. Want to design or tweak your images? Check out free tools like Inkscape or Canva. If you have a LaserPeckr laser engraver, LaserPecker Design Space or LightBurn is a solid option.
3. Clean Up:
Wipe down the area you're hitting with the laser. You want to get rid of any grime that might mess things up.
4. Dial It In:
Set the power and speed on the engraver. What you use will depend on your backpack. With leather, go for settings that give you dark lines, but don't burn the material.
5. Double-Check Placement:
Some machines have a trace feature. Use it! Make sure everything's lined up.
6. Let It Zap!:
Time for the laser to work its magic. You'll get crisp, lasting marks.
7. Clean Up:
Wipe off any bits left behind and make sure your design looks tight.
What's great about laser engraving is that it's permanent. No fading, peeling, or washing off. Plus, it doesn't add any bulk. The laser changes the surface, so it stays smooth and strong.

Part 3: Best Laser Engraver to Customize Backpack You Can't Miss Out
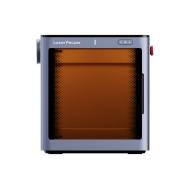
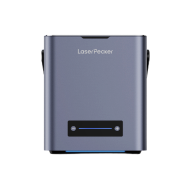
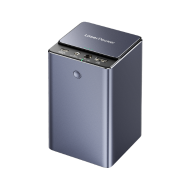
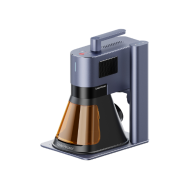
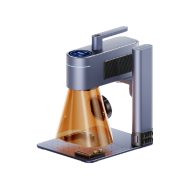
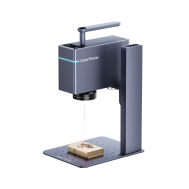
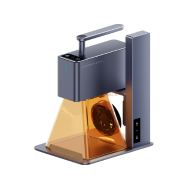
You have a lot of choices when it comes to laser engravers, but some are better than others for backpack customization. The LaserPecker LP5, for example, lets you create detailed designs on different materials, and even add small metal parts.
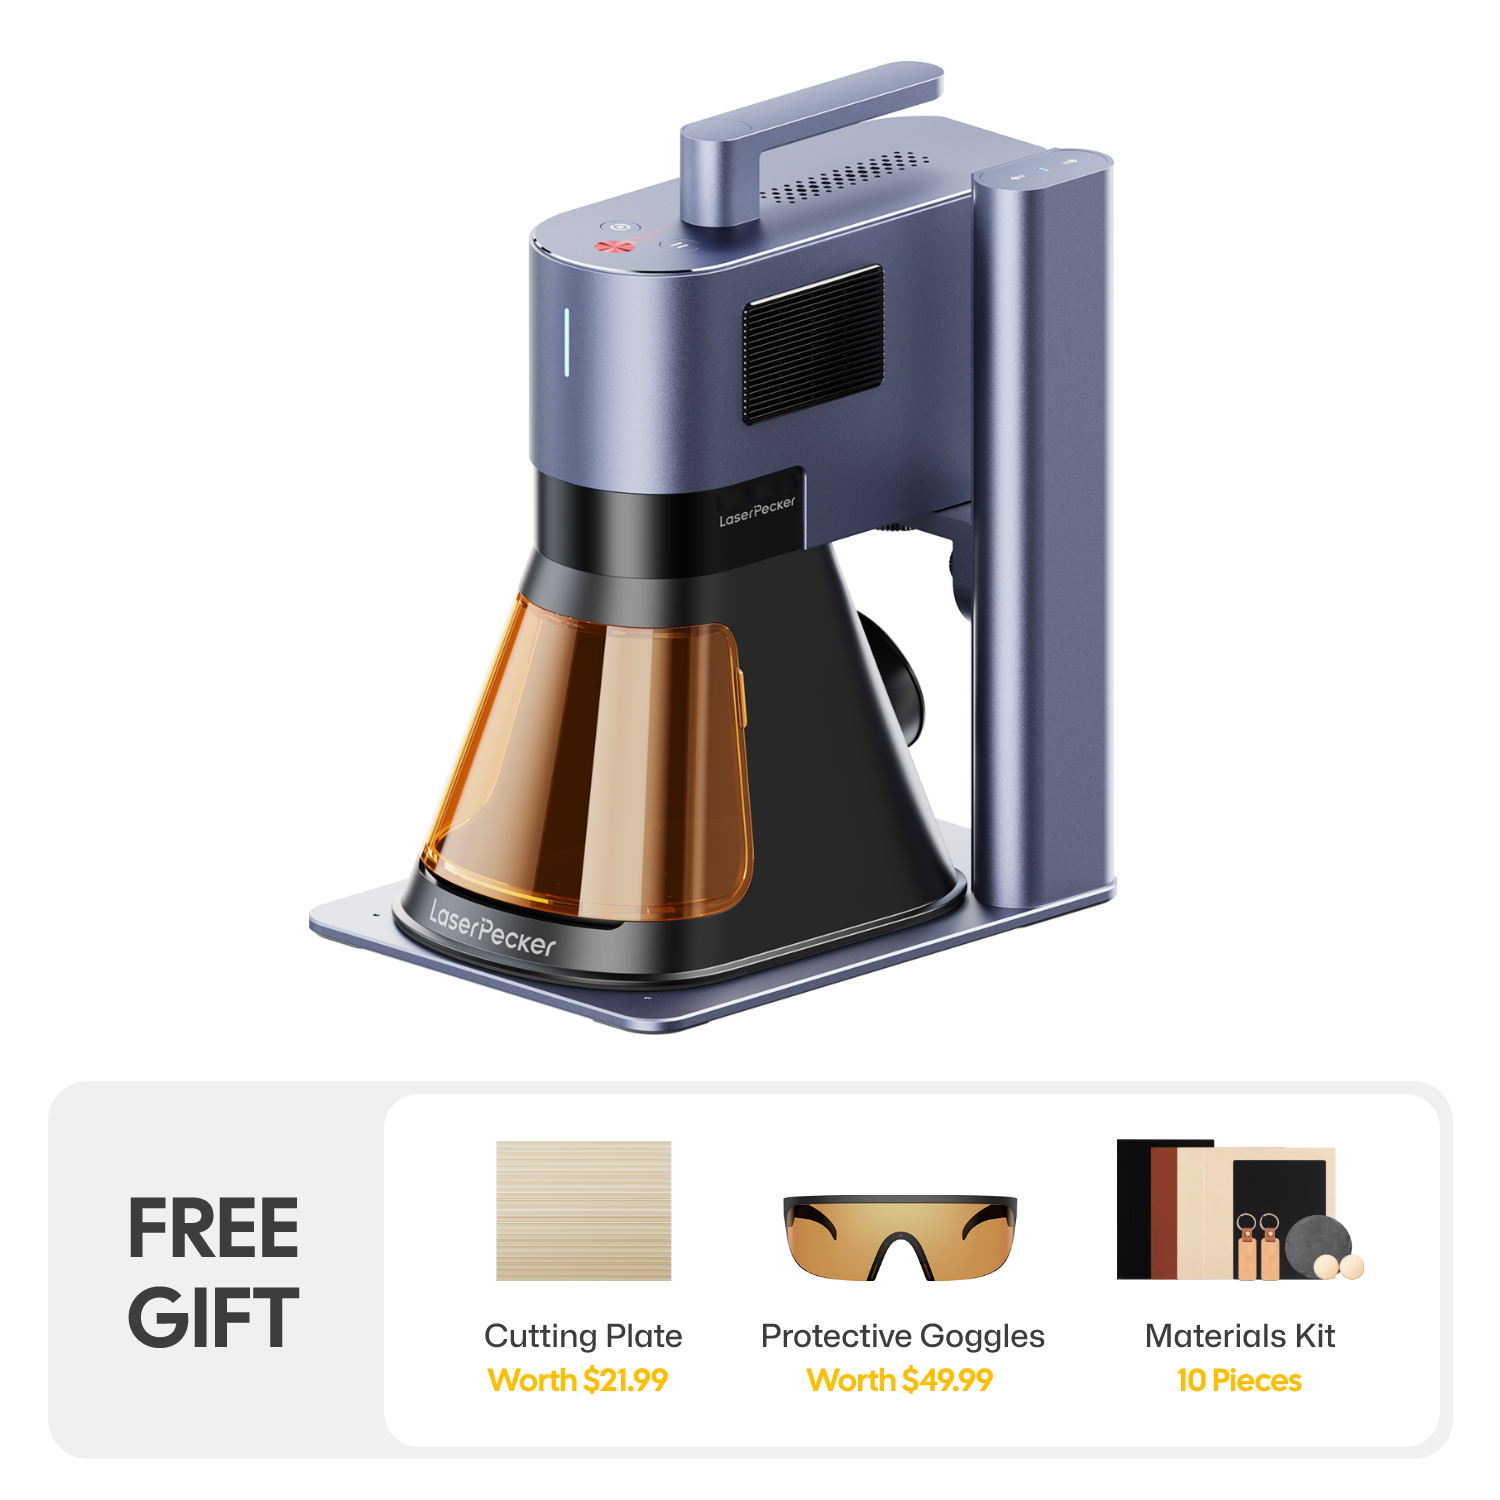
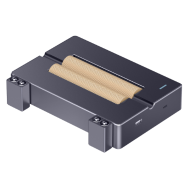
It rocks two kinds of lasers: one for metals and another for everything else. You can make super detailed images, and even raised 3D designs! It handles all sorts of materials, such as metal, aluminum, stainless steel, wood, leather, and even glass. For cutting, it slices right through acrylic and wood. The fiber laser can also cut thin sheets of brass, stainless steel, aluminum, and titanium. It's small, but you can expand the work area, making it great for bag designs and other stuff.

Pros of LaserPecker LP5
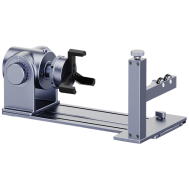
The LP5 gives you super clean, lasting results that look totally pro. It precisely engraves both metal and other things. It's also fast, so you can zip through single pieces or small runs. You can create deep engravings, 3D looks, and super accurate cuts. It's small and easy to tote around, so you can use it in small spaces or bring it with you. Add-ons let you engrave round stuff like cups and bracelets. The LP5 works with design software, so it's easy to get everything lined up before you begin. And with a special safety box, it's safe to use indoors.
Part 4: Common Mistakes to Avoid for Customizing a Backpack
Laser engravers are great for personalizing backpacks, but small errors can mess things up. Knowing what can go wrong will keep you from wasting time and materials when customizing your backpacks.
1. Material Matters
Not all backpacks are suitable for every customization method. For example:
- Dyeing works best on cotton, canvas, or other natural fibers-synthetic fabrics like polyester may not hold color well.
- Laser engraving is ideal for leather, faux leather, coated fabrics, canvas, and metal parts or accessories like zipper pulls, nameplates, or buckles. Avoid using it on thin nylon or delicate fabrics that may burn or fray.
- Sewing and embroidery suit fabric, mixed textiles, and canvas, but thin or very stretchy materials can tear if not handled carefully.
- Duct tape can stick to almost any surface, but bulky layers may interfere with seams, straps, or pockets.
Always match your method to your backpack's material to get the best results and avoid damage.
2. Keep It Simple
- Too many colors and designs? Your backpack will look messy, not cool. Sometimes, the simpler, the better, trust me.
3. Function First
- Massive patches or tape blocking zippers? That's a bad idea. Make sure your design doesn't stop you from using pockets or straps.
4. Clean It Up
- Always clean your backpack before dyeing or painting. Dirt ruins everything.
5. Try It Out
- Test your dyes or settings on a hidden spot before going all-in.
Part 5: FAQ about Customizing a Backpack
1. How long does backpack dye last?
Dyeing cotton or canvas can last ages if you set the color using heat and treat it right. Synthetic fabrics? Not so much. Washing it all the time or too much sun? Fading is coming. Use protective sprays or wash gently to keep those colors popping.
2. Is embroidery easy if you're just starting?
Hand embroidery calls for some chill and basic sewing know-how. If you're just starting, try initials or simple things. Embroidery machines can make it a breeze. They are reliable and produce professional stuff. Plus, hard designs are doable without tons of practice.
3. What kind of customization lasts the longest?
Laser engraving wins. It marks the material, so ain't no peeling or fading. Embroidery hangs in there, too, especially if you grab good thread. Sewing on patches? Solid. Dye and duct tape aren't as tough and might need a little love later.
Conclusion
Making your backpack your own is a cool idea. You can use tape for something quick, dye for a total change, or laser engraving to last a while. There's a way for everyone to do it! Pick what works for your backpack's fabric. If you dodge some easy mistakes, you'll get a one-of-a-kind bag that shows off who you are.


