Engraving candles is a wonderful way to add a personal and artistic touch to your home decor or gifts. Whether you want to create elegant designs, meaningful messages, or unique patterns, there are several practical techniques to choose from.
In this article, we'll explore the top three engraving methods for candles — using a laser engraving machine, a rotary tool, and hand carving tools — each offering its own advantages and suited for different skill levels. Let's dive in and discover how to turn simple candles into beautiful works of art.

In this article:
Method 1: Engrave a Candle with a Rotary Tool
Using a rotary tool to engrave candles is a hands-on, flexible approach for creating personalized patterns or text on candle surfaces. This method involves manually carving into the wax using different engraving tips. It's ideal for small-scale, artistic, or customized work.
Required Tools:
- Rotary tool or electric engraving pen
- Clamps or a Non-slip Mat (to hold the candle in place)
Steps to Engrave a Candle with a Rotary Tool
Step 1: Prepare the Candle
Choose a firm candle (avoid very soft or melting-prone wax). Clean and dry the surface.
Step 2: Sketch Your Design
Lightly draw your design directly on the candle or apply masking tape with a design outline.
Step 3: Set Up the Rotary Tool
Select a fine engraving bit. Set the speed to low or medium (high speeds can melt wax too quickly).
Step 4: Secure the Candle
Use a non-slip pad or clamp the candle gently without damaging it.
Step 5: Begin Engraving
Slowly trace your design with the rotary tool. Let the bit do the work—no heavy pressure.
Step 6: Clean Up
Use a soft brush or air to remove wax shavings. Optionally, slightly heat the surface afterward to smooth rough edges.
Pros and Cons of Engraving a Candle with a Rotary Tool
👍Pros:
Low cost and accessible
Great for custom, hand-drawn designs
👎Cons:
Requires a steady hand and practice
Not ideal for detailed or complex patterns
Method 2: Engrave a Candle with Hand Carving Tools
Engraving candles by hand using carving tools is a traditional and artistic method ideal for DIYers, craft enthusiasts, and small-batch makers. It allows for full creative control without the need for power tools or machines. This technique works especially well on firm candles or layered wax candles.
Required Tools:
- Carving Tools
- Tracing Paper or Pencil
Steps to Engrave a Candle with Hand Carving Tools
Step 1: Choose a Suitable Candle
Use a candle with a smooth and firm surface (avoid soft or oily wax).
Step 2: Sketch the Design
Lightly draw your pattern directly on the candle using a pencil or transfer it using tracing paper.
Step 3: Stabilize the Candle
Place it on a non-slip mat or gently secure it to avoid rolling during carving
Step 4: Begin Carving
Use a small, sharp carving tool to slowly trace along the lines. Start shallow and gradually deepen the cuts for better control.
Step 5: Add Details and Finishing Touches
Refine the edges of the design and gently heat the surface if needed to smooth out rough areas.
Pros and Cons of Engraving a Candle with Hand Carving Tools
👍Pros:
No electricity required
Ideal for custom, handmade designs
👎Cons:
Time-consuming, especially for complex patterns
Requires precision and practice
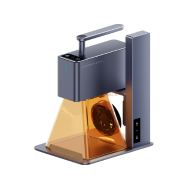
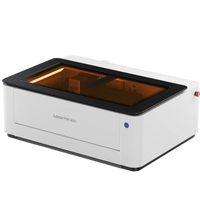
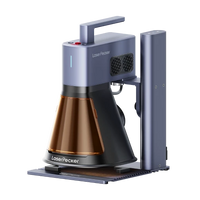
Method 3: Engrave a Candle Cover or Jar with a Laser Engraving Machine
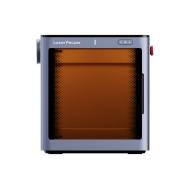
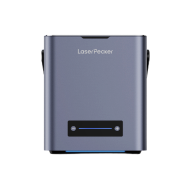
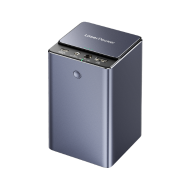
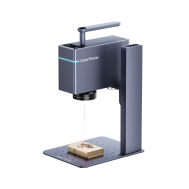
Laser engraving is a fast, precise, and professional method to personalize candle covers or jars made of materials like glass, metal, ceramic, or coated wood. It allows you to engrave logos, names, quotes, or patterns with high detail and consistency—ideal for both personal use and business branding.
What You'll Need for Laser Engraving a Candle:
- A laser engraving machine
- Design software (e.g., LightBurn, LaserPecker Software & App)
Steps to Engrave a Candle Cover or Jar with a Laser Machine
Step 1: Prepare the Design
Use design software to create or import your engraving pattern. Adjust size and position based on your candle jar's dimensions.
Step 2: Clean the Surface
Wipe the candle jar or lid to remove dust, oil, or residue for optimal engraving results.
Step 3: Secure the Object
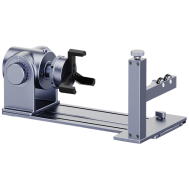
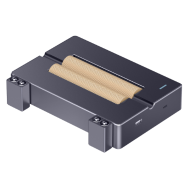
Place the candle cover or jar securely on the machine bed or rotary attachment (if cylindrical).
Step 4: Adjust Settings
Set the correct laser power, speed, and focus based on the material.
Step 5: Start Engraving
Start the engraving process. Monitor it closely for safety
Step 6: Post-Processing
Clean any residue from the engraved area with a soft cloth. Optionally, apply a protective coating depending on the material.
Pros and Cons of Laser Engrave a Candle
👍Pros:
Highly accurate and detailed
Non-contact and clean process
Suitable for both one-offs and bulk production
👎Cons:
Higher upfront cost (machine and setup)
Conclusion
No matter which engraving method you choose, personalizing candles can elevate their beauty and meaning. From the precision of laser engraving to the hands-on creativity of carving tools, each approach offers unique benefits to suit your needs. By mastering these top three techniques, you can create charming, customized candles perfect for gifts, celebrations, or home ambiance. Start experimenting today and let your creativity shine!


