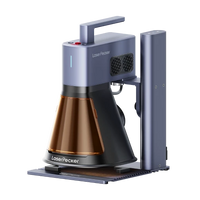
Engraving a lock is a practical and creative way to personalize it, label it for identification, or enhance its security. Whether you're customizing a padlock for personal use, marking it for inventory tracking, or simply adding a decorative touch, there are several methods available to get the job done.
This article introduces three effective techniques for lock engraving — using a laser engraver, rotary tool, and CNC machine—that suit different skill levels, budgets, and purposes. Let's dive into the best ways to engrave your lock at home or in a workshop.

In this article:
- Method 1: Engrave a Lock with a Laser Engraving Machine
- Method 2: Engrave a Lock with a Rotary Tool
- Method 3: Engrave a Lock with a CNC Machine
Method 1: Engrave a Lock with a Laser Engraving Machine
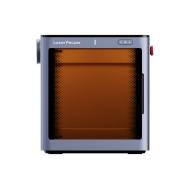
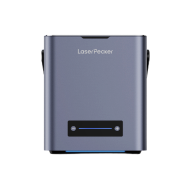
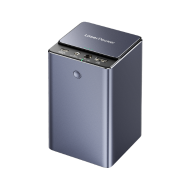
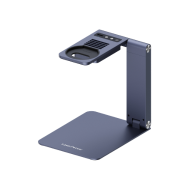
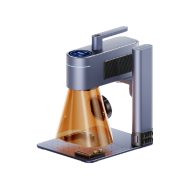
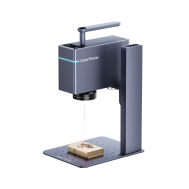
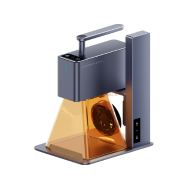
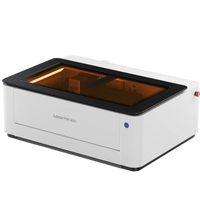
Laser engraving is one of the most precise and professional ways to engrave text, logos, serial numbers, or designs on metal locks. It uses a focused laser beam to remove material from the surface of the lock, creating permanent, high-resolution markings.
What You'll Need for Laser Engraving a Lock:
- A laser engraving machine
- Design software (e.g., LightBurn, LaserPecker Software & App)
- Lock (made of metal, preferably stainless steel, brass, or aluminum)
Steps to Engrave a Lock with a Laser Machine
Step 1: Design the Engraving
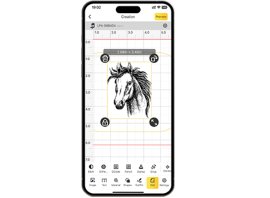
Create or import your text or logo into the engraving software.
Step 2: Prepare the Lock
Clean the surface to remove any dust, oil, or coatings.
Step 3: Secure the Lock
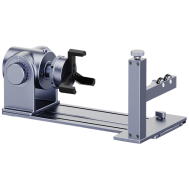
Place it flat on the laser bed or mount it with a rotary attachment for curved surfaces.
Step 4: Adjust Settings
Set the correct laser power, speed, and focus based on the lock's material.
Step 5: Start Engraving
Begin the laser job and monitor the process for safety.
Step 6: Clean the Lock
Wipe away any residue or oxidation marks post-engraving.
Pros and Cons of Laser Engrave a Lock
👍Pros:
Extremely precise and clean results
Permanent and durable markings
Works well for logos, serial numbers, and QR codes
Contactless process—no pressure or damage to the lock
👎Cons:
Initial investment can be high
Method 2: Engrave a Lock with a Rotary Tool
Engraving a lock with a rotary tool (such as a Dremel) is a hands-on, affordable way to personalize or label a lock. It uses a fast-spinning bit to carve designs or text into metal surfaces. Though less precise than laser engraving, it's ideal for basic marking and DIY customization.
Required Tools:
- Rotary tool or electric engraving pen
- Clamp, vise, or non-slip mat
Steps to Engrave a Lock with a Rotary Tool
Step 1: Clean the Lock
Wipe the surface to remove dirt and oils.
Step 2: Mark the Design
Use a permanent marker or stencil to draw your text or design on the lock.
Step 3: Secure the Lock
Clamp it firmly in place to prevent movement during engraving.
Step 4: Install Engraving Bit
Choose a fine-point bit suitable for metal and attach it to the rotary tool.
Step 5: Begin Engraving
Turn on the tool and carefully trace your design at a steady pace. Apply light pressure.
Step 6: Clean Up
Wipe off dust and inspect your work.
Pros and Cons of Engraving a Lock with a Rotary Tool
👍Pros:
Low cost and accessible
Great for simple or rough personalization
👎Cons:
Lower precision compared to laser or CNC methods
Not ideal for detailed or small designs
Method 3: Engrave a Lock with a CNC Machine
CNC (Computer Numerical Control) machines are advanced tools used to engrave with high accuracy by following digital design files. Engraving a lock with a CNC machine ensures clean, consistent, and professional results—ideal for serial numbers, logos, or detailed patterns on metal surfaces.
Required Tools:
- CNC Engraving Machine (desktop or industrial, depending on lock size)
- Computer with CAD/CAM software
Steps to Engrave a Lock via CNC Machine
Step 1: Design the Engraving
Create or import your design in a CAD program. Convert it into G-code using CAM software.
Step 2: Prepare the Lock
Clean the surface and secure the lock onto the machine's bed using a vice or fixture.
Step 3: Set Up the CNC Machine
Load the design file, set the tool path, and adjust the spindle speed and depth based on the lock's material.
Step 4: Start Engraving
Execute the job and monitor the process to ensure accurate engraving.
Pros and Cons of Engraving a Lock with CNC Machine
👍Pros:
Extremely precise and consistent results
Durable and long-lasting markings
👎Cons:
Not ideal for one-off casual use
Takes more prep time than manual methods
Conclusion
Engraving a lock doesn't have to be complicated. Whether you choose a high-precision laser engraver, a hands-on rotary tool, or a powerful CNC machine, each method has its strengths depending on your needs and resources. For detailed designs and batch engraving, laser or CNC machines are ideal. For quick, personal DIY jobs, a rotary tool works well. With the right tools and preparation, you can easily add a professional touch to any lock.


