


Yeti cups are durable, stylish, and incredibly popular—but what makes them even better is personalization. Whether you're adding a name, logo, or custom design, engraving is a great way to turn an ordinary tumbler into a meaningful gift or branded item.
In this guide, we'll explore 4 effective methods for engraving Yeti cups — ranging from high-precision laser machines to hands-on DIY techniques—so you can find the best option for your tools, skill level, and style.

In this article:
Method 1: Engrave Yeti Cups with a Laser Engraving Machine
Laser engraving is one of the best ways to engrave Yeti cups with professional precision and long-lasting results. A laser engraver removes the powder coating or etches directly into the stainless steel surface, creating clean and permanent designs.
If you're wondering, "Can you engrave a Yeti cup?" — the answer is yes. Laser engraving works especially well on powder-coated Yeti tumblers because it creates a sharp contrast between the outer coating and the stainless steel underneath.
This method is ideal for engraving names, logos, monograms, custom artwork, and batch orders for businesses or gifts.
What You'll Need for laser engraving Yeti Cups:
- Fiber laser engraving machine
- Yeti cup (preferably powder-coated for high contrast)
- Rotary attachment(for rotating the cup during engraving)
- Design software (e.g., LightBurn, LaserPecker Software & App)
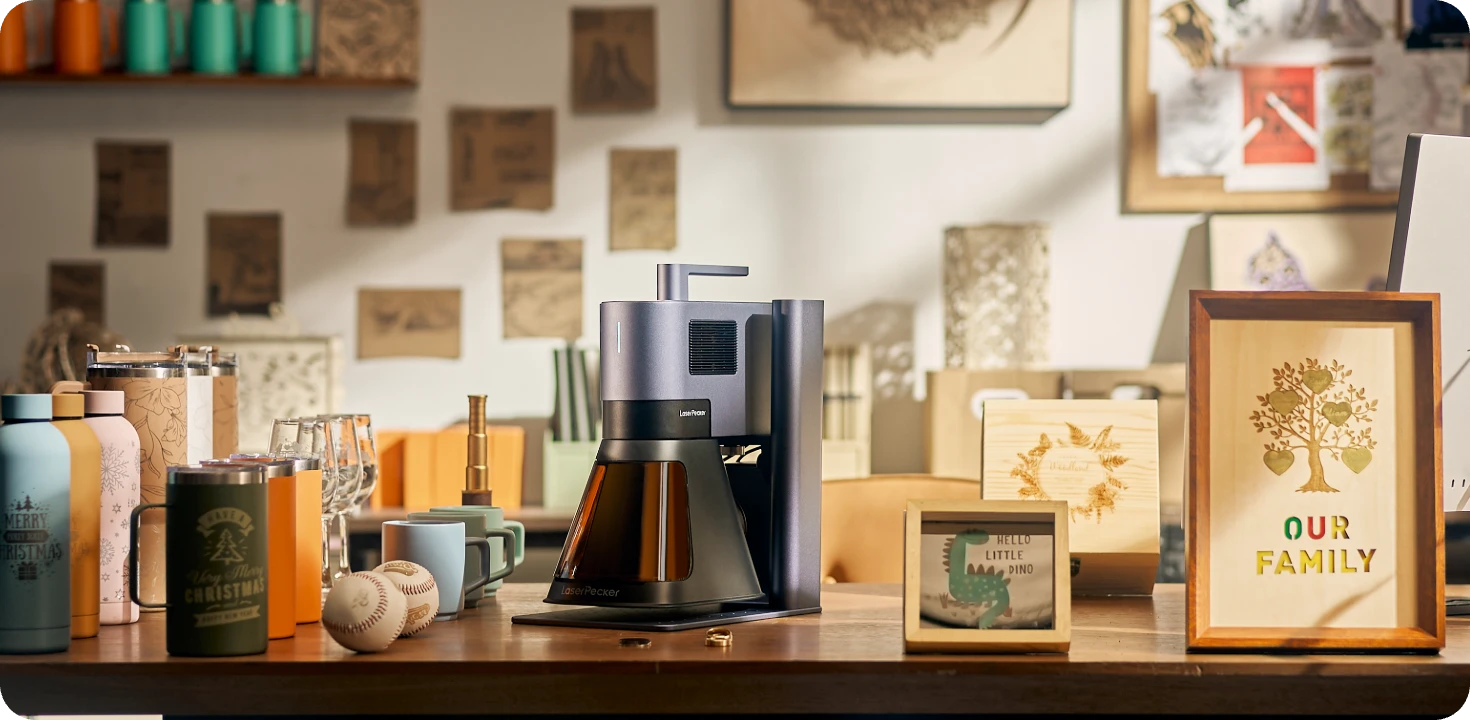
Recommended Laser Engraver for Yeti Cup Engraving: LaserPecker LP5
The LaserPecker LP5 is a powerful dual-laser engraver designed for personalized drinkware projects such as Yeti cups, stainless steel tumblers, insulated mugs, and custom bottles.
-
20W Fiber Laser for Stainless Steel Cups
The 20W fiber laser is optimized for engraving stainless steel Yeti cups, powder-coated tumblers, insulated mugs, and other metal drinkware materials with durable marking results. -
10,000 mm/s High-Speed Engraving
The ultra-fast galvo system allows users to quickly engrave names, logos, patterns, and personalized tumbler designs with efficient workflow. -
Rotary Engraving Support for Curved Tumblers
The LP5 supports rotary accessories, making it easier to engrave cylindrical drinkware surfaces such as Yeti cups, tumblers, mugs, and bottles with accurate positioning. -
High-Precision Engraving for Detailed Designs
The LP5 delivers highly detailed engraving performance suitable for fine graphics, custom branding, small text, and intricate cup artwork.
Steps to Engrave a Yeti Cup with Fiber Laser
Step 1: Create Your Design
Use design software to lay out your text or graphics. Size it according to the curved area of the cup.
Step 2: Prepare the Cup
Clean the surface with alcohol to remove dust and oils. Secure the cup on the rotary attachment.
Step 3: Configure Laser Settings
Choose material settings (power, speed, focus) based on your machine and cup type. Enable rotary mode in your software.
Step 4: Preview and Align
Use the frame or outline preview to ensure the design aligns with the engraving area.
Step 5: Start Engraving
Run the job and monitor for accuracy and safety. Pause if adjustments are needed
Step 6: Post-Engraving Cleanup
Wipe down the cup to remove residue. Optionally polish or apply finishing touches.
Pros and Cons of Engraving Yeti Cups with Fiber Laser
Pros:
Extremely precise and permanent
Works well on powder-coated or bare stainless steel
Great for logos, detailed artwork, and batch production
Cons:
Requires expensive, specialized equipment.
Method 2: Engrave Yeti Cups with a Rotary Tool or Engraving Pen
Using a rotary tool or engraving pen is one of the easiest and most affordable ways to engrave Yeti cups at home. This DIY method is ideal for beginners who want to personalize tumblers without investing in expensive laser equipment.
If you're interested in engraving on Yeti cups for gifts, personal projects, or small custom orders, a handheld engraving tool gives you a simple way to add names, patterns, and custom artwork.
While this method requires a steady hand, it offers full creative control and works well for casual DIY engraving projects.
Required Tools:
- Rotary tool or electric engraving pen
- Yeti cup (ideally stainless steel or powder-coated)
- Clamp, vise, or non-slip mat
- Polishing cloth or fine sandpaper
Steps to Engrave a Yeti Cup with a Rotary Tool
Step 1: Plan Your Design
Draw your design directly onto the cup with a marker, or use a stencil as a guide.
Step 2: Secure the Cup
Place the Yeti in a clamp or on a non-slip mat to keep it steady during engraving.
Step 3: Choose the Right Bit
Attach a fine engraving bit that's suited for metal surfaces.
Step 4: Start Engraving
Hold the tool like a pen and slowly trace your design with light, steady pressure. Don't force the bit—let it glide naturally.
Step 5: Clean and Finish
Wipe down the surface to remove dust and metal particles. Optionally polish the area for a cleaner look.
Pros and Cons of Engraving Yeti Cup with Rotary Tool
Pros:
Affordable and accessible
No software or machine setup needed
Cons:
Requires a steady hand and practice
Less precise than laser or CNC engraving
Time-consuming for complex designs
Can result in inconsistent depth or clarity
Method 3: Engrave Yeti Cups with a Rotary CNC
Using a rotary CNC machine is a professional and highly accurate way to engrave Yeti cups. CNC engraving automates the cutting process, allowing the machine to rotate the tumbler while engraving detailed designs onto the surface.
This method is ideal for businesses, repeat production, and anyone who needs consistent engraving quality across multiple tumblers. Rotary CNC engraving works especially well for logos, custom branding, and detailed artwork on stainless steel and powder-coated Yeti cups.
Although CNC engraving requires more setup and technical knowledge than DIY methods, it delivers precise and repeatable results that are difficult to achieve by hand.
Required Tools:
- Desktop CNC router or mill with a rotary axis (4th axis)
- CAM/CAD software
- Engraving bit (e.g., V-bit or carbide bit for metal)
- Yeti cup (stainless steel, powder-coated)
Steps to Engrave a Yeti Cup with a Rotary CNC
Step 1: Create the Design
Use CAD software to design your text or graphics. Convert the file to a toolpath using CAM software with rotary support.
Step 2: Mount the Yeti Cup
Secure the cup horizontally using the rotary axis. Ensure it's tightly gripped and centered.
Step 3: Install the Engraving Bit
Insert the correct bit and zero it to the surface of the cup. Align the X, Y, and rotary axis (A-axis).
Step 4: Set Material Parameters
Choose the right speed, feed rate, and depth of cut based on the material (e.g., slower speeds for stainless steel).
Step 5: Start the Engraving Job
Run the program and let the CNC machine rotate and engrave the design automatically.
Step 6: Clean and Finish
After engraving, brush off debris and wipe the cup clean. Optional: polish or apply a protective coating
Pros and Cons of Engraving Yeti Cups with a Rotary CNC
Pros:
Very precise and repeatable
Durable and long-lasting engraving
Cons:
High upfront cost for machine and rotary upgrade
Requires knowledge of CAD/CAM software
Setup and alignment can be time-consuming
Method 4: Engrave Yeti Cups via Citristrip and Cricut
If you want a low-cost DIY alternative to laser engraving, using a Cricut machine with Citristrip is one of the most popular methods for customizing powder-coated Yeti cups.
Although this process is not true laser engraving, it creates a similar engraved look by removing the powder coating from the tumbler surface and exposing the stainless steel underneath.
This method is ideal for crafters and beginners wondering how to engrave Yeti with Cricut tools at home without buying expensive engraving equipment.
Required Tools:
- Cricut Maker
- Adhesive vinyl
- Transfer tape
- Citristrip paint remover gel
- Yeti cup (must be powder-coated)
Steps to "Engrave" a Yeti Cup Using Citristrip + Cricut
Step 1: Design Your Stencil
Create or import your design in Cricut Design Space and cut it out on adhesive vinyl.
Step 2: Apply the Stencil to the Cup
Weed the vinyl and use transfer tape to place the stencil onto the cup. Press firmly and seal the edges to prevent leaks.
Step 3: Mask Off the Rest of the Cup
Use painter's tape to protect any exposed areas you don't want affected.
Step 4: Apply Citristrip
Wearing gloves, use a brush or cotton swab to spread a thin layer of Citristrip over the exposed design area.
Step 5: Wait and Remove Coating
Let it sit for 30–60 minutes. Then gently scrape or wipe off the softened powder coating to reveal the metal underneath.
Step 6: Clean Up
Peel off the stencil, clean the cup with water or alcohol, and polish if desired.
Pros and Cons of Engrave Yeti Cup with Cricut
Pros:
Low cost and accessible
Custom designs with just a Cricut
Cons:
Only works on powder-coated surfaces (not bare metal)
Not truly engraved—just a surface coating removal
Conclusion
There are several effective tools to engrave Yeti cups, and the best tools depends on your budget, tools, and customization goals.
For beginners and DIY projects, rotary tools and Cricut methods provide affordable ways to personalize tumblers at home. Rotary CNC engraving offers professional consistency for production work, while laser engraving delivers the cleanest and most precise results overall.
If you're serious about engraving Yeti cups for gifts, business branding, or custom products, laser engraving remains one of the fastest and most professional solutions available.
Whether you're creating a single personalized tumbler or producing custom drinkware at scale, these four engraving methods give you reliable ways to customize Yeti cups with lasting results.