


Engraved mirrors are widely used for home décor, wedding signs, retail displays, personalized gifts, and custom artwork. Depending on the design, engraving can create frosted text, detailed graphics, logos, or decorative patterns on the mirror surface or its reflective backing.
Choosing the right mirror engraving tool is essential because each method offers different levels of precision, speed, safety, and design flexibility. Hand tools are suitable for freehand work, chemical etching creates a uniform frosted finish, and laser engravers provide repeatable digital results.
This guide explains the main types of mirror engraving tools, compares their advantages and limitations, and helps you choose the best method for your project.

In this article:
- Part 1: 3 Types of Mirror Engraving Tools
- Type 1: Hand Engraving Tools
- Type 2: Chemical Etching Tools
- Type 3: Laser Engraving Tools
- Part 2: Why Laser Engraver is the Best Mirror Engraving Tool
- FAQs: Hot Questions about Mirror Engraving Tools
Part 1: 3 Types of Mirror Engraving Tools
The three main options for decorating a mirror are hand engraving, chemical etching, and laser engraving. Each method creates a different finish and requires a different level of skill, preparation, and equipment.
The best choice depends on whether you need a freehand design, a frosted surface, or a precise digital image that can be reproduced across multiple mirrors.
Type 1: Hand Engraving Tools for Mirrors
Common hand-operated mirror engraving tools include engraving pens, rotary tools, diamond-point bits, and small grinding bits. These tools physically scratch or grind the glass surface to create lines, lettering, and decorative patterns.
Because the user guides the tool by hand, the quality of the result depends heavily on control, experience, bit selection, and pressure. A template can improve consistency, but producing clean curves and evenly engraved areas still requires practice.
Hand engraving is best suited to small, one-off projects and freehand artwork. It is less practical for intricate graphics, consistent lettering, or batch production.
Pros
- Suitable for freehand designs and small custom projects
- Low initial equipment cost
- Provides direct control over every engraved line
Cons
- Results depend heavily on the operator's skill
- Difficult to reproduce the same design consistently
- Physical pressure may chip, scratch, or crack the mirror
- Detailed designs can take considerable time
Type 2: Chemical Etching Tools for Mirrors
Chemical etching uses an etching cream formulated for glass to create a permanent frosted or matte finish. The cream reacts with the exposed glass instead of cutting lines into it mechanically.
A stencil or adhesive mask protects the areas that should remain reflective. The mirror etching tool or applicator is then used to spread the cream over the exposed design. After the manufacturer-specified reaction time, the cream is thoroughly removed and the mirror is cleaned.
Chemical etching works well for lettering, borders, and stencil-based designs. However, the final detail is limited by the accuracy of the stencil and the way the cream is applied.
Pros
- Creates an even frosted or matte appearance
- Does not apply mechanical pressure to the glass
- Suitable for stencil-based DIY projects
Cons
- Requires protective equipment, ventilation, and careful chemical handling
- Fine detail depends on the quality of the stencil
- Difficult to create gradients or photographic images
- Errors are permanent and difficult to correct
Type 3: Laser Engraving Tools for Mirrors
A laser mirror engraver uses a focused beam and a digital design file to create text, logos, patterns, and artwork. Depending on the mirror and laser type, the design may be engraved from the front or created by removing the reflective coating from the back.
Back-side engraving is often preferred because it can preserve the smooth front surface while producing a clean design through the glass. However, mirror coatings vary, so the material and settings should always be tested before processing the final piece.
Because the laser follows a digital file, it can reproduce the same design accurately on multiple workpieces. This makes laser engraving suitable for personalized décor, wedding signage, retail displays, branded mirrors, and small-business production.
Pros
- Produces precise text, logos, and complex graphics
- Supports repeatable designs and batch production
- Uses a non-contact process with no cutting pressure
- Allows designs to be edited and resized digitally
- Works for both one-off personalization and commercial projects
Cons
- Requires a higher initial investment than basic hand tools
- Settings must be tested for different glass and backing materials
- Requires suitable ventilation and laser safety measures
Comparison of Mirror Engraving Tools
| Tool Type | Precision | Best For | Safety and Preparation | Batch Production |
|---|---|---|---|---|
| Hand Engraving Tools | Low–Medium | Freehand art and small one-off projects | Requires eye protection and careful pressure control | Low |
| Chemical Etching Tools | Medium | Frosted lettering and stencil designs | Requires PPE, ventilation, masking, and cleanup | Medium |
| Laser Engraving Tools | High | Text, logos, graphics, and repeatable custom designs | Requires testing, ventilation, and laser safety measures | High |
Part 2: Why a Laser Engraver Is the Best Mirror Engraving Tool for Detailed Designs
Reason 1: Precision and Detail
Hand engraving can produce unique artwork, but clean lines and consistent details depend on the operator's control. Chemical etching creates an even frosted finish, although its accuracy is limited by the stencil and application process.
A laser engraver follows a digital file, allowing it to reproduce small text, fine lines, logos, and complex patterns accurately. The design can also be resized or edited without creating a new physical stencil.
Result: Laser engraving is the strongest option when precision, repeatability, and complex graphics are the main priorities.
Reason 2: Speed and Efficiency
Hand engraving requires each line to be created manually, making detailed or repeated projects time-consuming. Chemical etching requires masking, chemical application, reaction time, rinsing, and cleanup.
With laser engraving, most of the preparation takes place in the design software. Once the material has been positioned and tested, the same file can be reused for additional mirrors with minimal changes.
Result: A laser engraver offers an efficient workflow for both personalized one-off pieces and repeat orders.
Reason 3: Non-Contact Processing
A rotary tool or engraving pen applies direct pressure to the glass, increasing the possibility of scratches, chips, or cracks. Chemical etching avoids mechanical force but introduces chemical handling and masking requirements.
Laser engraving is a non-contact process, so no cutting bit presses against the mirror. However, glass can still crack if excessive heat builds up. Correct focus, moderate power, suitable speed, stable support, and preliminary testing remain essential.
Result: Laser engraving eliminates mechanical pressure, but safe results still depend on suitable parameters and careful material testing.
Recommended Mirror Engraving Tools: LaserPecker LP2 Plus and LP4
For creators who want precise and reliable mirror engraving, modern laser engravers offer the best balance of accuracy, speed, and safety. Two popular options are the LaserPecker LP2 Plus and the LaserPecker LP4. Both machines are designed to deliver high-quality engraving results while remaining compact and easy to use.
LaserPecker LP2 Plus is a powerful and portable laser engraver suitable for detailed mirror projects and custom decorations.
- High engraving speed: The LP2 Plus can engrave at speeds of up to 4,000 mm/s, allowing users to complete projects quickly and efficiently.
- 10W diode laser: Its 10W laser module produces clear and precise engravings with strong contrast on many materials.
- High precision detail: A small laser spot enables sharp lines and fine engraving details for logos, text, and artwork.
- Portable design: The compact structure makes it easy to use in workshops, studios, or even portable setups.

LaserPecker LP4 is a more advanced system that combines multiple laser technologies to support a wider range of engraving applications.
- Dual-laser technology: The LP4 integrates a 10W diode laser and a 2W infrared laser, allowing it to work on many materials including glass and coated surfaces.
- High engraving resolution: The machine supports high-resolution engraving for detailed graphics and professional-quality results.
- Versatile material support: It can engrave wood, glass, leather, acrylic, and many other materials, making it useful for mirror engraving and decorative applications.
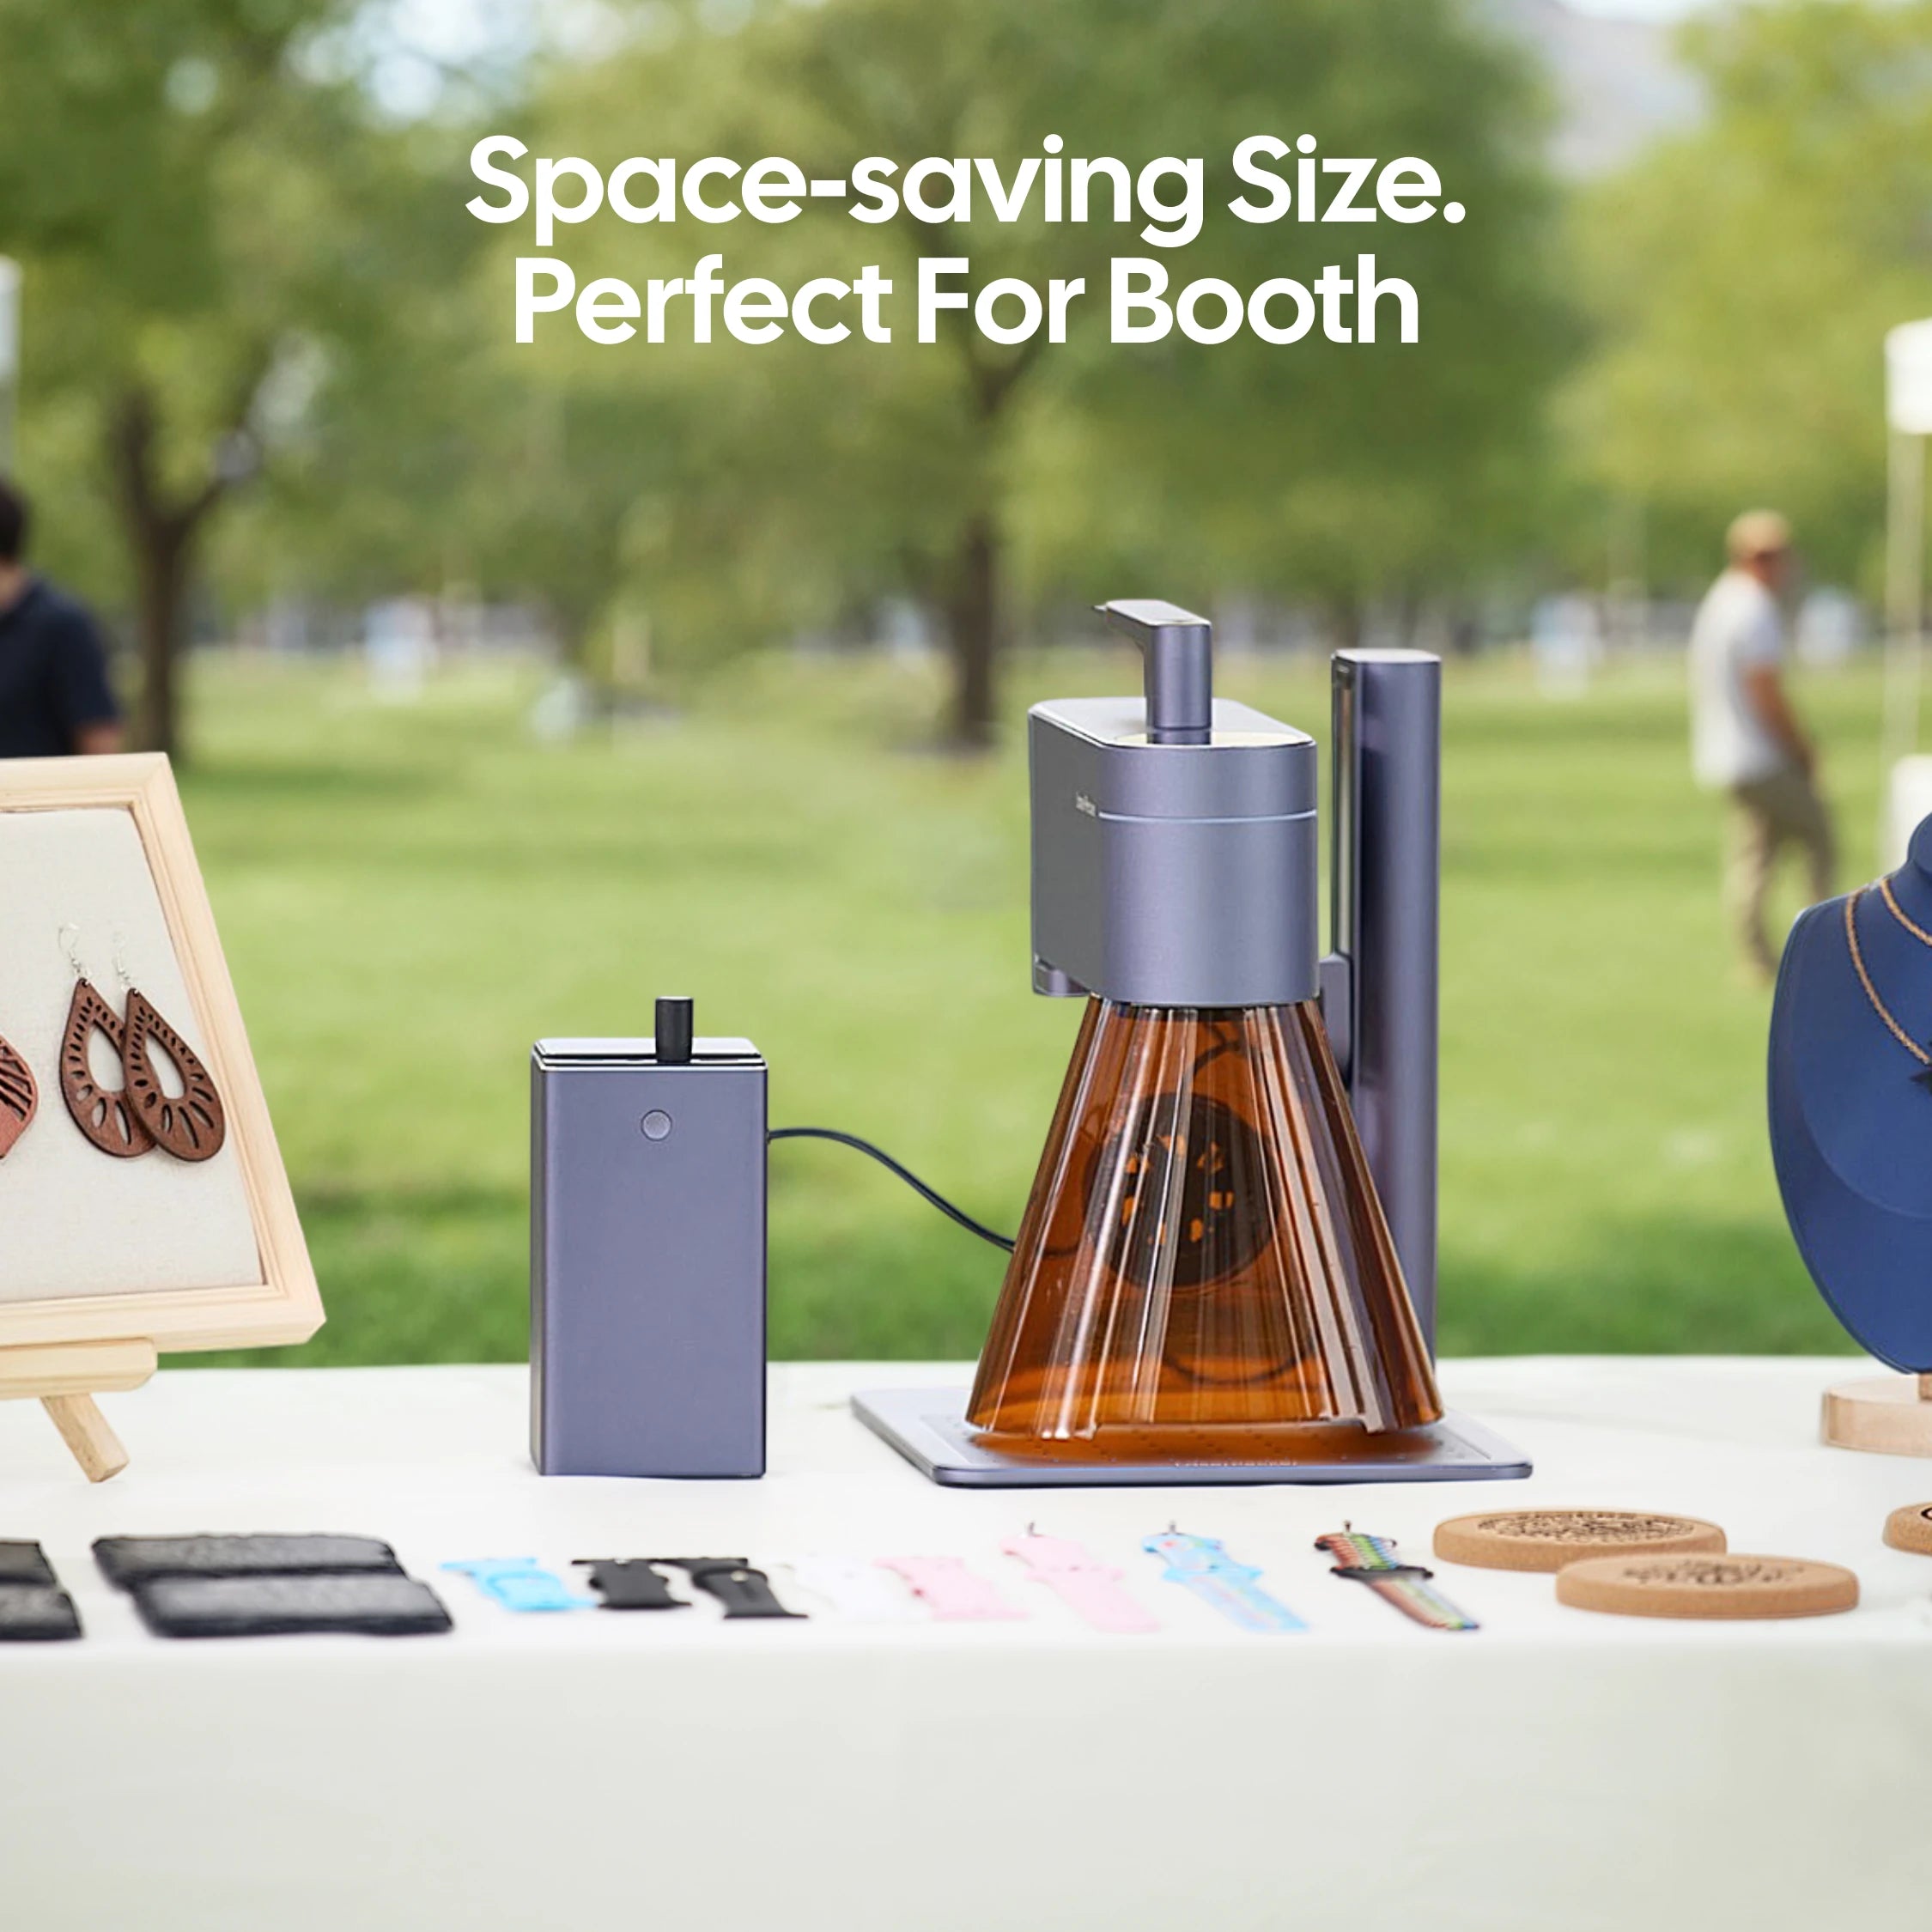
Whether you are creating decorative mirrors, personalized gifts, or custom signage, laser engravers like the LP2 Plus and LP4 provide the precision, speed, and reliability needed for professional mirror engraving.
FAQs: Hot Questions about Mirror Engraving Tools
Q1. What tools can you use to engrave a mirror?
You can engrave a mirror with a rotary tool, engraving pen, diamond-point bit, chemical etching cream and stencil, or a laser engraving machine. Hand tools are suitable for freehand designs, chemical etching creates a frosted finish, and laser engraving offers greater precision and repeatability for digital artwork.
Q2. What is the difference between mirror engraving and mirror etching?
Mirror engraving physically removes or alters material to create a design. It may be performed mechanically with a bit or digitally with a laser. Mirror etching usually refers to a chemical process that reacts with the glass surface to produce a frosted or matte appearance. The terms are sometimes used interchangeably in product descriptions, but the processes are different.
Q3. Can you engrave a mirror with a Dremel or rotary tool?
Yes. A Dremel or similar rotary tool fitted with a fine diamond engraving bit can scratch designs into a mirror. Use light, consistent pressure, keep the mirror fully supported on a flat surface, wear eye protection, and practice on scrap glass first. This method is best for small freehand designs because physical contact can cause uneven lines, chips, or cracks.
Q4. Can a laser engraving machine engrave mirrors?
Yes, but the result depends on the laser type, glass, reflective coating, and engraving direction. Some projects are processed from the front to create a frosted effect, while others are engraved from the back by removing the reflective coating. Always run a material test because mirrors with different coatings may respond differently to the same settings.
Q5. Should you laser engrave the front or back of a mirror?
Back-side engraving is often preferred when the goal is to remove the reflective coating while keeping the front surface smooth. The artwork usually needs to be mirrored in the software so that it reads correctly from the front. Front-side engraving can create a visible frosted texture on the glass, but it may require different preparation and settings. The better option depends on the desired effect and the mirror's construction.
Q6. What type of laser is best for mirror engraving?
There is no single laser that is best for every mirror. CO2 lasers are commonly used to create frosted marks on glass, while some diode laser systems can process darkened glass surfaces or remove compatible backing coatings.
Infrared laser performance depends heavily on the coating material. Choose the laser based on whether you are engraving the glass or removing the backing, and verify compatibility with a test piece.
Q7. How do you prevent a mirror from cracking during engraving?
Place the mirror on a flat, stable support and avoid uneven clamping pressure. For mechanical engraving, use a fine bit and light pressure. For laser engraving, start with conservative power, suitable speed, correct focus, and multiple light passes if necessary. Avoid overheating one area, and always test the settings on a spare piece before engraving the final mirror.
Q8. How do you choose the right mirror engraving tool?
Choose according to the design, finish, production volume, and your experience. A rotary tool is suitable for small freehand projects. Chemical etching works well for simple frosted stencil designs.
A laser engraver is the better choice for precise text, logos, complex graphics, repeat orders, and batch production. Also consider equipment cost, ventilation, safety requirements, working area, and compatibility with the mirror's glass and backing.
Conclusion
The right mirror engraving tool depends on the finish, detail, and production volume your project requires. Hand engraving tools are useful for small freehand designs, while chemical etching is suitable for creating simple frosted patterns with stencils.
For detailed text, logos, complex artwork, and repeatable production, a mirror laser engraver offers the greatest precision and design flexibility. Regardless of the method you choose, test the mirror first, use suitable protective equipment, and follow the safety instructions for the tool or chemical product.


