


Clothing laser engraving is changing the way people customize apparel. Whether you're creating one-of-a-kind fashion pieces, adding logos to workwear, or personalizing denim and leather, a laser engraver for clothes offers a precise, permanent, and professional alternative to embroidery and printing.
In this guide, you'll learn how clothing laser engraving works, how to choose the best laser engraving machine for clothes, recommended settings for different fabrics, essential safety tips, and a simple step-by-step process to help you get started.

In this article:
- Part 1: The Overview of Clothing Laser Engraving
- 1.1 What is Clothing Laser Engraving
- 1.2 How Does Laser Engraving Work on Clothing
- 1.3 What Engraving Machine Works Best for Clothing Engraving
- 1.4 Safety Precautions Before Engraving Clothing
- Part 2: Why Use Laser Engraving for Clothing
- Case Study: How to Laser Engrave Clothing in 5 Steps💡
Part 1: The Overview of Clothing Laser Engraving
1.1 What is Clothing Laser Engraving?
Clothing laser engraving is a customization process that uses a precision laser to create permanent designs, patterns, logos, or text directly on fabric. Unlike embroidery or screen printing, laser engraving on clothes doesn't require ink, thread, or physical contact. Instead, the laser precisely alters the surface of the material to produce detailed, long-lasting designs.
This technique is widely used on denim, cotton, leather, canvas, and other compatible fabrics for fashion, sportswear, personalized gifts, and branded apparel. The result is a clean, professional finish that won't peel or crack over time.

1.2 How Does Laser Engraving Work on Clothing?
Laser engraving works by directing a focused laser beam onto the fabric's surface. Depending on the material, the laser either lightens the fibers, removes a thin surface layer, or creates a textured effect without requiring direct contact.
For example, denim develops a faded, vintage appearance, while leather produces sharp, high-contrast engravings. By adjusting the laser's power, speed, and focus, you can create everything from subtle decorative patterns to bold custom artwork.

1.3 What Engraving Machine Works Best for Clothing Engraving?
The most commonly used machines for clothing engraving are diode laser engravers, since they work well with organic materials like cotton, denim, and leather.
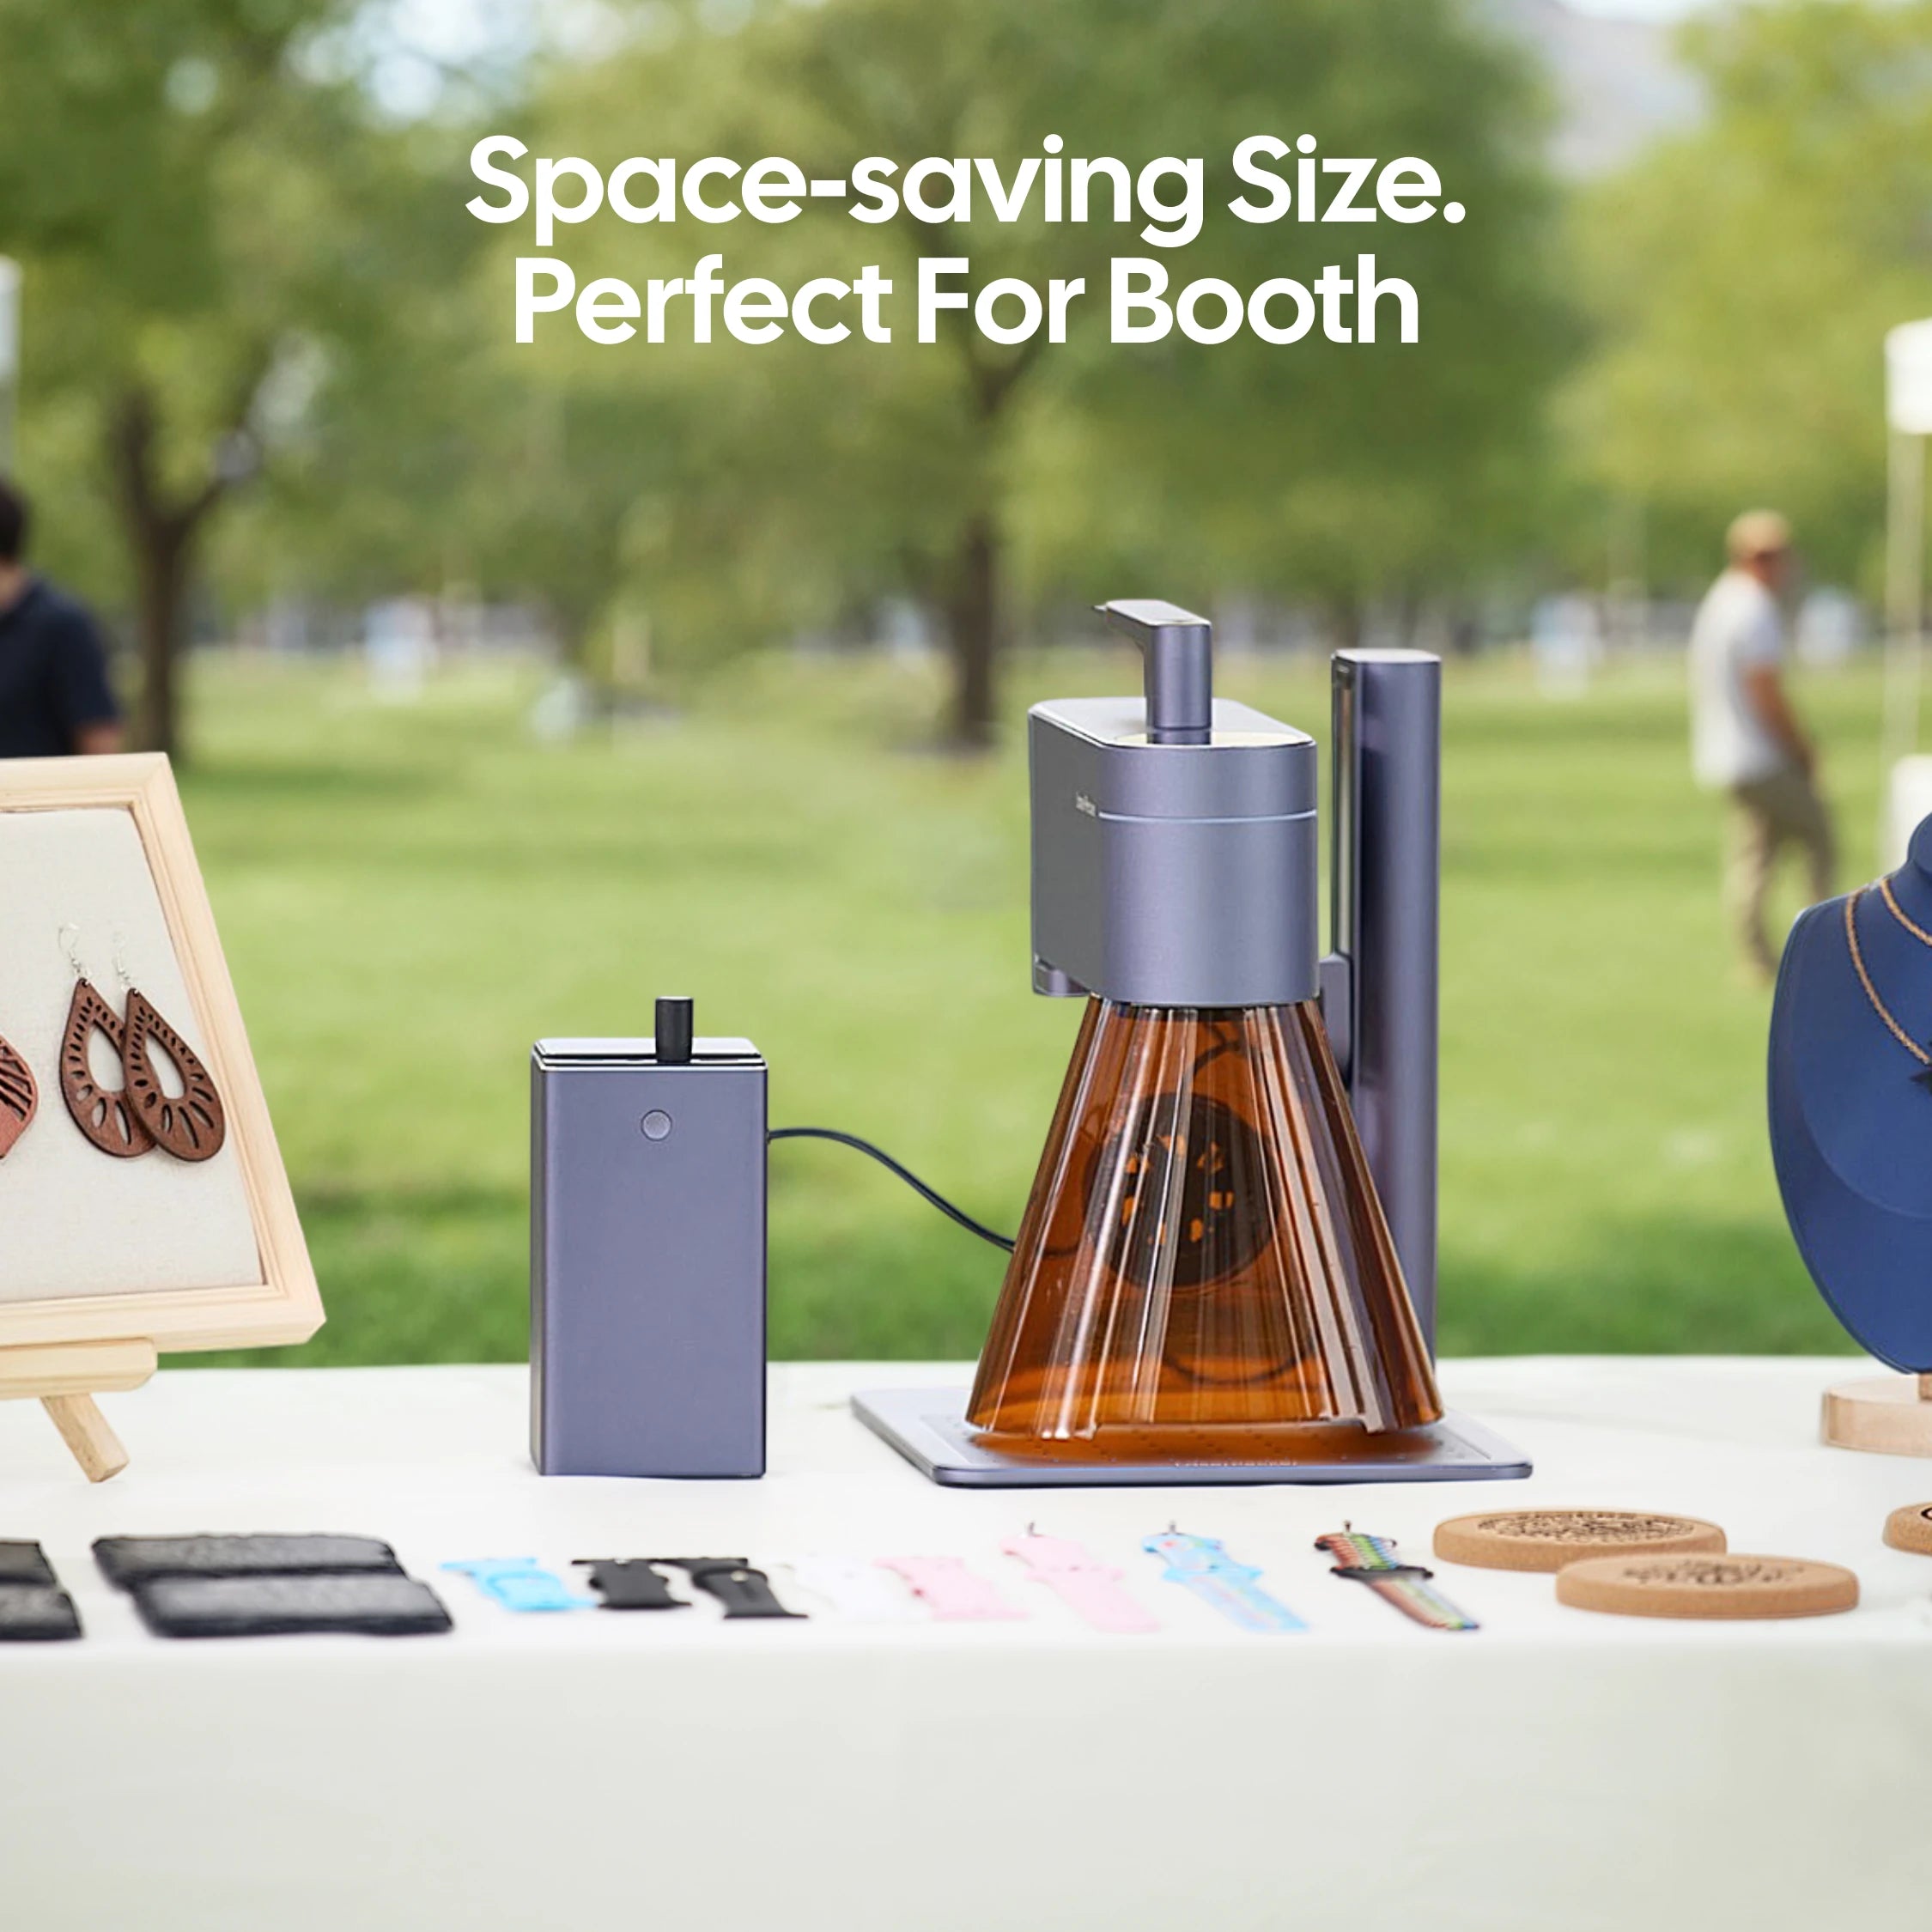
For home or small-scale cloth laser engraving project, cloth laser engraving machines like LP5, LP4 or even LaserPecker LX2 (for batch production and large projects) are the good choice.
Recommended Portable Laser Engraver for Clothing Engraving: LaserPecker LP4
The LaserPecker LP4 is a compact dual-laser engraver designed for customizing clothing, denim, canvas, hats, leather accessories, and other fashion items with permanent, high-quality designs.
-
10W Diode Laser for Fabric Engraving
The 10W diode laser can engrave directly on suitable fabrics such as denim, canvas, and cotton, creating permanent designs without inks or vinyl. -
4,000 mm/s High-Speed Engraving
The high-speed galvo system quickly engraves names, logos, artwork, and decorative patterns, making it ideal for personalized clothing and small-batch production. -
Slide Extension for Large Garment Engraving
When paired with the Slide Extension, the LP4 can engrave across a much larger working area, making it easy to personalize T-shirts, hoodies, jackets, tote bags, and other large fabric items with oversized graphics and full-size designs. -
Portable Design for Large Garments
The open-frame design makes it easy to engrave directly on T-shirts, hoodies, jackets, tote bags, and other large garments that may not fit inside enclosed laser machines.
1.4 Safety Precautions Before Engraving Clothing
Safety is essential when working with lasers and fabrics.
- Proper Ventilation: Always ensure proper ventilation, as some fabrics (especially synthetics) can release fumes when engraved.
- Material Check: Test a small sample of the fabric first—some materials may discolor or burn unexpectedly.
- Fire Safety: Keep a fire extinguisher nearby, as fabrics are flammable if exposed to too much heat.
Part 2: Why Use Laser Engraving for Clothing?
Laser engraving has become a go-to method in the fashion and apparel industry because it combines creativity, efficiency, and durability. Unlike traditional decoration methods, it offers unique advantages that make it stand out.
① Precision and Detail
Laser engraving allows for extremely fine details that are hard to achieve with embroidery or printing. From intricate logos to delicate patterns, the laser can reproduce sharp lines and textures with consistent quality.
② Durability
Because the design is engraved directly into the fabric’s surface, it doesn’t peel, crack, or fade like screen printing or heat transfers might. This makes it ideal for clothing that will be washed and worn frequently, such as sportswear, denim, or uniforms.

③ Versatility Across Materials
Lasers can be used on a wide range of fabrics—denim, cotton, polyester, leather, and even blends. Designers can achieve different effects depending on the fabric, such as faded textures on jeans or crisp engravings on leather jackets.
④ Speed and Efficiency
Once a design is uploaded to the machine, engraving is fast and repeatable. This makes it suitable for both one-off custom pieces and bulk production runs without sacrificing quality.
Case Study: How to Laser Engrave Clothing in 5 Steps💡
Preparation checklist for laser engraving clothing:
- Engraving Material: Clothing
- Engraving Machine: Diode Laser Engraver
- Engraving Design: Name, Logo, Images, Patterns, etc.
Can you engrave clothing? Yes! The process is straightforward. So, How long does it take to engrave clothing? Don't worry, just follow these 5 simple steps to get your laser engraved clothing in a few minutes!
Step 1: Prepare Your Design
Start with the artwork, logo, or text you want to engrave. Use vector files (like SVG or AI) for the cleanest results, though most engraving software also supports images and text. Keep in mind that fine lines and high-contrast designs work best on anodized aluminum.
Step 2: Choose the Right Laser Engraver
Here, we recommend LaserPecker 4 (LP4), which comes with a 10W 450nm diode laser, 2W 1064nm IR laser and a speed of up to 4,000 mm/s, delivering excellent performance for clothing engraving.
Step 3: Secure the Clothing
Place the clothing item flat on the engraving bed, ensuring there are no wrinkles. Use weights, tape, or clamps if needed to prevent movement. A stable, flat surface is crucial for consistent engraving depth and precision.
Step 4: Configure the Engraving Settings
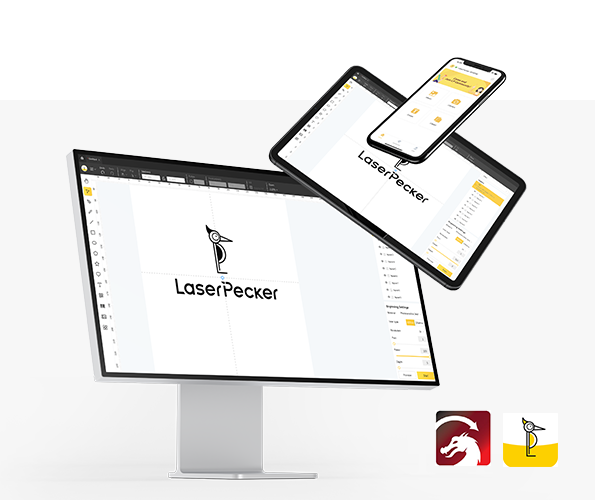
Use a LaserPecker graphic design app/software or third-party graphic design tools like photoshop to create or import the shape or design you want to engrave on the clothing's surface. Consider size, shape, and other details.
*You can also visit LaserPecker CraftZone for inspiration or to purchase files online.
Now, it's time to set the laser engraving machine parameters.
Firstly, Make sure your engraver is powered on, and then connect your laser engraver to your computer or mobile device using the appropriate interface (WiFi, USB, Bluetooth, etc.)
Secondly, Open the LaserPecker Design Space and load your design. (formats like JPG/PNG/G-Code/SVG etc are all acceptable)
Thirdly, place the items in the designated working area, turn on Preview Mode, and make sure the laser is properly focused.
Fourthly, check if your design fits properly on the clothing surface. If not, adjust its size and position to match the material's dimensions.

Finally, Access the software's laser settings to adjust parameters like power, speed, and resolution according to the clothing's properties and design intricacy. You might be wondering, "How much laser power is needed to engrave clothing?" Rest assured, I've got you covered!
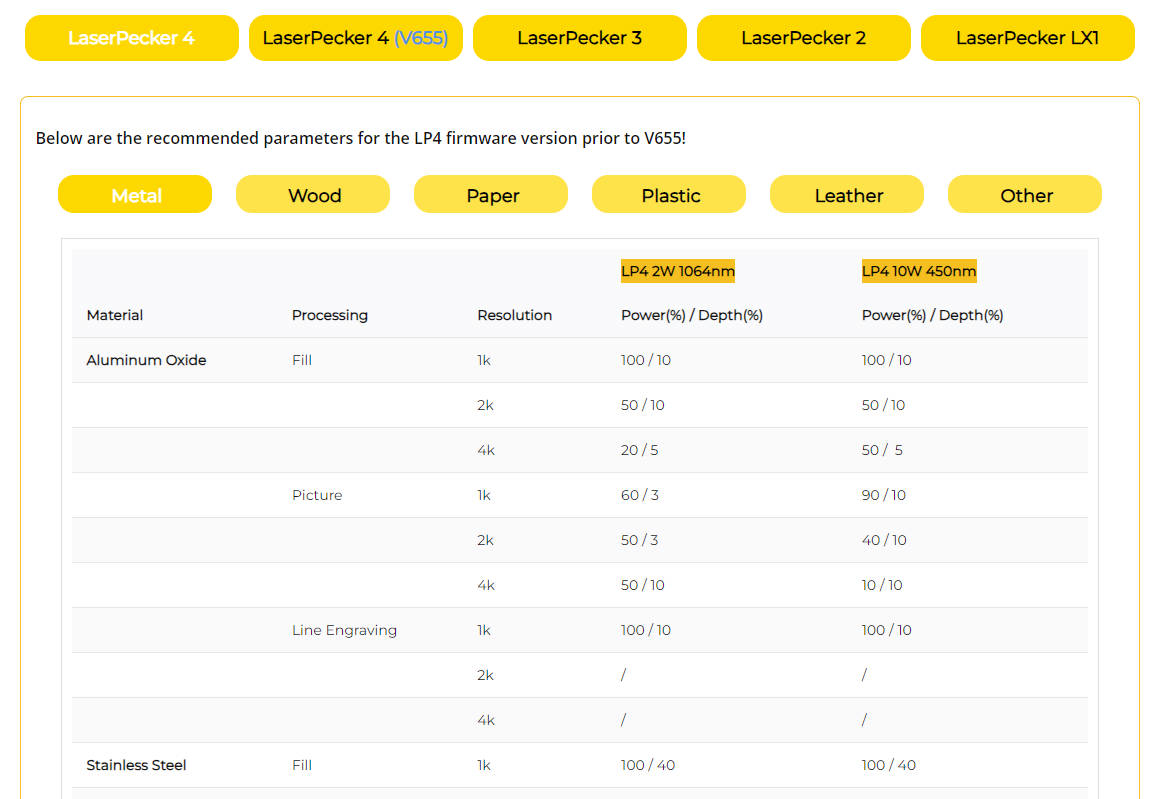
For the best results, we recommend the following LaserPecker LP4 settings for clothing laser engraving:
- Laser: 10W 450 nm Diode Laser
- Resolution: 4K
- Power: 40%
- Depth: 40%
- Passes: 1
When operating a laser engraving machine, it's advisable to wear goggles or use a laser protection cover to protect your eyes and body from potential harm, as the laser can pose risks.
Additionally, please be mindful that smoke or toxic gases may be emitted during the laser engraving process. Wearing a mask or employing an air purifier is essential for safety.
To explore other recommended laserpecker engraving and cutting parameters, refer to the settings table that applies to any laserpecker machines, including LP1, LP2, LP3, LP4 and LP5.
Step 5: Start Engraving
Review the design one final time, then begin engraving. Monitor the process until it is complete. After engraving, remove any loose fibers with a soft brush or cloth and inspect the finished design. For denim or leather, gently wiping the surface can further enhance the engraved effect.
Conclusion
Laser engraving offers a new level of personalization for clothing, blending precision, durability, and creativity into one process. Whether you’re a beginner experimenting with custom T-shirts at home or a small business owner seeking a unique branding tool, this method provides professional-quality results with minimal effort.
By understanding the process, choosing the right machine, and following best practices, you can transform ordinary garments into statement pieces that stand out. With clothing laser engraving, the possibilities for fashion, design, and personal expression are nearly limitless.
Clothing laser engraving offers a precise, durable, and creative way to personalize apparel without using ink, thread, or heat-transfer materials. From custom fashion pieces and branded workwear to personalized gifts, laser engraving produces professional results across a wide range of fabrics.
By choosing the right laser engraving machine for clothes, testing your settings, and following proper safety practices, you can confidently create high-quality engraved clothing for personal projects or commercial production.
Whether you're just getting started or expanding your customization business, a reliable laser engraver for clothe opens the door to endless creative possibilities.