


Whether it's a cherished acoustic guitar, a stage-ready electric model, or a custom-built instrument, adding engraved artwork can make it feel uniquely personal.
Many guitar owners choose laser engraving to add names, logos, meaningful quotes, intricate patterns, or custom artwork without relying on stickers or paint that may wear over time.
In this guide, you'll learn which guitar parts can be engraved, how to choose the right laser engraver, and how to create clean, professional results safely.

In this article:
- Part 1: The Overview of Laser Engraving Guitar
- Part 2: Why Use Laser for Guitar Engraving?
- Part 3: What Guitar Parts and Materials Can Be Laser Engraved?
- Case Study: How to Laser Engrave a Custom Wooden Guitar with a Matching Metal Logo in 5 Steps
- Part 4: Safety & Tips for Guitar Laser Engraving
- FAQs: Hot Questions about Laser Engraving Guitar
Part 1: The Overview of Laser Engraving Guitar
1.1 What Is Guitar Laser Engraving?
Guitar laser engraving is the process of using a focused laser beam to permanently mark or engrave designs onto selected guitar surfaces. Unlike decals or printed graphics, laser engraving removes or alters a very thin layer of material, producing detailed artwork that becomes part of the surface itself.

Source: LaserPecker Facebook Group
Common engraving projects include player names, signatures, logos, decorative artwork, geometric patterns, serial numbers, and commemorative text. Depending on the guitar's construction, engraving may be applied to wooden bodies, headstocks, pickguards, or certain metal hardware, allowing users to create both personal keepsakes and commercial custom products.

1.2 How Does Laser Engraving Work on a Guitar?
Laser engraving works by directing concentrated laser energy onto the material's surface according to a digital design. The laser follows the artwork with extremely fine movements, vaporizing or modifying a thin layer without making physical contact with the guitar.
Different materials respond differently to laser energy. Natural wood typically produces engraved areas with darker contrast, while coated or anodized metal develops crisp, high-contrast markings. Because the process is digitally controlled, users can reproduce detailed graphics, fine lettering, and complex artwork with consistent accuracy across multiple projects.
Part 2: Why Use Laser for Guitar Engraving?
Laser engraving is a precise and flexible way to customize guitars for personal projects, gifts, or small-batch orders. Digital designs can be easily adjusted and reproduced with consistent results.
Reason 1: Create Personalized Designs
Add names, logos, messages, patterns, or custom artwork to create a unique guitar design.
Reason 2: Produce Fine Details
The non-contact laser process can produce clean lines, small text, and intricate graphics without putting physical pressure on the guitar.
Reason 3: Engrave Different Materials
Depending on the laser type, compatible materials may include wood, acrylic, anodized aluminum, stainless steel, and brass. Always test the settings on a similar material first.
Reason 4: Support One-Off and Repeat Projects
Digital files make it easy to create a single personalized guitar or reproduce the same design consistently across multiple instruments.
Part 3: What Guitar Parts and Materials Can Be Laser Engraved?
Not every part of a guitar responds to laser engraving in the same way. The material, surface finish, and location all influence the final appearance of the engraving. Some areas provide strong contrast and excellent detail, while others require additional testing or more conservative settings to avoid damaging coatings or decorative finishes.
Understanding which guitar components are suitable for engraving can help users choose the best location for names, logos, artwork, or personalized messages. Below are some of the most common guitar parts that can be customized with laser engraving.
Wooden Guitar Bodies
Wooden guitar bodies are among the most popular surfaces for laser engraving. Many electric guitars and some acoustic guitars feature wood species such as maple, mahogany, ash, alder, or basswood, all of which can produce attractive engraved results when properly configured.
Laser engraving can be used to add artwork across the front or back of the body, create decorative borders, engrave custom logos, or personalize the instrument with names and text. Unfinished wood typically produces stronger contrast, while finished wood may require more careful testing to determine how the coating reacts to the laser. For large artwork, users often choose areas that won't interfere with playing comfort or hardware installation.
Headstocks
The headstock is one of the most common locations for guitar customization because it offers high visibility without affecting the instrument's playing surface. Many builders engrave custom logos, brand names, initials, serial numbers, or decorative graphics in this area.
Since headstocks are typically made from hardwood and provide a relatively flat surface, they are often easier to engrave than larger curved body sections. However, users should pay attention to existing finishes, veneers, and manufacturer markings before engraving to avoid altering important details.

Pickguards
Pickguards provide another excellent surface for laser engraving, especially for electric guitars. Depending on the material, users can engrave custom artwork, logos, signatures, geometric patterns, or decorative textures that add visual interest without modifying the wooden body itself.
Many pickguards are made from plastic, acrylic, laminated materials, or anodized aluminum. Because engraving behavior varies significantly between materials, performing a small test before the final engraving is highly recommended. Removable pickguards also offer the advantage of being easier to position during the engraving process.
Metal Components
Certain guitar hardware components can also be laser engraved. Common examples include bridge plates, control plates, neck plates, tremolo covers, tuning machine housings, guitar picker, and decorative metal accessories.
For these applications, a fiber laser is generally more suitable because it can create clear, durable markings on metals such as stainless steel, brass, aluminum, and titanium.
What Laser Engraving Machine Is Best for Guitar Customization?
#1 Recommended - Desktop Large Laser Engraver
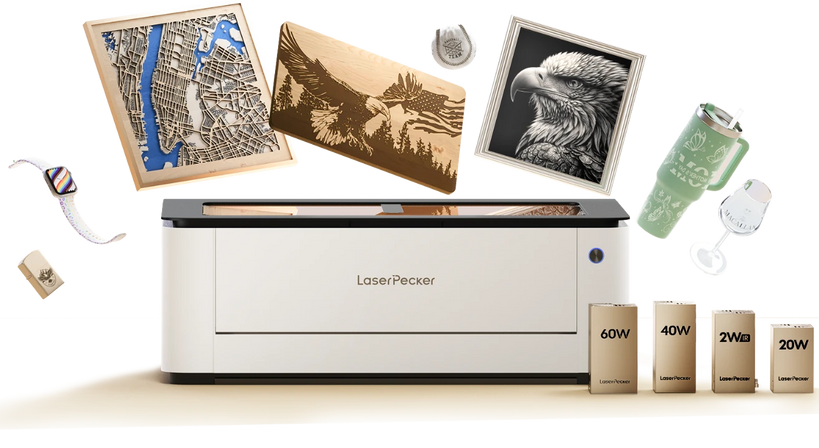
The LaserPecker LX2 is a desktop laser engraver suitable for adding names, logos, patterns, quotes, and custom artwork to wooden guitar bodies, necks, headstocks, and other compatible components.
Its large workspace, camera-assisted positioning, and adaptive autofocus make it easier to align designs accurately on different guitar parts and maintain consistent detail across flat or slightly uneven surfaces.
-
20W, 40W, or 60W Blue Diode Laser Options
The blue diode modules support engraving on common guitar woods, allowing users to create permanent lettering, decorative patterns, logos, and detailed artwork. -
500 × 305 mm Working Area
The spacious workspace accommodates larger guitar components and provides more room for positioning artwork across bodies, necks, pickguards, and separate wooden parts. -
12MP/6K Overhead Camera with Point-to-Shape™
The high-resolution camera previews the guitar component, while Point-to-Shape™ helps align designs with body contours, sound holes, hardware positions, and other reference points. -
3D Surface Adaptive Autofocus
Adaptive focusing helps maintain an appropriate focal distance when engraving slightly curved or uneven guitar surfaces, improving consistency across the design.
#2 Recommended - Handheld Laser Engraver
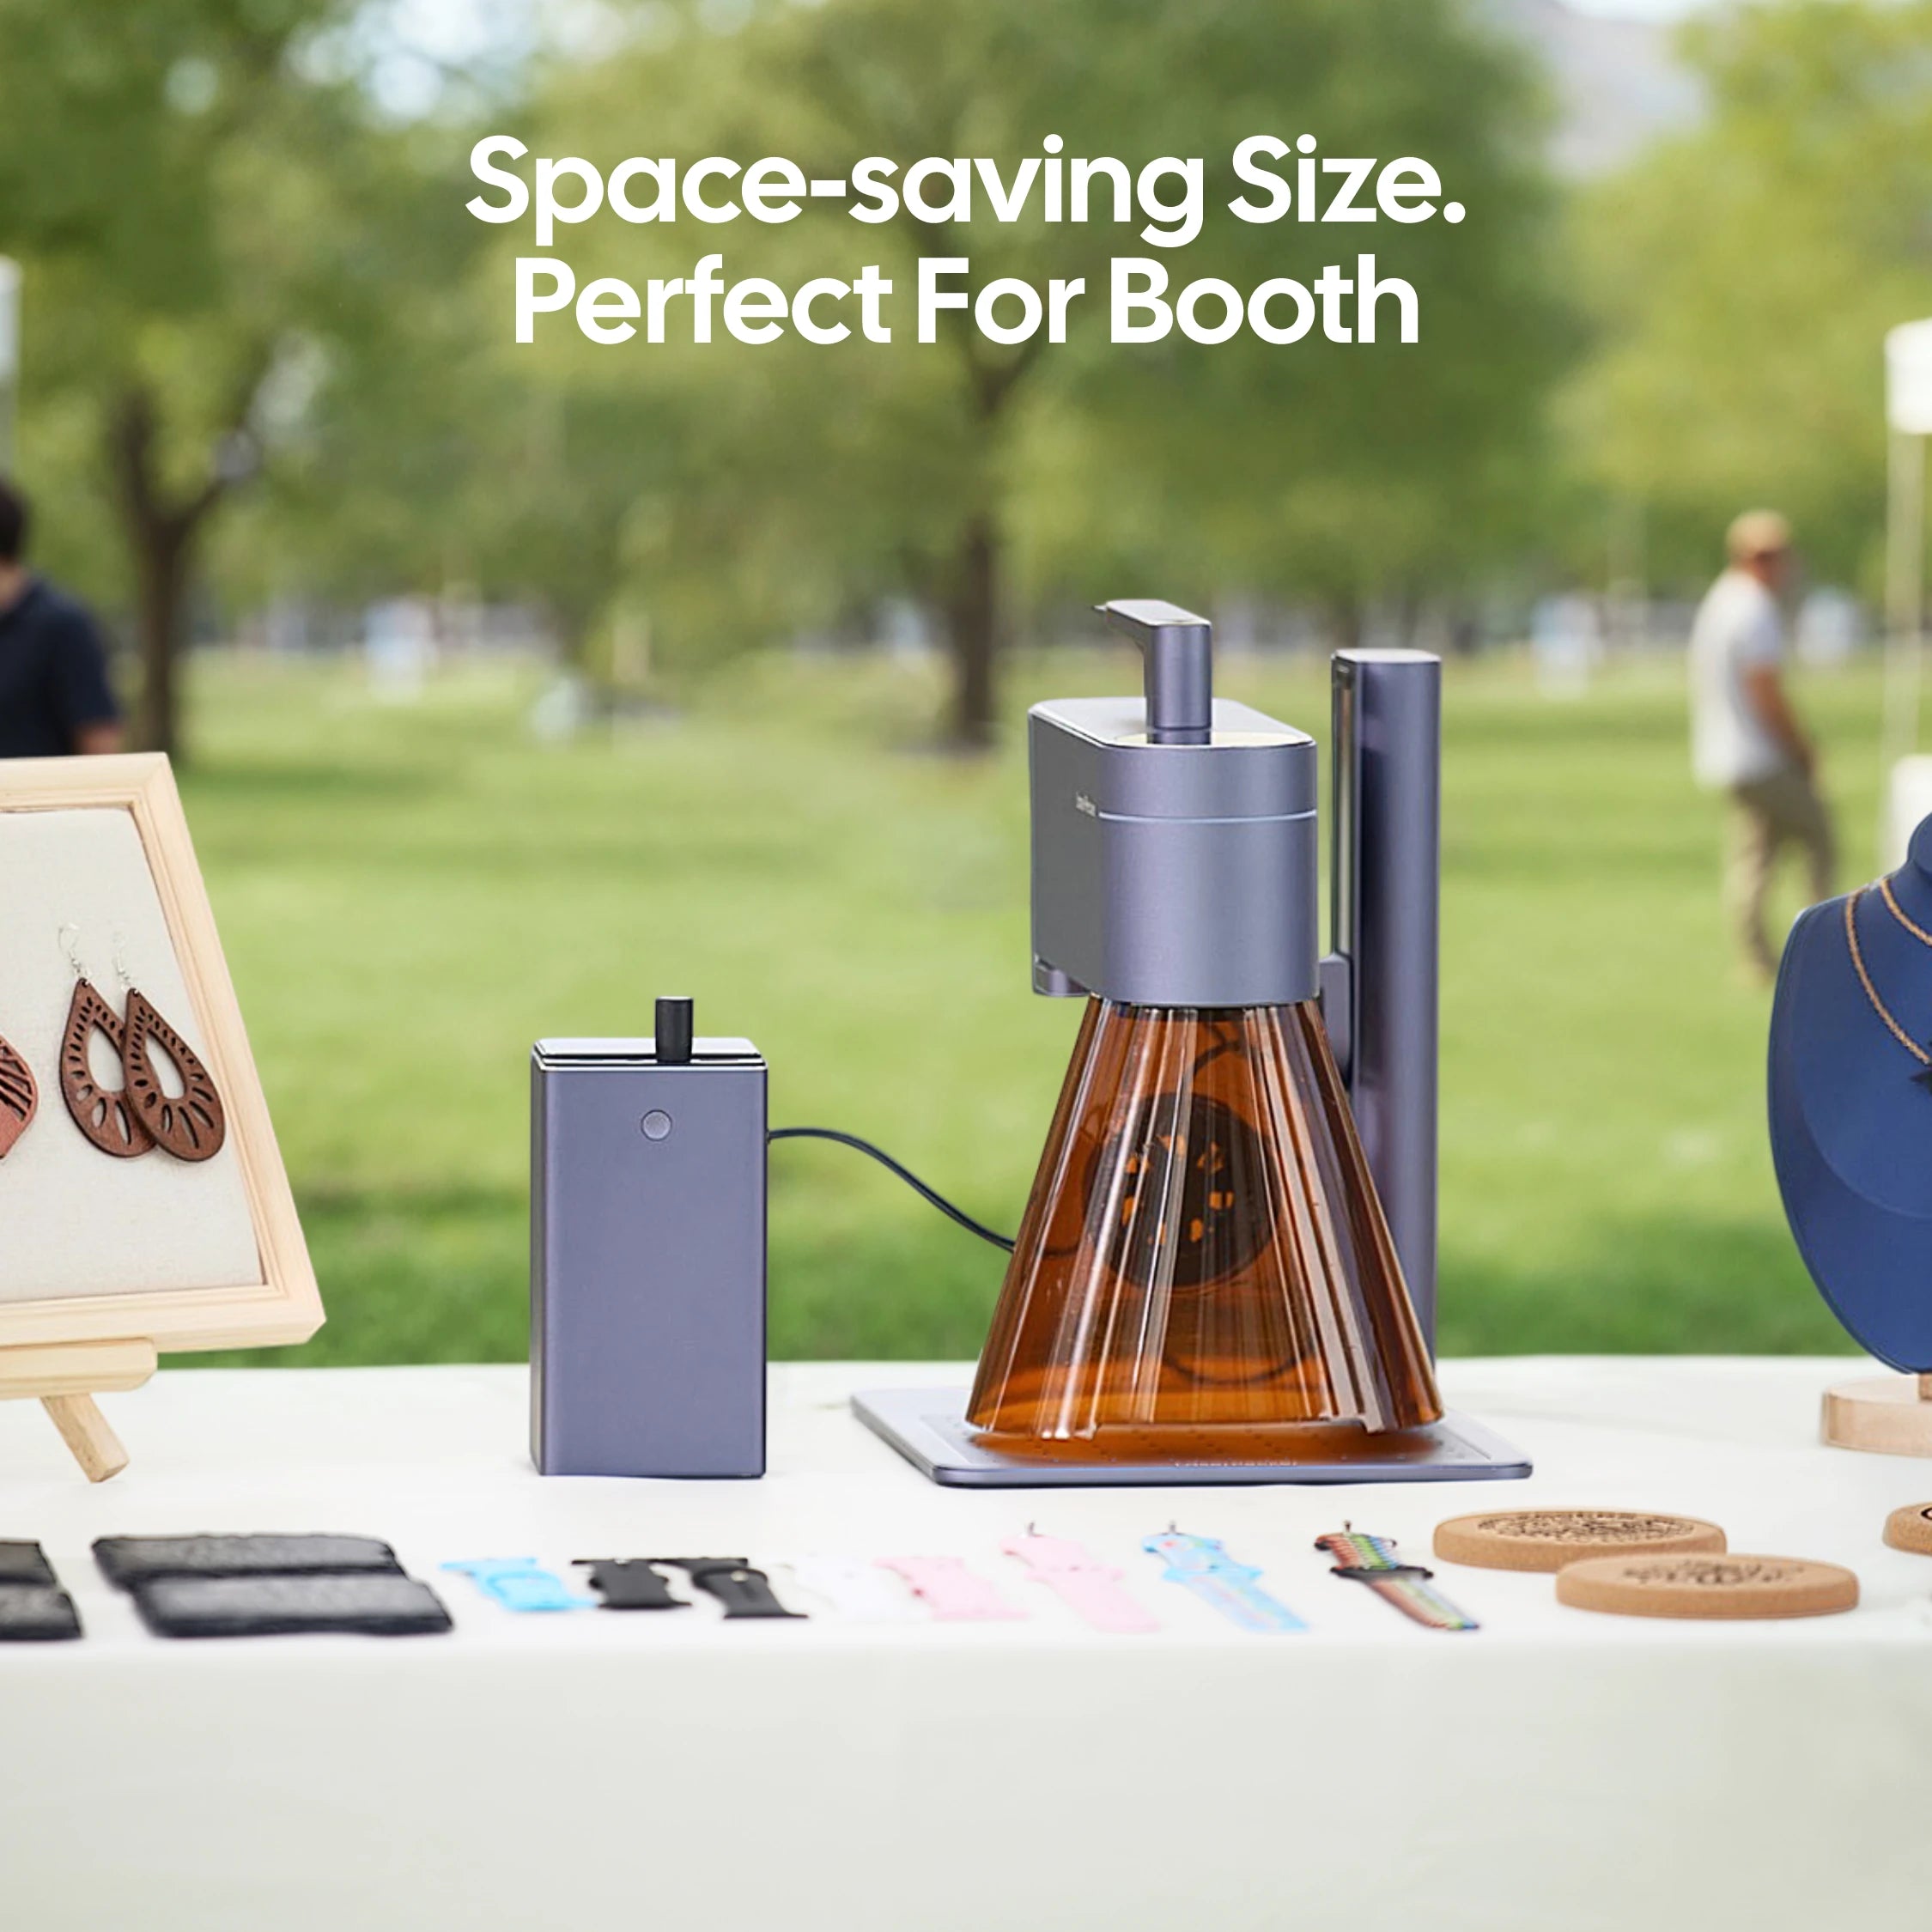
The LaserPecker LP4 is suitable for adding names, logos, quotes, patterns, and custom artwork to compatible wooden guitar bodies, necks, headstocks, pickguards, and hardware.
Its dual-laser system supports both organic and engineered materials, making it useful for guitars that combine wood with plastic, anodized aluminum, or coated metal components. Always test the settings on a similar material and confirm that the surface coating is safe for laser engraving.
-
10W 450 nm Diode Laser for Wood Engraving
The blue diode laser creates permanent names, logos, decorative patterns, and detailed artwork on compatible wooden guitar bodies, necks, and headstocks. -
2W 1064 nm Infrared Laser for Additional Guitar Materials
The infrared laser supports marking on compatible plastic, anodized aluminum, and coated metal parts, providing more options for customizing pickguards and hardware. -
Slide Extension for Longer Guitar Components
The Slide Extension expands the available engraving area, making it easier to position longer designs on detached guitar necks, unfinished body panels, and other flat components. -
Engraving Speed of Up to 4,000 mm/s
Fast, digitally controlled engraving helps reproduce fine lettering, signatures, logos, and artwork efficiently across one-off projects or repeated custom orders.
Case Study: How to Laser Engrave a Custom Wooden Guitar with a Matching Metal Logo in 5 Steps
To demonstrate the complete guitar engraving workflow, let's customize an unfinished maple electric guitar with a personalized design. In this case study, we'll engrave a mountain landscape and the owner's name on the back of the wooden guitar body, then add the same logo to a stainless steel neck plate for a coordinated finish.
For this project, we use the LaserPecker LP4, allowing both the wooden guitar body and the metal neck plate to be engraved with a single machine. The following workflow can also be adapted for custom shop guitars, personalized gifts, or small-batch production.
Preparation Checklist for Guitar Laser Engraving
Before starting, gather everything needed to keep the engraving process smooth and consistent.
Preparation checklist:
- The guitar or guitar component to be engraved
- A laser engraving machine suitable for the material
- Vector artwork or a high-resolution image
- LaserPecker Design Space
- Measuring tools for positioning
- Low-tack masking tape (optional for surface protection)
- Lens cleaning supplies
If the guitar contains removable parts such as a pickguard or neck plate, consider engraving them separately. This often makes positioning easier and helps protect the rest of the instrument.
Step 1: Choose the Guitar Area to Engrave
Begin by deciding exactly where the design will be placed. For this example, the mountain landscape will be engraved across the upper back of the guitar body, while the owner's name will be positioned beneath it. The stainless steel neck plate will receive a small matching logo to create a coordinated appearance.
Measure the available space carefully and confirm that the artwork won't overlap screw holes, hardware locations, or curved edges. If possible, create a paper template or use your software's framing function to preview the engraving area before starting.
Step 2: Set Up the LaserPecker LP5 and Prepare the Workpieces
Secure the unfinished maple guitar body on the work surface and remove the stainless steel neck plate so it can be engraved separately. Import both design files into LaserPecker Design Space or LightBurn, then verify their size and placement using the framing function before engraving.
Because the guitar body and neck plate are made from different materials, prepare separate engraving settings for each part before starting the project.
Step 3: Create and Prepare Your Design
For this project, the mountain illustration is converted into grayscale to create a natural wood texture after engraving, while the owner's name, "Jackson", is added beneath the artwork using a clean serif font. A simplified version of the mountain logo is prepared separately for the stainless steel neck plate to give both components a consistent visual style.
Step 4: Position the Guitar and Configure Laser Settings
Engrave the unfinished maple guitar body first, confirming the framing before starting the full design. After completing the wood engraving, replace the workpiece with the stainless steel neck plate and load the corresponding engraving settings. Running a small test on scrap material beforehand helps ensure both components achieve the desired contrast and detail.
Step 5: Start Engraving and Inspect the Finished Design
After both engraving operations are complete, gently clean the guitar body and neck plate with a soft microfiber cloth to remove any dust or residue. Reinstall the engraved neck plate onto the guitar and inspect the finished design. The completed instrument now features a personalized mountain landscape, the owner's name, and a matching engraved logo on the metal hardware, creating a cohesive custom appearance.
Part 4: Safety & Tips for Guitar Laser Engraving
Proper testing, positioning, settings, and ventilation help protect the guitar and improve engraving quality.
1. Test on Similar Material First
Test the design on a similar material before engraving the guitar. Adjust the power, speed, and engraving depth based on the results.
2. Protect Finished and Gloss-Coated Surfaces
Finishes and coatings may discolor or burn. Test on a matching sample or hidden area, and engrave removable parts separately when possible.
3. Secure the Guitar Properly
Use suitable supports to keep the engraving area stable and level. Preview or frame the design before starting to confirm its position.
4. Start with Conservative Laser Settings
Begin with lower power and adjust gradually. Controlled settings can produce cleaner edges and preserve fine details.
Always maintain proper ventilation. When using the LaserPecker LP4 indoors, the LaserPecker Desktop Smoke Purifier can help filter smoke, odors, and fine particles.
FAQs: Hot Questions about Laser Engraving Guitar
Q1. Can you laser engrave a guitar?
Yes. You can engrave compatible wooden bodies, headstocks, pickguards, and metal parts. Always check the material and finish before engraving.
Q2. Will laser engraving affect a guitar's sound quality?
Light surface engraving usually does not affect sound quality. Avoid deep engraving or removing material from important structural areas.
Q3. What type of guitar is best for laser engraving?
Guitars with flat, unfinished wooden surfaces are generally the easiest to engrave. Removable pickguards and metal parts are also suitable when paired with the correct laser.
Q4. Can you engrave a finished guitar body?
Yes, but finishes can discolor or burn. Test conservative settings on a similar coated material before engraving the guitar.
Q5. What designs work best for guitar engraving?
Names, signatures, logos, patterns, and clear illustrations work well. Use a clean, high-resolution file and size the design for the available area.
Q6. Is laser engraving permanent on a guitar?
Yes. Laser engraving modifies the surface, so it is more durable than stickers or printed graphics.
Q7. Can beginners laser engrave guitars?
Yes. Beginners should start with simple designs, practice on similar materials, and follow the machine's safety instructions.
Q8. What is the best laser engraver for guitar customization?
A diode laser is suitable for many wooden guitar parts. For both wood and metal components, a dual-laser machine such as the LaserPecker LP4 provides greater material flexibility.
Conclusion
Laser engraving is a precise and durable way to personalize guitars with names, logos, patterns, and artwork. Different materials and finishes require suitable laser settings, careful testing, and proper safety measures.
With the right machine and preparation, beginners and professional makers can create clean, lasting designs on compatible guitar bodies, headstocks, pickguards, and hardware.


