


Laser engraving on leaves might sound delicate—and it is—but that’s exactly what makes it so unique and eye-catching. Whether you're crafting eco-friendly art, custom wedding decor, or personalized gifts, engraving on natural leaves brings organic texture and elegance to your work.
In this guide, we’ll walk you through the essentials of leaf laser engraving, including how it works, which leaves perform best, and what kind of laser machine you need to get started. With just a bit of practice, you can transform something as simple as a leaf into a work of art.

In this article:
Part 1: What Is Leaf Laser Engraving?
Leaf laser engraving is a creative process where a laser engraver etches designs, patterns, or text onto the surface of natural leaves. Unlike traditional carving or drawing, this method uses a high-precision laser beam to mark the leaf without touching or damaging it. The result is a clean, delicate design that showcases the natural beauty of the leaf while adding artistic detail.

1.1 How Does Laser Engraving Work on Leaves?
Leaves are fragile, thin, and easily scorched, so engraving them requires low laser power and high precision. The laser works by lightly burning or vaporizing the outer layer of the leaf to create a visible mark without cutting through or damaging it.
To engrave successfully:
- Use low power settings to avoid burning or tearing the leaf.
- Increase engraving speed to minimize heat exposure.
- Use dry, flat leaves to ensure better results and more accurate designs.
The key is finding the right balance of power and speed to gently etch the surface. Even slight adjustments can make a big difference in detail and clarity.
1.2 What’s the Best Laser Machine for Engraving Leaves?
The best laser machine for leaf engraving is one that offers:
- Precise power control, allowing you to set very low wattage levels.
- High-speed settings, so the laser moves quickly to avoid over-burning.
- Good resolution, so fine details come out clearly on the delicate surface.
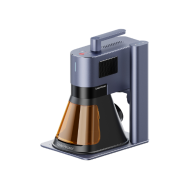
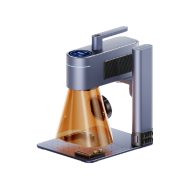
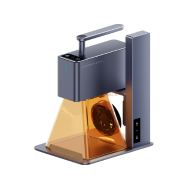
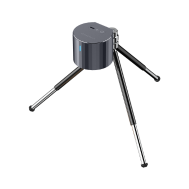
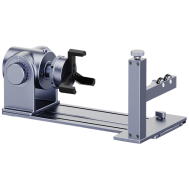
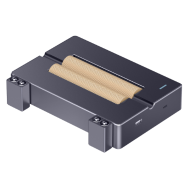
Diode lasers and galvo laser engravers are commonly used for leaf engraving due to their control and accuracy. Machines like the LaserPecker LP5 or LP4 are well-suited for this type of work. They let you finely tune the power and speed, and their preview functions help you position designs accurately on even small or irregularly shaped leaves.
If you're just starting out, a compact desktop engraver with adjustable settings is ideal for practicing and experimenting with different types of leaves.
Part 2: What Types of Leaves Work Best for Laser Engraving?
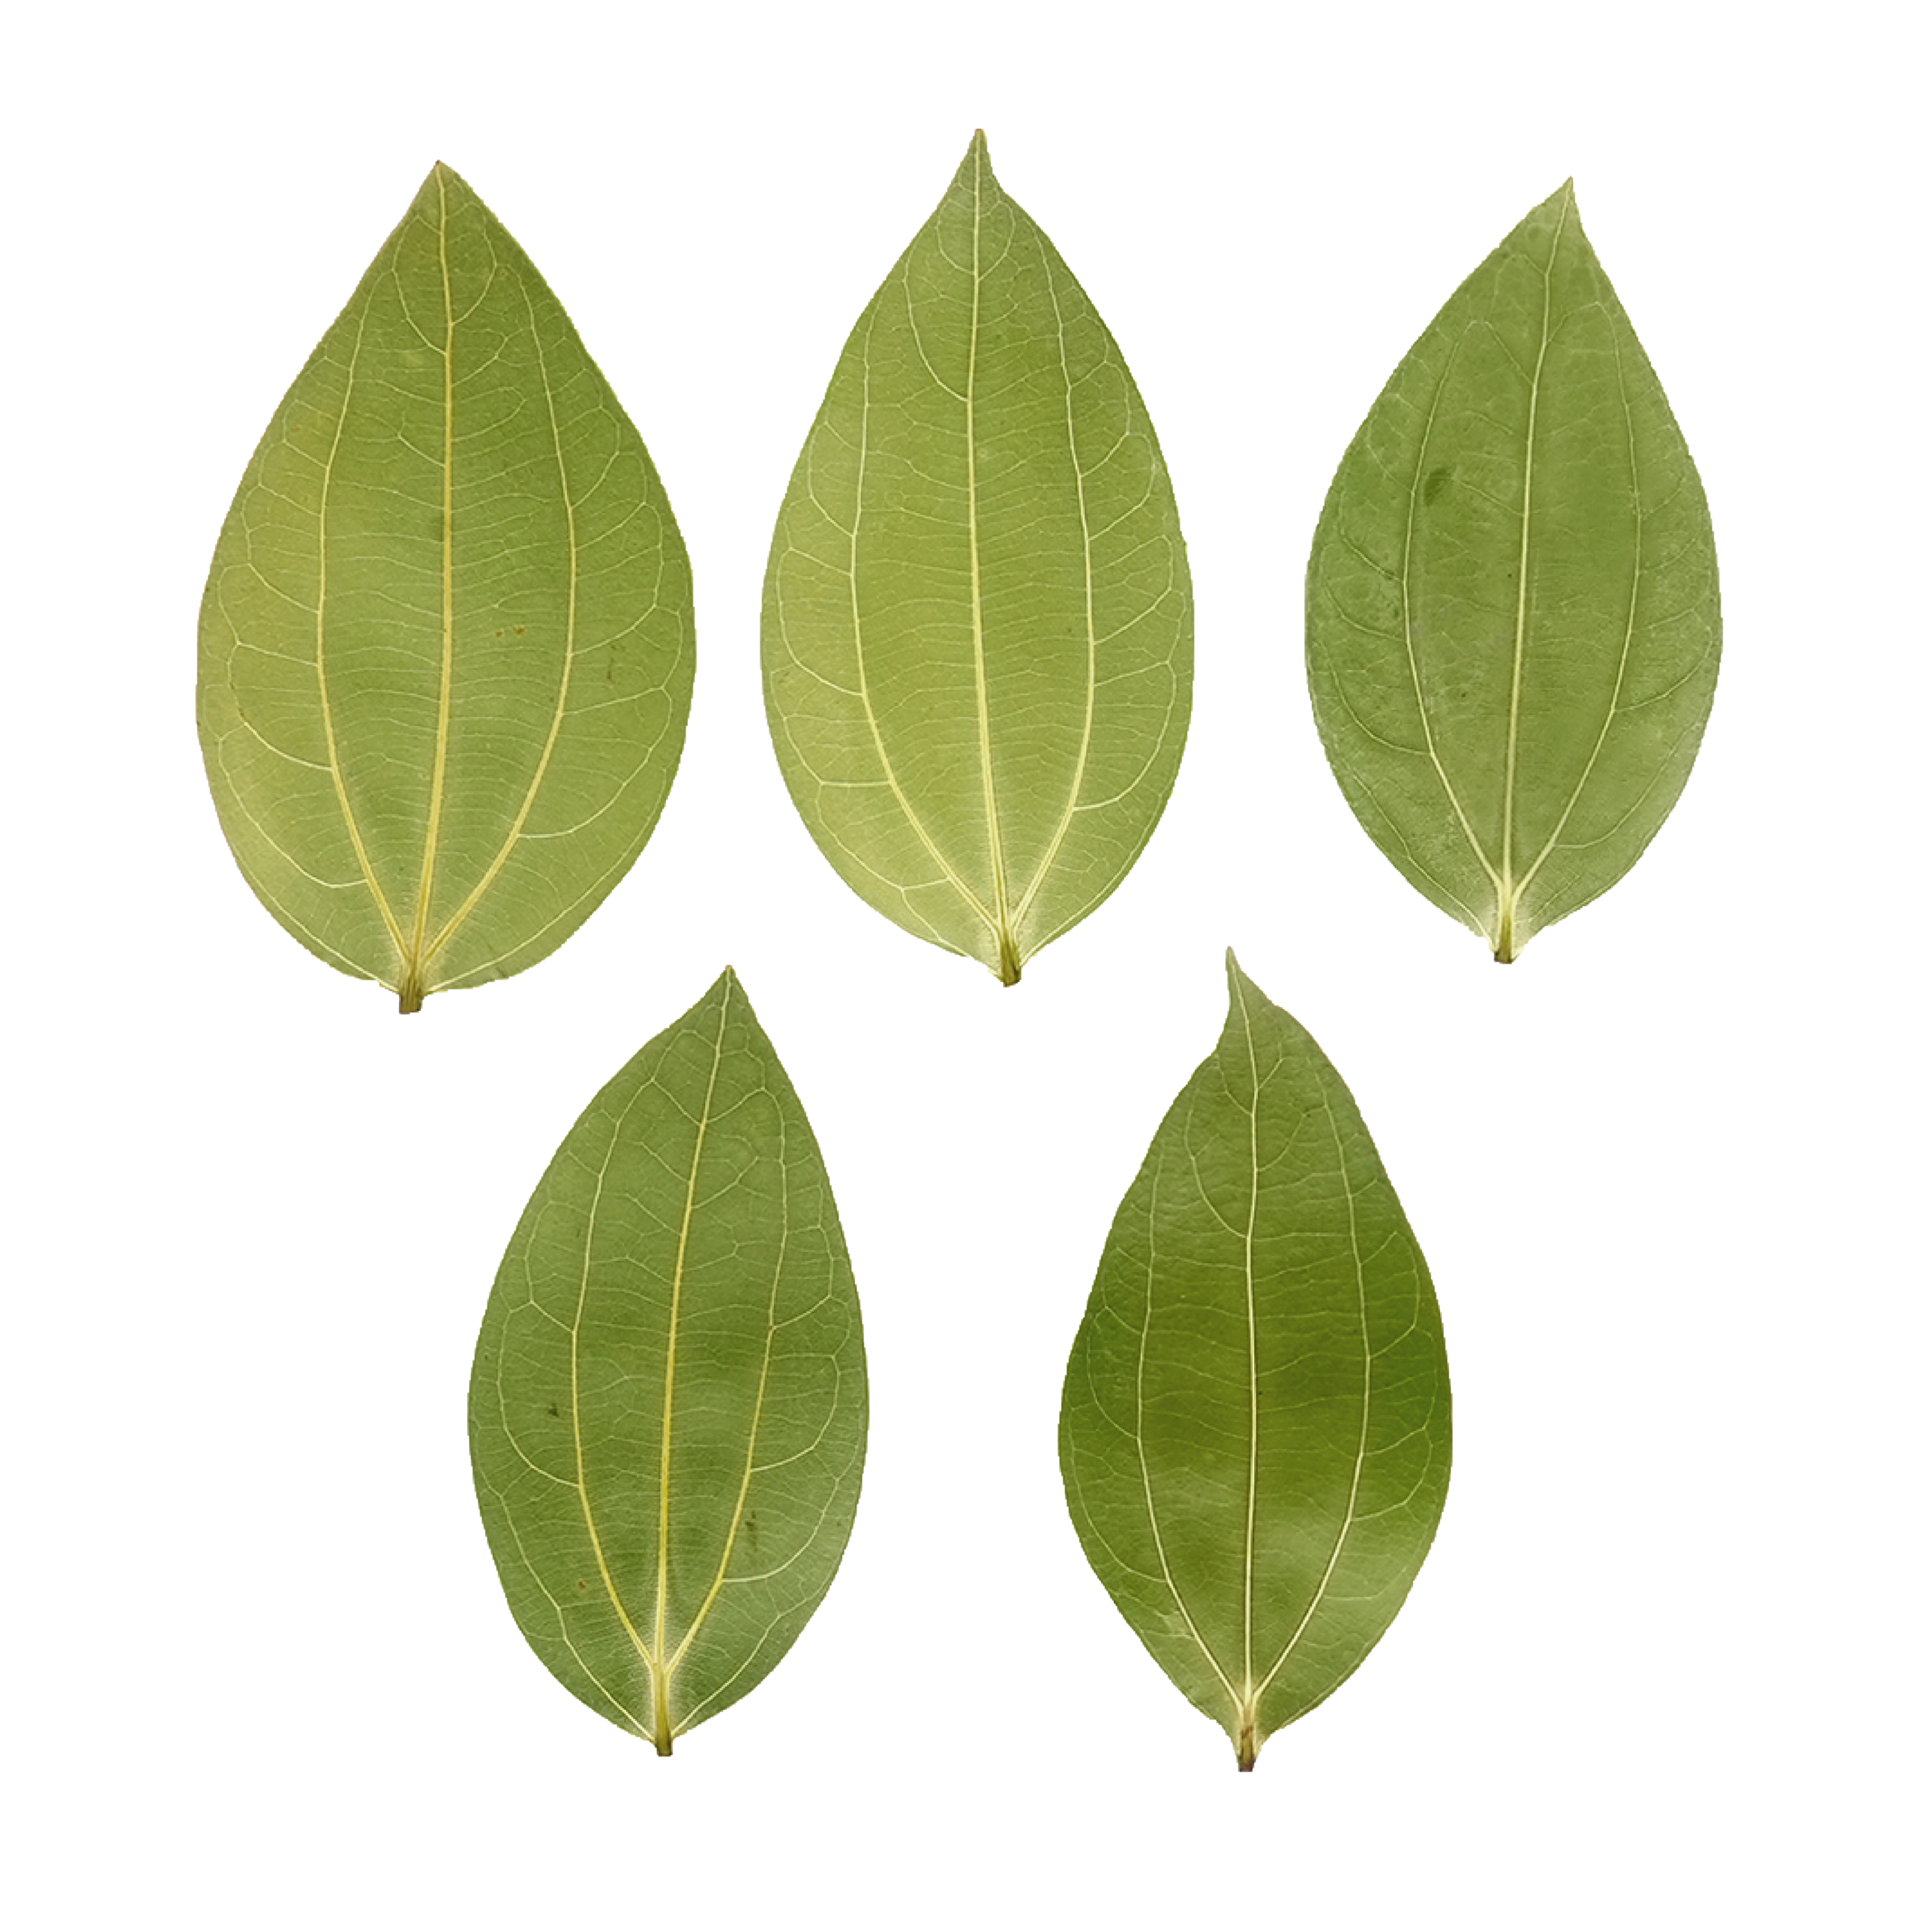
Not all leaves respond equally well to laser engraving. To get the best results, it's important to choose the right type of leaf based on texture, moisture level, and surface consistency. Below, we break down the key factors and recommend the most suitable types of leaves for engraving.
Ideal Leaf Qualities
To ensure clean and detailed engraving, look for leaves with the following qualities:
- Flat surface: A smooth, even surface helps the laser maintain consistent focus and detail.
- Low moisture content: Drier leaves are less likely to burn, curl, or shrink during engraving.
- Sturdy structure: Slightly thicker leaves hold up better to laser heat and are less likely to tear.
- Uniform color: Leaves with even, light coloring (like light green or pale brown) offer better contrast for engraved designs.
Recommended Types of Leaves
Here are some leaf types that work particularly well for laser engraving:
- Magnolia leaves: Thick and waxy, these leaves are durable and easy to engrave.
- Rubber plant leaves: Their smooth surface and sturdy structure make them a favorite for fine engraving.
- Ficus leaves: When dried flat, ficus leaves engrave well due to their thin but consistent texture.
- Maple leaves (dried): Broad and flat, they provide plenty of space for creative designs.
- Bay leaves: Naturally flat and slightly rigid, ideal for small, detailed patterns or text.
Pro Tip:
If your leaf is slightly curved or moist, press it between paper towels and place it under a heavy book for a day or two. This will flatten and dry the leaf, making it much easier to engrave.
🔨 Leaf Laser Engraving – Step-by-Step Tutorial (5 Steps)
Items Required:
- Engraving Material: Fully dried Leaves
- Engraving Machine: Diode Laser Engraver (LP5 or LP4)
- Engraving Design: Text, Images, Patterns, etc.
Step 1: Choose Your Leaf
Select leaves with good color that are fully dried for laser engraving. The quality of the leaves will affect the engraving effect. The leaf in this tutorial has been processed.
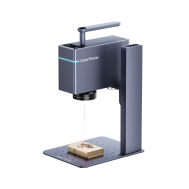
Step 2: Choose the Right Laser Engraving Machine for Leaf
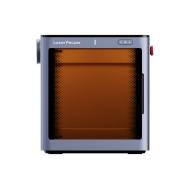
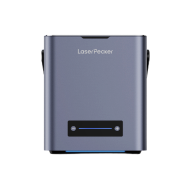
Here, we choose LaserPecker LP5, which is a dual-laser and multi-functional laser engraver that excels in leaf engraving.
Step 3: Prepare Your Engraving Design
① Turn on the machine power and connect the machine via LDS. Import the image to be engraved into LDS software.

② Click on the image and click the "Align center" function to place the image in the center, set it to dithering engraving mode, and enable the "invert colors" function.

③ Preview the engraving and adjust the machine's focus. Adjust the image size according to the size of the leaf. The image width can be equal to or greater than the width of the leaf, but the length should not be too large, leaving some space for taking the leaf after engraving.


Step 4: Set up the Leaf Laser Engraving Machine
Set the engraving parameters. The recommended parameters are: 1K resolution, 55~70% power, and 30~40% depth. Select 450nm blue light as the light source..

Step 5: Start Your Leaf Laser Engraving Now
Place the engraving material on the cutting plate, preview the engraving, and then start the engraving process. Below is the result of the engraving.
- If the leaf is damaged after engraving, it is recommended to reduce the power parameter by 5% until the problem disappears.
- If the leaf does not have a hollow transparent effect under sunlight, it is recommended to increase the power by 5% until the hollow effect appears.
Conclusion
Laser engraving on leaves is a beautiful fusion of nature and technology. With the right materials and machine settings, even beginners can create delicate, detailed designs on natural surfaces. Whether you're experimenting with dried magnolia leaves or crafting event pieces with rubber plant foliage, this guide gives you the foundation to start confidently.
Ready to give it a try? Pick a leaf, fire up your laser, and let your creativity take root.


