


Leaf laser engraving is a creative way to turn natural leaves into delicate artwork, personalized gifts, wedding decor, bookmarks, greeting cards, and eco-friendly crafts.
Because leaves are thin and fragile, leaf engraving requires careful material selection, low laser power, accurate focusing, and the right engraving speed. With the proper setup, even a simple dried leaf can become a detailed and memorable keepsake.
In this guide, you'll learn how laser engraving leafprojects work, which leaves are best for engraving, what type of leaf engraving machine to use, and how to create an engraved leaf step by step.

In this article:
- Part 1: What Is Leaf Laser Engraving
- Part 2: Best Leaves for Laser Engraving
- Case Study: How to Laser Engrave a Leaf Step by Step
Part 1: What Is Leaf Laser Engraving?
Leaf laser engraving is the process of using a laser beam to engrave text, images, patterns, or artwork onto the surface of a natural leaf. Unlike traditional carving, painting, or printing methods, laser engraving creates precise markings without physically touching the material.

1.1 How Does Laser Engraving Work on Leaves?
Leaves are thin, delicate materials that require precise laser control. During the engraving process, the laser lightly removes or darkens a small portion of the leaf's surface to create visible markings while preserving the overall structure of the leaf.
Successful engraving leaves requires balancing laser power, speed, and focus. Too much power can burn through the material, while insufficient power may produce weak or unclear results.
For the best results:
- Use low power settings to avoid excessive burning.
- Increase engraving speed to minimize heat exposure.
- Choose dry, flat leaves for more consistent engraving quality.
- Ensure proper focus for sharper details and cleaner lines.
Small adjustments can significantly affect the final appearance, so testing on spare leaves is highly recommended before engraving a finished project.
1.2 What Is the Best Leaf Engraving Machine?
The ideal leaf engraving machine offers precise power control, accurate focusing, and high-speed engraving capabilities. Because leaves are sensitive to heat, machines that allow fine adjustments are essential.
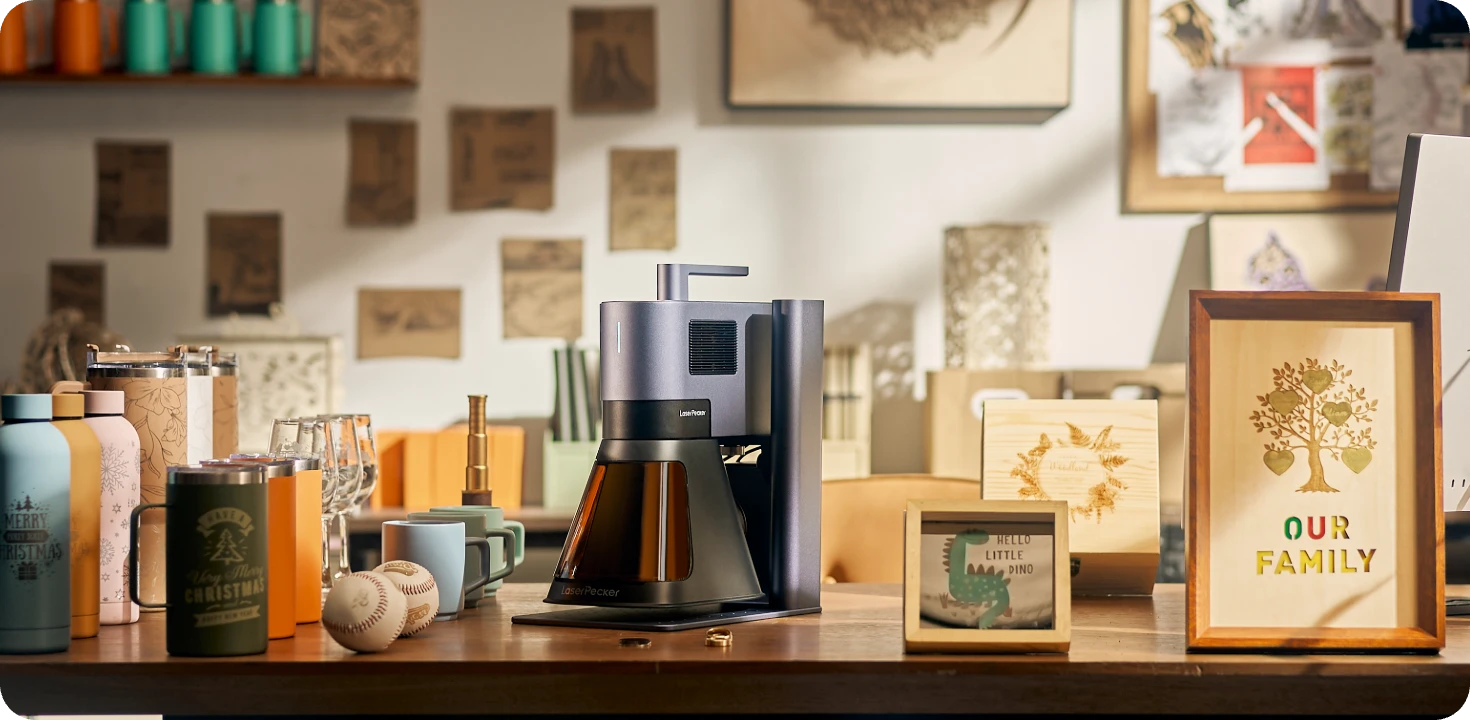
Diode lasers and galvo laser engravers are commonly used for leaf engraving due to their control and accuracy. Machines like the LaserPecker LP5 or LP4 are well-suited for this type of work.
Recommended Laser Engraver for Leaf Laser Engraving: LaserPecker LP5
The LaserPecker LP5 is a high-precision dual-laser engraver ideal for creating artwork on delicate natural materials such as leaves, paper, wood veneers, and botanical crafts.
-
20W Diode Laser for Organic Materials
The 20W diode laser can engrave leaves, paper, wood veneers, cardboard, and other natural materials with precise control and minimal material damage. -
High-Precision Engraving for Intricate Designs
The LP5 delivers exceptional detail, making it ideal for engraving portraits, botanical artwork, logos, text, and delicate patterns on leaf surfaces. -
10,000 mm/s Ultra-Fast Engraving Speed
The high-speed galvo system allows engraving to be completed quickly, reducing heat exposure and helping preserve fragile leaf structures.
Part 2: Best Leaves for Laser Engraving
The success of any leaf laser engraving project depends heavily on the type of leaf you choose. Since leaves vary in thickness, moisture content, texture, and durability, selecting the right material can make the difference between a crisp, detailed engraving and a damaged leaf.
For the best results, choose leaves that are dry, flat, sturdy, and capable of handling laser heat without curling, cracking, or burning excessively.
Characteristics of Leaves That Engrave Well
When selecting leaves for engraving, look for the following qualities:
- Flat surfaces – A smooth, even surface helps maintain consistent focus and engraving quality.
- Low moisture content – Dried leaves are less likely to warp, shrink, or burn during engraving.
- Strong structure – Slightly thicker leaves can withstand laser processing better than fragile varieties.
- Uniform coloration – Leaves with consistent coloring often provide better contrast for engraved designs.
- Minimal surface damage – Avoid leaves with tears, holes, or brittle edges.
Best Leaves for Laser Engraving
The following leaf varieties are commonly used for engraving leaves because they offer a good balance of durability and engraving quality.
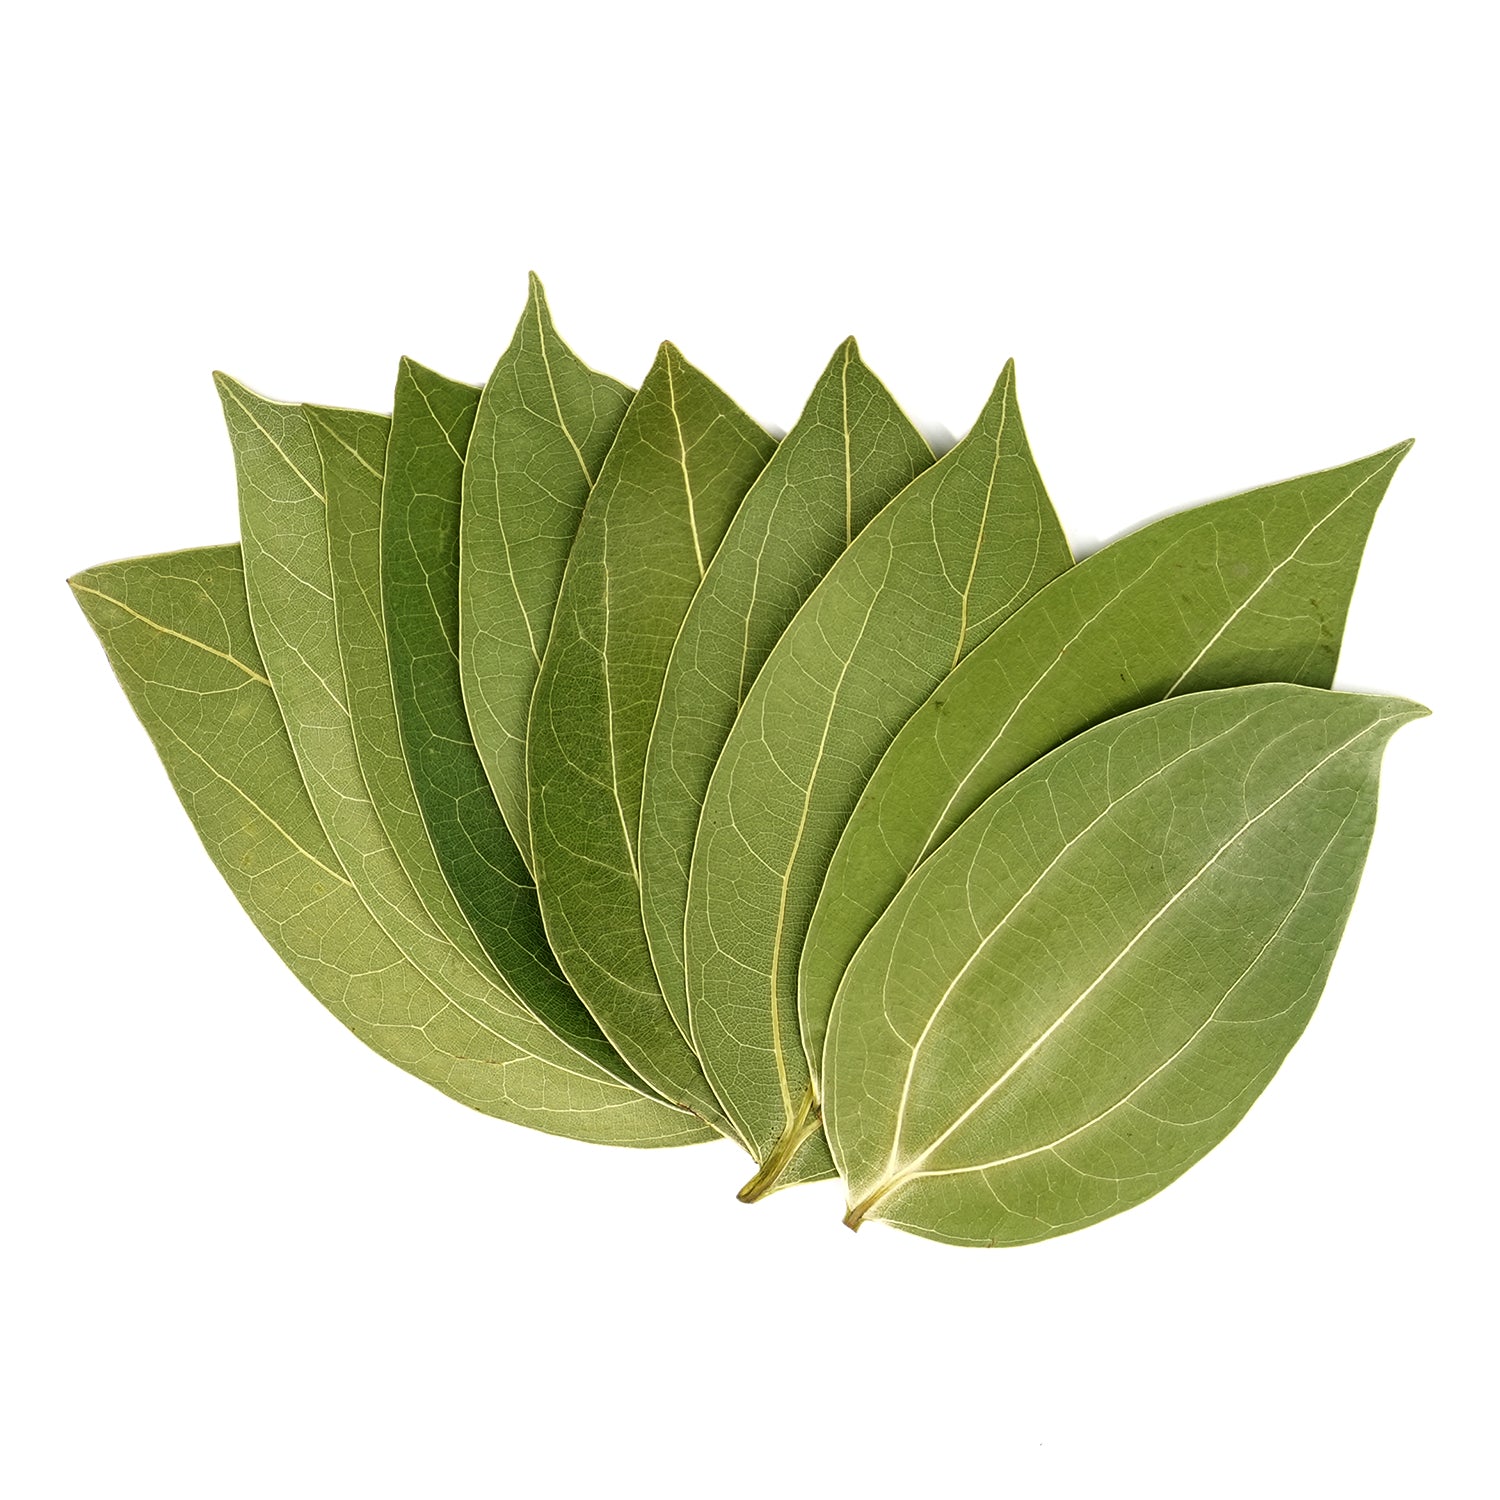
- Cinnamon Leaves – One of the most popular choices for leaf laser engraving. Dried cinnamon leaves are naturally flat, durable, and have a consistent surface that produces clean engraving results with excellent detail.
- Magnolia Leaves – Thick, durable, and naturally smooth, making them one of the easiest leaves to engrave.
- Rubber Plant Leaves – Known for their sturdy structure and glossy surface, ideal for detailed artwork and portraits.
- Ficus Leaves – Thin yet consistent in texture, providing excellent engraving results when properly dried.
- Maple Leaves (Dried) – Large surface area offers plenty of space for creative designs, text, and images.
- Bay Leaves – Naturally flat and firm, making them suitable for small engravings, names, and decorative patterns.
Case Study: How to Laser Engrave a Leaf Step by Step?
Follow the steps below to create your first leaf laser engraving project.
Items Required:
- Engraving Material: Fully dried Leaves
- Engraving Machine: Diode Laser Engraver (LP5 or LP4)
- Engraving Design: Text, Images, Patterns, etc.
Step 1: Select the Right Leaf
Select leaves with good color that are fully dried for laser engraving. The quality of the leaves will affect the engraving effect. The leaf in this tutorial has been processed.
Step 2: Choose a Suitable Leaf Engraving Machine
Here, we choose LaserPecker LP5, which is a dual-laser and multi-functional laser engraver that excels in leaf engraving.
Step 3: Prepare Your Design
① Turn on the machine power and connect the machine via LDS. Import the image to be engraved into LDS software.

② Click on the image and click the "Align center" function to place the image in the center, set it to dithering engraving mode, and enable the "invert colors" function.

③ Preview the engraving and adjust the machine's focus. Adjust the image size according to the size of the leaf. The image width can be equal to or greater than the width of the leaf, but the length should not be too large, leaving some space for taking the leaf after engraving.


Step 4: Configure the Engraving Settings
Set the engraving parameters. The recommended parameters are: 1K resolution, 55~70% power, and 30~40% depth. Select 450nm blue light as the light source..

Step 5: Start the Engraving Process
Place the engraving material on the cutting plate, preview the engraving, and then start the engraving process. Below is the result of the engraving.
- If the leaf is damaged after engraving, it is recommended to reduce the power parameter by 5% until the problem disappears.
- If the leaf does not have a hollow transparent effect under sunlight, it is recommended to increase the power by 5% until the hollow effect appears.
Conclusion
Whether you're working with magnolia, maple, ficus, bay, or cinnamon leaves, each material offers its own texture, character, and engraving possibilities. With the right leaf engraving machine, even beginners can achieve impressive results while preserving the natural beauty of the leaf.
Ready to start your first leaf engraving project? Choose a dried leaf, prepare your design, and begin transforming ordinary leaves into beautiful pieces of personalized art.