


Leather patches are a popular way to personalize hats, backpacks, workwear, and custom gifts.
Laser engraving makes it easy to create detailed logos, names, and artwork without moulds or complex setups. It is suitable for DIY projects, customisation shops, and small-batch production.
This guide covers how to laser engrave leather patches, choose a machine, follow the engraving process, and work safely.

In this article:
- Part 1: The Overview of Laser Engraving Leather Patches
- 1.1 What Is Laser Engraving on Leather Patches?
- 1.2 How Does Laser Engraving Work on Leather Patches?
- 1.3 Why Choose Laser Engraving for Leather Patches?
- Part 2: Popular Applications of Laser Engraved Leather Patches
- Case Study: How to Laser Engrave a Custom Leather Patch for a Trucker Hat in 5 Steps
- FAQs: Hot Questions about Laser Engraving Leather Patches
Part 1: The Overview of Laser Engraving Leather Patches
1.1 What Is Laser Engraving on Leather Patches?
Laser engraving uses a focused laser beam to create permanent logos, text, patterns, and artwork on leather patches. It offers a natural texture and premium appearance without requiring physical stamps or molds.
This flexible process is suitable for custom hats, leather labels, handmade products, and small-batch orders.

1.2 How Does Laser Engraving Work on Leather Patches?
The laser removes the surface layer of the leather to create a contrasting design. Adjusting the power, speed, and focus controls the depth and appearance of the engraving.
Results vary by material. Vegetable-tanned, genuine, PU, and dyed leather may require different settings, so always test a small sample first.
1.3 Why Choose Laser Engraving for Leather Patches?
Laser engraving makes it easy to create detailed, personalized leather patches without moulds, stamps, or complex setups. It is suitable for one-off designs, small orders, and batch production.
Reason 1: High Detail for Logos and Artwork
Laser engraving can reproduce fine lines, small text, logos, and complex artwork with clear, accurate results.
Reason 2: Easy Personalization for Small Orders
Names, dates, and artwork can be changed directly in the design software, making laser engraving ideal for personalized products and short production runs.
Reason 3: Consistent Results for Batch Production
Tested settings and accurate positioning help produce consistent designs across multiple patches.
Reason 4: Works with Various Leather Materials
Laser engraving works with vegetable-tanned leather, genuine leather, and some PU leather. Always check the material composition and test a sample first.
Reason 5: Engrave and Cut Leather Patches with One Machine
Many laser machines can engrave designs and cut thin leather into round, rectangular, shield, oval, or custom patch shapes in one workflow.
#1 Recommended Laser Engraver for Beginners
The LaserPecker LP2 Plus is suitable for engraving custom leather patches for hats, backpacks, workwear, handmade products, and personalized gifts.
Its diode laser can create detailed logos, names, text, and artwork while also cutting compatible thin leather into custom patch shapes. Always check the leather composition and test a sample before processing.
-
10W Diode Laser for Leather Processing
The 10W diode laser can engrave compatible genuine and vegetable-tanned leather, producing permanent designs with clear contrast. -
Fine Detail for Logos and Personalization
Precise laser positioning helps reproduce small text, fine lines, brand logos, names, and detailed artwork on patches. -
Engraving and Cutting in One Workflow
The LP2 Plus can engrave designs and cut compatible thin leather into round, rectangular, shield, oval, or custom patch shapes. -
160 × 300 mm Area with the Slide Extension
Pairing the LP2 Plus with the LaserPecker Slide Extension provides more space for arranging multiple patches, supporting repeated designs and small-batch production.

#1 Recommended Laser Engraver for Professional Leather Patch Businesses
The LaserPecker LP4 is suitable for creating custom leather patches for hats, backpacks, workwear, handmade products, and branded merchandise.
Its 10W diode laser can produce detailed logos, names, text, and artwork while also cutting compatible thin leather into custom patch shapes. Always verify the leather composition and test a sample before processing.
-
10W 450 nm Diode Laser for Leather Processing
The diode laser creates permanent, high-contrast designs on compatible vegetable-tanned and genuine leather patches. -
Fine Detail for Logos and Custom Artwork
Precise laser positioning supports small text, fine lines, brand logos, names, QR codes, and detailed illustrations. -
Engraving and Cutting in One Workflow
The LP4 can engrave artwork and cut compatible thin leather into round, rectangular, shield, oval, or custom patch shapes. -
Up to 4,000 mm/s with Slide Extension Support
Fast engraving and the optional Slide Extension help arrange and process multiple leather patches efficiently for repeated designs and small-batch orders.
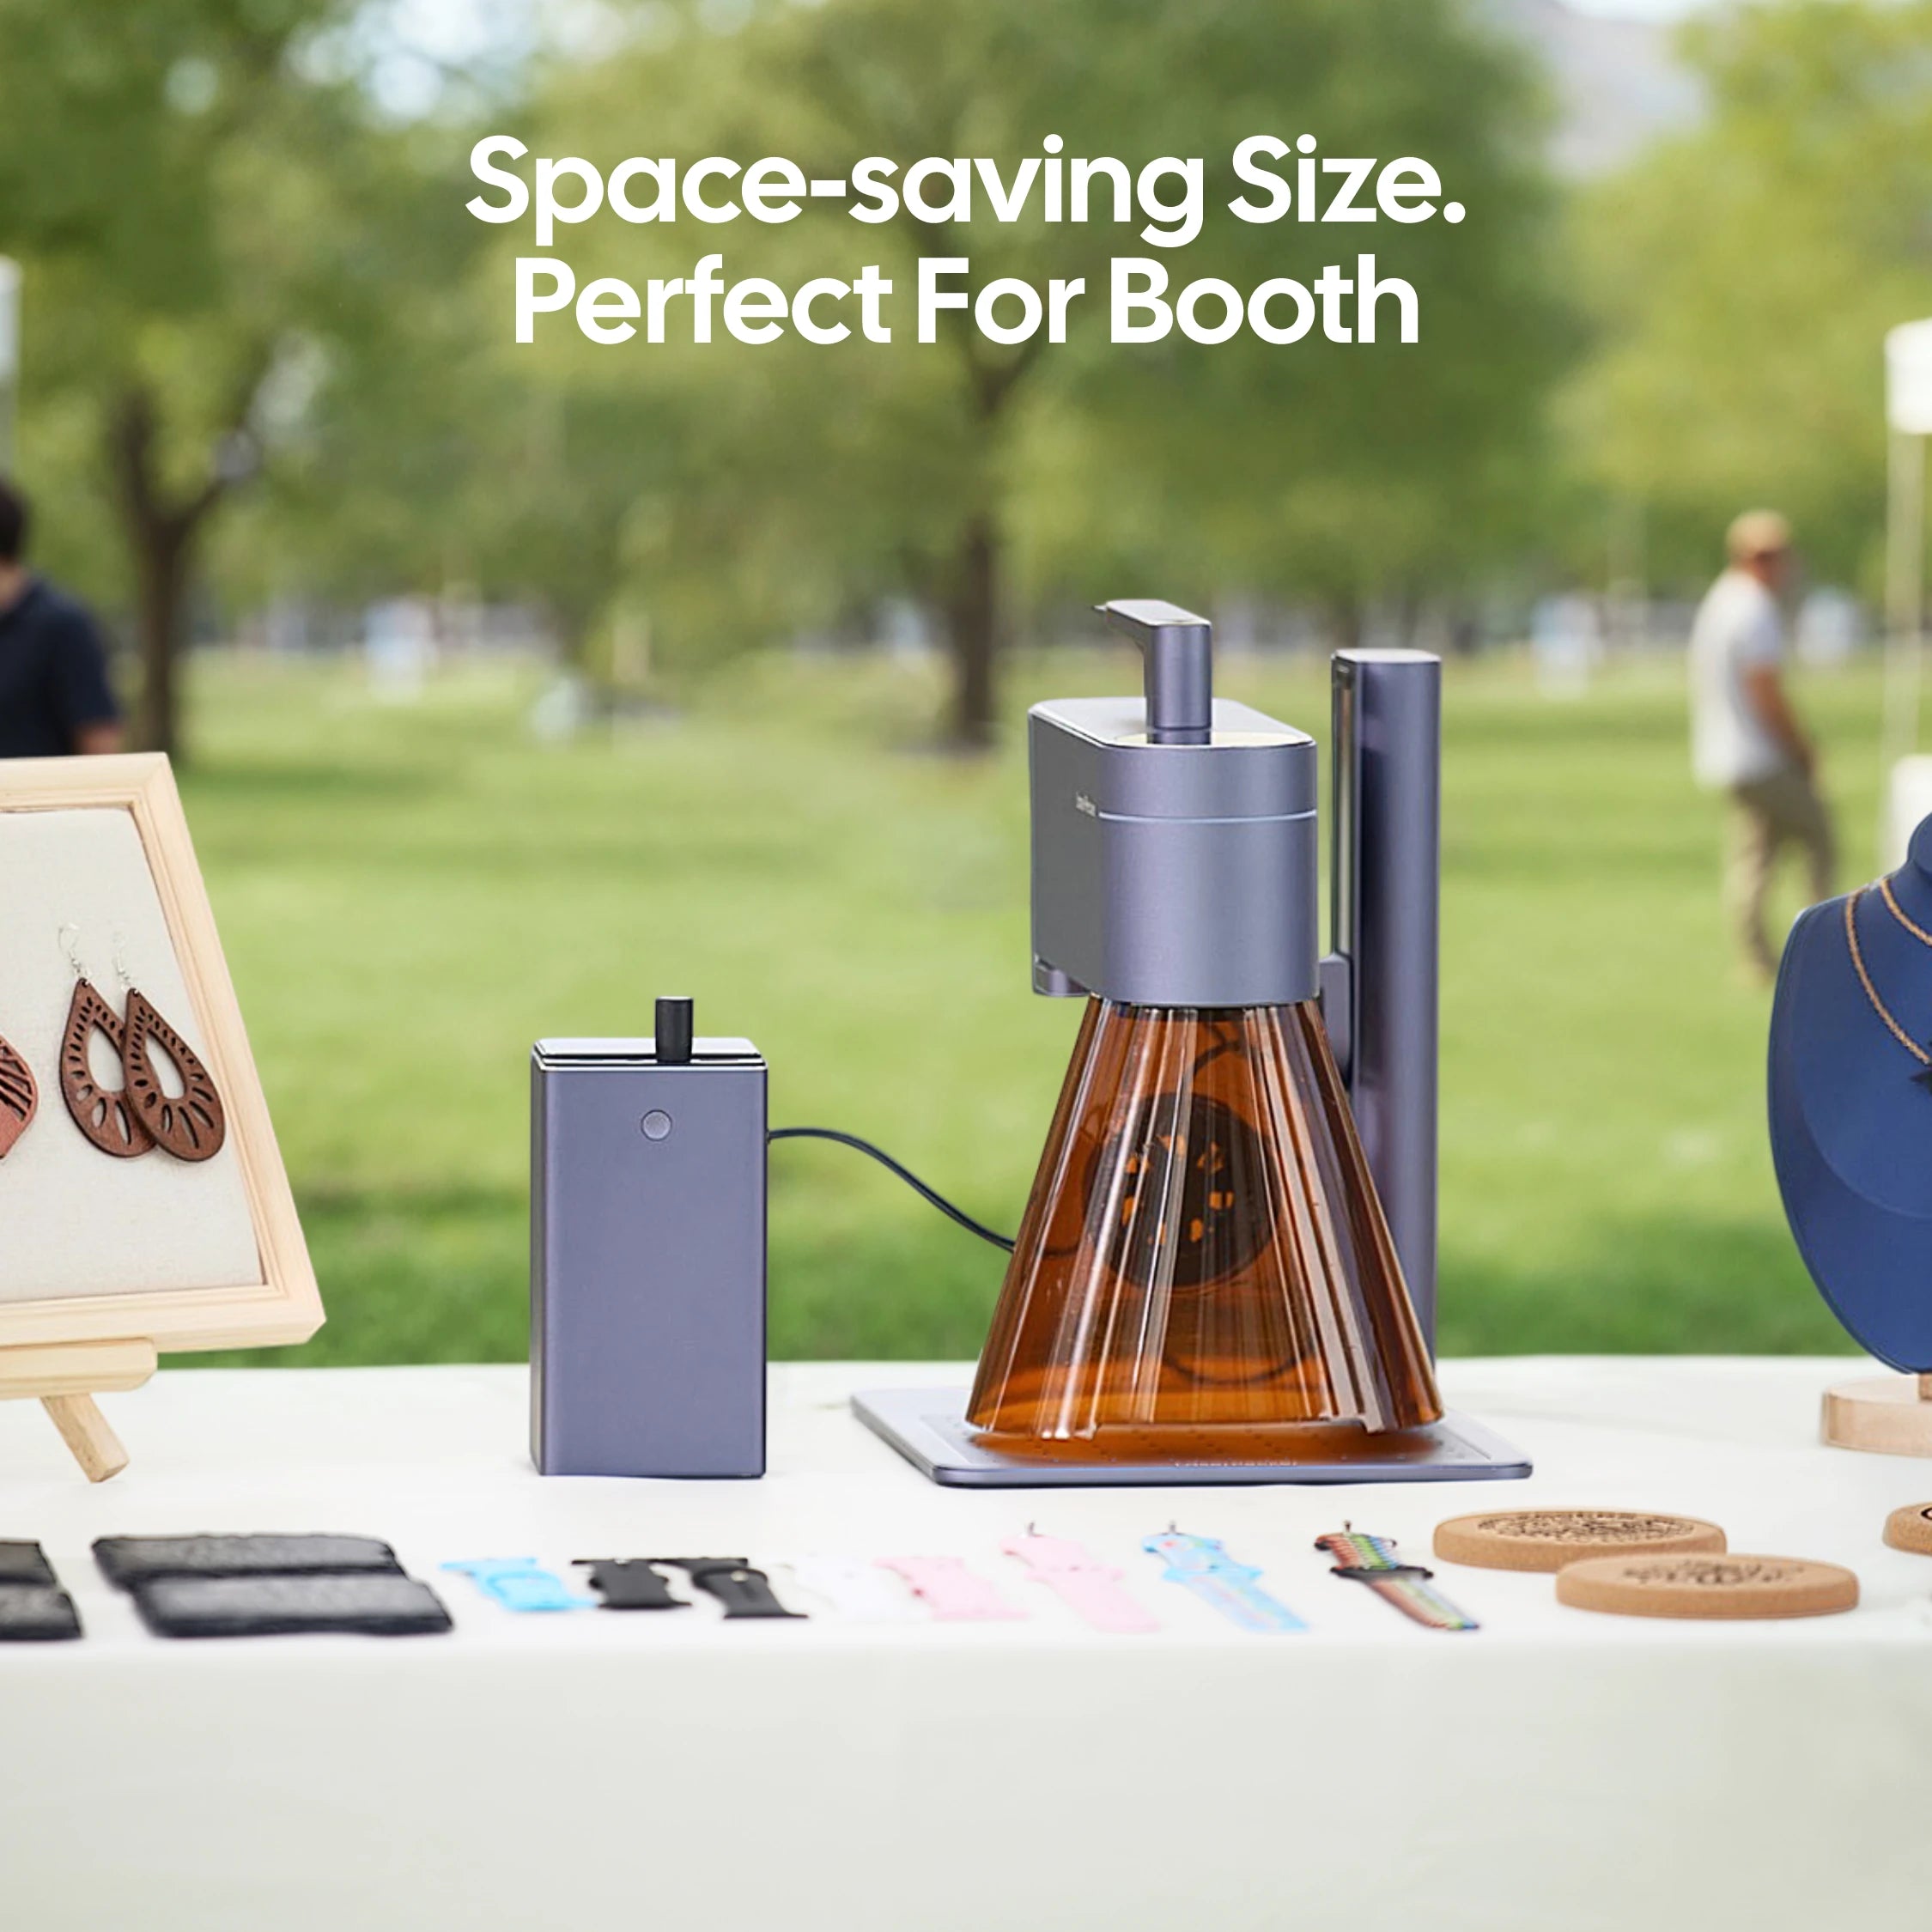
Part 2: Popular Applications of Laser Engraved Leather Patches
Leather patches are no longer limited to traditional branding uses. Today, they are widely used across apparel, accessories, personalised gifts, and small business products because they combine a natural material feel with flexible customisation options. From custom trucker hats to outdoor gear and handmade merchandise, laser engraved leather patches provide a practical way to add logos, names, and unique designs to different products.
Custom Hat Leather Patches
Custom hat leather patches are one of the most popular applications for laser engraving, especially for trucker hats, baseball caps, and snapback hats. Many outdoor brands, farms, small businesses, and independent creators use leather patches to display logos, slogans, location names, or personalised artwork while maintaining a durable and premium look.
Compared with printed designs, leather patches provide a textured appearance that fits well with casual, outdoor, and workwear styles. Laser engraving allows hat makers to create detailed designs without requiring traditional stamping equipment, making it suitable for both individual custom orders and small collections of branded hats.
Jackets, Backpacks, and Apparel Labels
Leather patches are also commonly used on jackets, backpacks, aprons, canvas bags, and other apparel accessories. For clothing brands and makers, they can serve as durable product labels or decorative elements that enhance the overall appearance of handmade and premium goods.
Laser engraving makes it easier to add brand logos, care information, names, or custom graphics onto leather labels with consistent results. This flexibility is useful for small apparel businesses that want to create limited runs or update designs frequently without preparing new printing materials or production tools.
Motorcycle Clubs, Outdoor Brands, and Team Patches
Leather patches are often chosen by motorcycle clubs, outdoor brands, camping groups, hunting teams, and off-road communities as durable identity markers. Custom designs such as club names, team logos, badges, and event details can be engraved onto leather patches and attached to jackets, hats, bags, or equipment.
For these applications, the combination of leather texture and engraved details creates a rugged style that matches outdoor and lifestyle products. Laser engraving also allows groups to produce limited-edition patches for events, memberships, or special occasions without investing in traditional mould-based manufacturing processes.
Case Study: How to Laser Engrave a Custom Leather Patch for a Trucker Hat in 5 Steps
Creating a custom leather patch for a trucker hat involves more than simply engraving a design. The quality of the final result depends on choosing suitable leather, preparing the artwork, setting the correct laser parameters, and properly attaching the finished patch.
The following workflow uses a LaserPecker LP4 as an example to demonstrate a practical process, from material preparation to final hat customisation. This step-by-step approach helps beginners and small businesses create cleaner results while reducing unnecessary testing during production.
Step 1: Choose and Prepare the Leather Patch
Start by selecting a suitable leather patch material, such as a vegetable-tanned leather patch in a round or rectangular shape. Before engraving, check that the surface is flat, clean, and free from dust, oil, or other residues that may affect engraving quality.
Leather thickness, surface finish, and colour can influence the final engraving appearance, so preparing the material properly is an important first step. If you are working with a new leather supplier or a different leather finish, testing a small sample area first can help determine whether the material produces the expected contrast and detail.
Step 2: Set Up the LaserPecker LP4 and Position the Patch
Place the leather patch securely on the work surface and make sure it remains flat during engraving. Import the logo or artwork into the engraving software, then position the design according to the patch size and shape.
When using the LaserPecker LP4, the red-light preview function helps users check the engraving area before starting the job. Adjust the placement until the logo appears centred on the patch. Proper positioning is especially important for hat patches, where balanced alignment can affect the overall appearance of the finished product.
Step 3: Optimize the Logo Design
Before engraving, adjust the logo design to match the size and limitations of the leather patch. Small details, thin lines, and tiny text may become unclear if the artwork is too complex or scaled down too much.
For better engraving results, consider increasing the thickness of fine lines, simplifying unnecessary details, and improving spacing between design elements. Previewing the final artwork before engraving allows users to identify potential issues early and create a cleaner, more readable patch design.
Step 4: Test Settings and Engrave the Patch
Before engraving the final patch, test the laser settings on a piece of similar leather material. Parameters such as laser power, speed, and focus can affect the engraving depth, colour contrast, and overall appearance, especially when working with different leather types.
After confirming suitable settings, begin engraving the leather patch with the selected design. During the process, monitor the engraving quality and check whether the logo details, edges, and contrast match the expected result. Keeping a record of successful settings can make future production more consistent.
Step 5: Clean the Patch and Attach It to the Hat
After engraving, gently clean the leather patch surface to remove any remaining residue or loose particles. Avoid using methods that may damage the engraved details, especially on softer leather materials.
Once the patch is prepared, attach it to the trucker hat using a suitable method such as sewing or heat pressing, depending on the patch backing and hat material. A properly attached leather patch creates a durable custom hat that works well for personal projects, branded merchandise, or small-batch custom orders.
FAQs: Hot Questions about Laser Engraving Leather Patches
Q1. Can you laser engrave leather patches?
Yes. Laser engraving can create permanent logos, names, patterns, and artwork on leather patches. Results depend on the leather type, colour, and laser settings, so testing is recommended.
Q2. What type of leather is best for laser engraved patches?
Vegetable-tanned leather is a popular choice because it usually produces clear details and strong contrast. Other leather types may also work but should be tested first.
Q3. Is genuine leather better than PU leather for laser engraving?
Genuine leather often produces a more natural texture and predictable contrast. PU leather has a more uniform surface, but its composition must be checked to ensure it is safe for laser processing.
Q4. What laser engraver is best for making leather hat patches?
The LaserPecker LP2 Plus is suitable for beginners and small orders. The LaserPecker LP4 offers greater material versatility for growing customisation businesses.
Q5. Can you laser cut and engrave leather patches with the same machine?
Yes. A compatible laser machine can engrave the design and cut thin leather into circles, rectangles, shields, ovals, or custom shapes using different settings.
Q6. How do you attach leather patches to hats?
Leather patches can be sewn, heat pressed, or attached with adhesive backing. Sewing usually provides the most durable result, while heat pressing offers a clean finish on compatible materials.
Q7. Does laser engraving damage leather?
Proper settings should create a clear mark without damaging the patch. Excessive power or incorrect focus can cause burning, darkening, or damaged edges, so test on scrap leather first.
Q8. Can beginners make leather patches with a laser engraver?
Yes. Beginners can start with simple names, logos, and labels while learning how different leather types respond to changes in power, speed, and focus.
Q9. What software is used to design leather patches?
Designs can be created with vector graphic software and prepared using compatible laser control software. LaserPecker users can use LaserPecker Design Space or LightBurn on supported models.
Q10. Is the LaserPecker LP4 good for leather patch businesses?
Yes. The LaserPecker LP4 combines a 10W diode laser and a 2W infrared laser, allowing small businesses to create leather patches and expand into other personalised products.
Conclusion
Laser engraving offers a flexible way to create custom leather patches for hats, apparel, accessories, and branded products. Choosing suitable leather, testing the settings, and using the right machine can help beginners and small businesses achieve clean, consistent results.


