


"Has anyone ever laser cut plywood?"
In this guide, we'll delve into plywood laser cutting, covering all aspects from beginning to end! Additionally, we'll include a case study on laser cutting plywood door hanger sign. Let's embark on this exciting journey together!

In this article:
Part 1: The Overview of Plywood Laser Cutting
1.1 What is Plywood Laser Cutting?
Plywood laser cutting, also known as laser cut plywood, is a refined method for precisely shaping plywood material into various shapes, designs, letters, or pieces.
1.2 How Does Laser Cut Plywood?
"Can plywood be cut with a laser?" Yes! Laser cutting plywood involves the use of a high-powered laser beam that is focused onto the wood's surface. The intense heat generated by the laser beam causes the wood to get cut along the path of the beam, resulting in a clean and precise cut.
Since the laser beam is controlled by computer software, even intricate and complex designs can be cut with high accuracy. Compared to other wood cutting methods, this method produces smooth edges and minimal kerf width, making it perfect for intricate patterns and shapes.

1.3 What is Laser Cutting Machine for Plywood?
To cut plywood with laser, you'll require a plywood laser cutter, which is crucial for streamlining the cutting process and achieving precise results. With various laser cutting machines on the market (like Diode laser cutter, CO2 laser cutter and Fiber laser cutter), many may ask: "What is the best laser to cut plywood?" or "What machine do I need to cut plywood?"
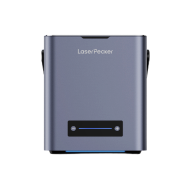
Actually, it depends on your engraving needs. For home or small-scale plywood laser cutting project, diode laser cutter like LP5, LP4 are the best choice. Because these diode laser cutting machines are easy to use and budget-friendly compared with other plywood cutting tools.

💡 Case Study: Craft a Laser Cut Plywood Door Hanger Sign Within 5 Steps
Preparation checklist for laser cutting plywood:
- Cutting Material: 3 mm Plywood Sheet
- Cutting Machine: Diode Laser Cutter
- Cutting Design: Designs, letters, shapes, etc.
The process of laser cutting plywood door hanger sign is straightforward. So, How long does it take to laser cut plywood? Don't worry, just follow these 5 simple steps to get your laser cut plywood crafts in a half-hour!
Step 1: Choose Your Material - Plywood Sheet
Selecting the right material is crucial for laser cutting plywood. Different materials require specific laser settings to ensure precise cutting. Besides, please remember that it's important to ensure that the plywood's material is laser safe to avoid any potential safety hazards.
In this guide, we'll use a case study on laser cutting plywood door hanger sign!

Step 2: Choose the Right Laser Cutting Machine for Plywood Cutting
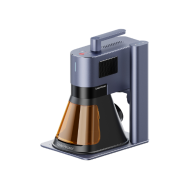
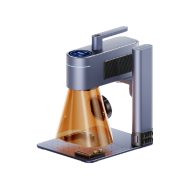
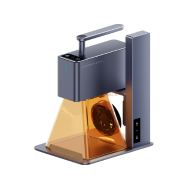
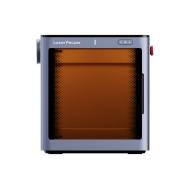
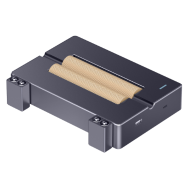
Here, we recommend LaserPecker 4 (LP4) that excels in wood laser cutting.
*Aside from the LP4, you can also choose LP5, which also delivers great performance for plywood cutting (cuts up to 20 mm basswood.) and wood embossing.
Step 3: Prepare Your Cutting Design
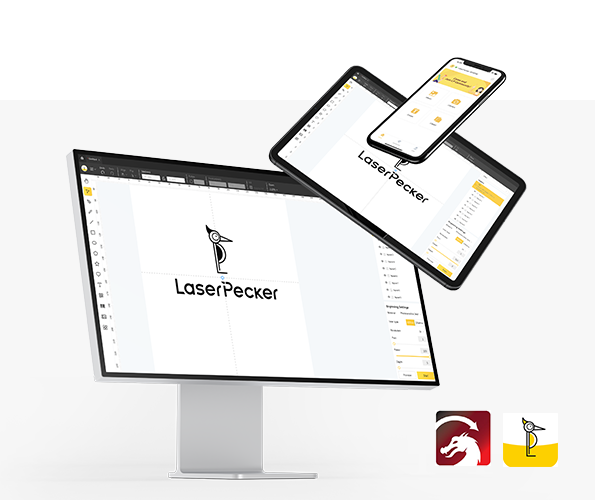
Use LaserPecker graphic design app/software or third-party graphic design tools like photoshop to create or import the shape or design you want to cut on the plywood's surface. Consider size, shape, and other details.
*You can also visit LaserPecker CraftZone for inspiration or to purchase laser cut wood files online.
Step 4: Set up the Plywood Laser Cutting Machine
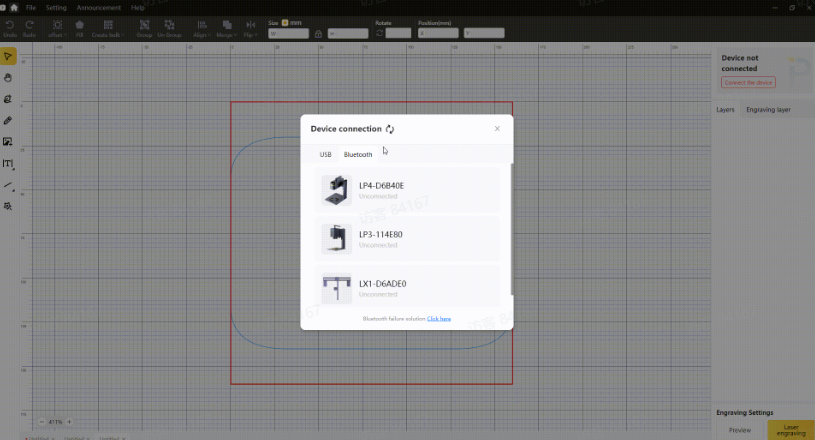
Firstly, Make sure your plywood cutter is powered on, and then connect your laser cutter to your computer or mobile device using the appropriate interface (Wifi, USB cable, Bluetooth, etc.)
Secondly, Open the LaserPecker Design Space and load your design. (formats like JPG/PNG/G-Code/SVG etc are all acceptable)
Thirdly, place the items in the designated working area, turn on Preview Mode, and make sure the laser is properly focused.
Fourthly, check if your design fits properly on the plywood surface. If not, adjust its size and position to match the material's dimensions.

Finally, Access the software's laser settings to adjust parameters like power, speed, and resolution according to the plywood's properties and design intricacy.
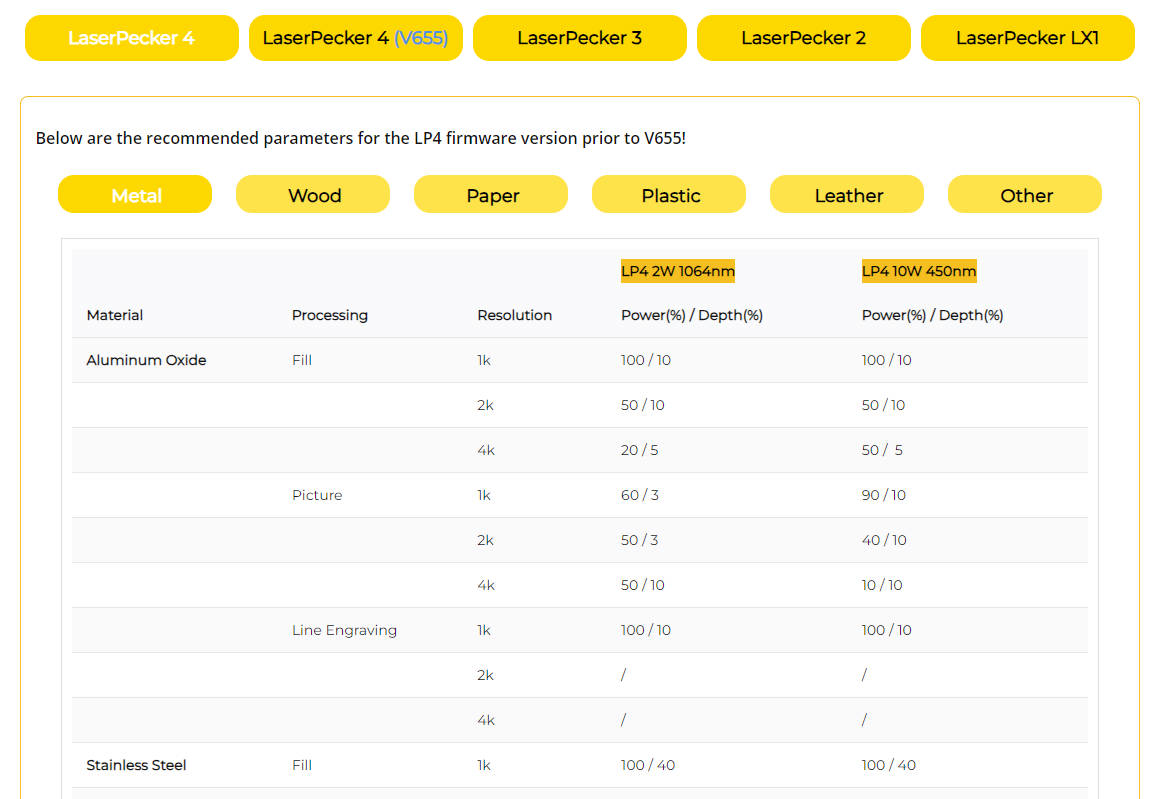
To get the best result, the recommended laserpecker LP4 material settings for cutting plywood is 10 W 450nm Diode Laser; Resolution: 2k; Power: 100%; Depth: 90%; Pass: 1.
To explore other recommended laserpecker engraving and cutting parameters, refer to the settings table that applies to any laserpecker machines, including LP1, LP2, LP3, LP4 and LP5.
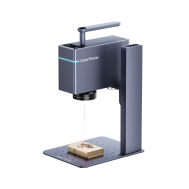
Step 5: Start Cutting Your Plywood With Laser Now
Double-check everything to avoid mistakes. Then, hit the start button and watch the magic happen. The laser brings your design to life. Keep an eye on it, and you're all set!
When operating a laser engraving machine, it's advisable to wear goggles or use a laser protection cover to protect your eyes and body from potential harm, as the blue laser can pose risks.
Additionally, please be mindful that smoke or toxic gases may be emitted during the laser cutting process. Wearing a mask or employing an air purifier is essential for safety.

Conclusion
In summary, plywood laser cutting offers versatility and precision, transforming plywood into intricate designs and functional products with clean edges and intricate patterns. It opens up endless possibilities for artistic expression, industrial manufacturing and personal projects.


