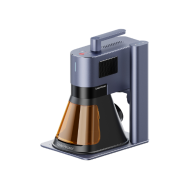
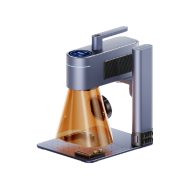
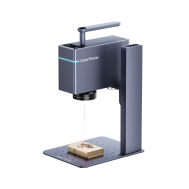
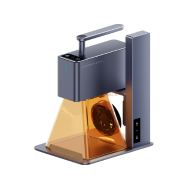
Previously, we introduced the technique of Deep Laser Engraving on Stone, and how to use LaserPecker LP5 to engrave depth and texture into materials like granite and marble.
In this blog, we'll explore slate embossing — also known as 3D laser engraving on slate — a visually striking and accessible laser engraving technique.

In this article:
Part 1: What is Slate Embossing?
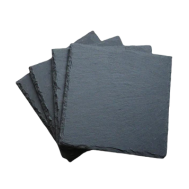
Slate embossing is a laser-based 3d engraving technique that uses grayscale depth map to etch raised or recessed designs into slate tiles or plates (stone). This embossing process involves multiple laser passes to carve depth and shape and creates a 3D look and feel. The process mimics traditional embossing techniques used in print and metalwork—only this time, the laser does the engraving with pinpoint precision.
Because slate is naturally smooth, relatively soft, and has high contrast when engraved, it becomes the perfect canvas for grayscale art, logos, portraits, and texture-rich designs.
Part 2: Step-by-Step Guide to Slate Embossing with LaserPecker LP5
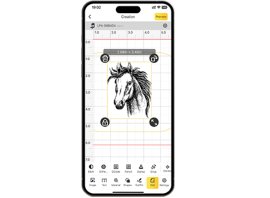
Step 1: Import the image into LDS. For 3D embossing engraving, a depth map image is required. You can download a depth map image from the internet or create one using third-party software. This tutorial uses the image from the LDS software clipart as an example.

Step 2: Select the image, then in the Effects menu, choose 3D Grayscale and set either Concave engraving or Convex engraving. Concave engraving refers to engraving downward directly into the pattern to create a recessed effect, while Convex engraving removes the surrounding areas of the pattern to create a raised effect.

Step 3: Choose the number of layers, and the valid range is [0–254]. The more layers, the smoother the 3D embossing and the deeper the engraving, but it will take more time. Fewer layers will result in a rougher 3D embossing and take less time.
Step 4: In the Laser engraving settings panel, you can preview the engraving area of each layer in the Layer Preview option. If the first few layers or the last few layers are completely black or white, you can adjust the number of layers to reduce engraving time.

Step 5: Adjust the image size and position as needed to ensure the engraving size matches the stone size.
Step 6: Set the engraving parameters by selecting a 1064nm light source, 4K resolution, with a frequency of 30, power at 100%, depth at 20%, and layer height at 0.01.
Step 7: Place the material in the appropriate position, preview the engraving, and adjust the focus. During the preview, fine-tune the material's actual position to ensure the engraving area is as centered as possible.
Step 8: Once all settings are complete, start the engraving.


*In addition to online engraving (with LDS app or Software), you can also export the engraving file to a USB drive for offline engraving (without LDS app or Software).
- Click File, then Export as LPB. The file export may take some time. Please be patient. It's recommended to name the file with engraving parameters, such as 4K-1064-P100-D20-H0.01-Stone.
- Copy the LPB file to the USB flash drive.
- Insert the USB flash drive into the LP5's USB flash drive port.
- Connect the machine via LDS, open the Flash drive list, and select the file for preview and engraving.
During the engraving process, dust or smoke may be generated. It is recommended to place a high-speed fan near the material to maintain a clean engraving environment, preventing dust from settling on the surface and ensuring a better engraving result.
To ensure engraving quality and equipment safety, please carefully select the stones. Avoid using stones with rough, uneven surfaces or those with deep grooves or protrusions, as these can cause focus issues with the laser, resulting in uneven engraving depth. Use stones specifically designed for laser engraving, as certain natural stones (such as those with high moisture content, internal defects, or differing crystal structures) may crack when exposed to heat.
After the 3D embossing engraving is complete, do not touch the engraved object immediately, as it may still be hot and could cause burns.
Part 3: How to Properly Clean and Polish Slate After Embossing
The finishing process for slate embossing is relatively simple—just gently brush off any surface dust with a soft-bristled brush and wipe it clean.

FAQs: Hot Questions about Slate Embossing
1. Which laser would be best for slate embossing?
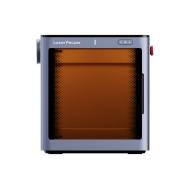
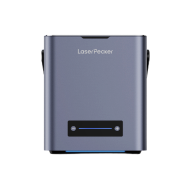
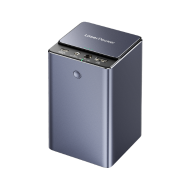
Always goes for a diode laser with 3D grayscale capabilities when it comes to slate embossing. In this blog we use LaserPecker LP5. Its equipped with 20W dual-laser system and embossing mode. It is a strong choice for deep and detailed slate engraving.
2. What is the difference between embossing and stamping?
Embossing uses a laser to carve out depth gradually, allowing for fine control over relief and texture.
Stamping uses a mold or die to press a design into the material, often in one forceful motion.
3. What is reverse embossing called?
Reverse embossing is oftened called as debossing or deep engraving, which we introduced in Deep Laser Engraving on Stone. It creates an indented effect rather than a raised one.
Conclusion
Slate embossing combines the elegance of natural stone with the precision of modern laser engraving. Whether you're creating textured signage, personalized decor, or artistic reliefs, the LaserPecker LP5 makes it possible to achieve professional-grade results.
With the right setup, careful prep, and a few pro tips—like using USB flash drives for large grayscale files—you can bring depth and dimension to your next creative project.
Ready to turn flat stone into stunning 3D art? Fire up your LP5 and let your creativity fly from the surface.


