


A charm necklace is a simple way to create jewelry that feels personal, meaningful, and unique. You can add initials, symbols, shapes, colors, or small designs that match your style or make a thoughtful handmade gift.
In this guide, we’ll compare three popular methods for making a charm necklace: resin, clay, and laser engraving. You’ll learn what each method is best for, what tools you need, and how to choose the right option for your project.

In this article:
- Method 1: Make a Charm Necklace with Resin
- Method 2: Make a Charm Necklace with Clay
- Method 3: Make a Charm Necklace with a Laser Engraver
- FAQs: Hot Questions about Making a Charm Necklace
Method 1: Make a Charm Necklace with Resin
Resin crafting is one of the most popular ways to make custom charm necklaces. This method allows you to create colorful, glossy, and highly personalized jewelry pieces using epoxy resin and decorative molds.
Resin charm necklaces are ideal for handmade gifts, personalized accessories, themed jewelry collections, and DIY craft projects. Resin also makes it easy to embed dried flowers, glitter, charms, photos, shells, or metallic flakes into the final design.
Materials and Tools Needed
- Epoxy resin kit
- Silicone pendant or charm molds
- Necklace chains or cords
- Jump rings and jewelry clasps
- Mixing cups and stirring sticks
- Pigments, glitter, dried flowers, or decorative fillers
- Protective gloves and mask
- Heat gun or small torch (optional)
- Drill or jewelry pin vise (optional)
- Sandpaper or polishing tools (optional)
Steps to Make a Charm Necklace with Resin
- Prepare the Workspace: Cover the work surface and ensure the area is clean, level, and well ventilated.
- Mix the Resin: Combine the epoxy resin and hardener according to the manufacturer’s instructions and stir thoroughly.
- Add Decorative Elements: Mix in pigments, glitter, dried flowers, metallic flakes, charms, or other decorative fillers if desired.
- Pour Resin into the Mold: Carefully pour the resin mixture into the silicone charm mold and remove air bubbles using a heat gun or torch if needed.
- Allow the Resin to Cure: Let the resin fully harden according to the recommended curing time.
- Remove and Finish the Charm: Demold the resin charm and sand or polish the edges if necessary for a smoother finish.
- Assemble the Necklace: Attach jump rings, clasps, and necklace chains or cords to complete the charm necklace.
Pros and Cons of Making a Charm Necklace with Resin
Pros: Highly customizable, glossy decorative finish, ideal for embedded designs, and beginner-friendly for DIY jewelry making.
Cons: Requires curing time, resin safety precautions, and additional finishing may be needed to remove imperfections.
Method 2: Make a Charm Necklace with Clay
Clay crafting is a creative and beginner-friendly way to make custom charm necklaces. This method allows you to shape unique pendants and charms by hand using polymer clay, air-dry clay, or ceramic clay.
Clay charm necklaces are popular for handmade jewelry, personalized gifts, aesthetic accessories, and artistic craft projects. Different clay colors and textures also make it easy to create playful, minimalist, vintage, or highly decorative designs.
Materials and Tools Needed
- Polymer clay or air-dry clay
- Clay sculpting tools
- Rolling pin or acrylic roller
- Cookie cutters or shaping molds (optional)
- Jump rings and jewelry clasps
- Necklace chains or cords
- Oven (for polymer clay)
- Paint, glaze, or varnish (optional)
- Sandpaper or polishing tools (optional)
Steps to Make a Charm Necklace with Clay
- Prepare the Clay: Knead and soften the clay until it becomes smooth and easy to shape.
- Create the Charm Shape: Roll out the clay and cut or sculpt the desired pendant or charm designs.
- Add Decorative Details: Use sculpting tools to create textures, patterns, names, or decorative elements on the clay surface.
- Create the Attachment Hole: Make a small hole for jump rings or necklace hardware before baking or drying the clay.
- Bake or Dry the Clay: Cure the clay according to the manufacturer’s instructions if using polymer clay, or allow air-dry clay to fully harden.
- Finish the Surface: Sand, glaze, paint, or polish the charm if additional finishing is desired.
- Assemble the Necklace: Attach jump rings, clasps, and necklace chains or cords to complete the charm necklace.
Pros and Cons of Making a Charm Necklace with Clay
Pros: Beginner-friendly, highly customizable, affordable materials, and excellent for artistic handmade designs.
Cons: Clay can crack if handled improperly, some designs require baking time, and durability may vary depending on the clay type used.
Method 3: Make a Charm Necklace with a Laser Engraver
Using a laser engraver is one of the most precise and efficient ways to make custom charm necklaces. Instead of shaping materials entirely by hand, a laser engraver follows a digital design file to cut and engrave detailed jewelry pieces with high accuracy.
This method is ideal for personalized necklaces, engraved pendants, layered jewelry designs, name charms, and small-batch jewelry production. Laser engraving also makes it easy to create intricate patterns, logos, text, and decorative artwork on many different materials.
Materials and Tools Needed
- Laser engraver or laser cutter
- Wood, acrylic, leather, stainless steel, titanium, or coated metal blanks
- Vector design software
- Necklace chains or cords
- Jump rings and jewelry clasps
- Sandpaper or polishing tools
- Paint or color filling materials (optional)
- Ventilation system or air assist
- Protective glasses and mask
Steps to Make a Charm Necklace with a Laser Engraver
- Create the Necklace Design: Design the charm shape, engraved text, logos, or decorative patterns using vector software such as SVG or DXF format.
- Prepare the Material: Place the wood, acrylic, leather, or metal blank onto the laser engraver workspace and ensure proper alignment.
- Adjust the Laser Settings: Configure the laser power, speed, and engraving settings according to the material type and thickness.
- Cut and Engrave the Charm: Start the engraving process to cut the pendant shape and engrave names, artwork, or decorative details.
- Clean and Finish the Surface: Remove residue, polish the charm if necessary, and apply paint filling or protective coating if desired.
- Assemble the Necklace: Attach jump rings, clasps, and necklace chains or cords to complete the charm necklace.
Pros and Cons of Making a Charm Necklace with a Laser Engraver
Pros: High precision, detailed engraving capability, fast production speed, and excellent customization options.
Cons: Requires a laser engraver and design software, material compatibility varies by laser type, and some materials may require additional finishing.
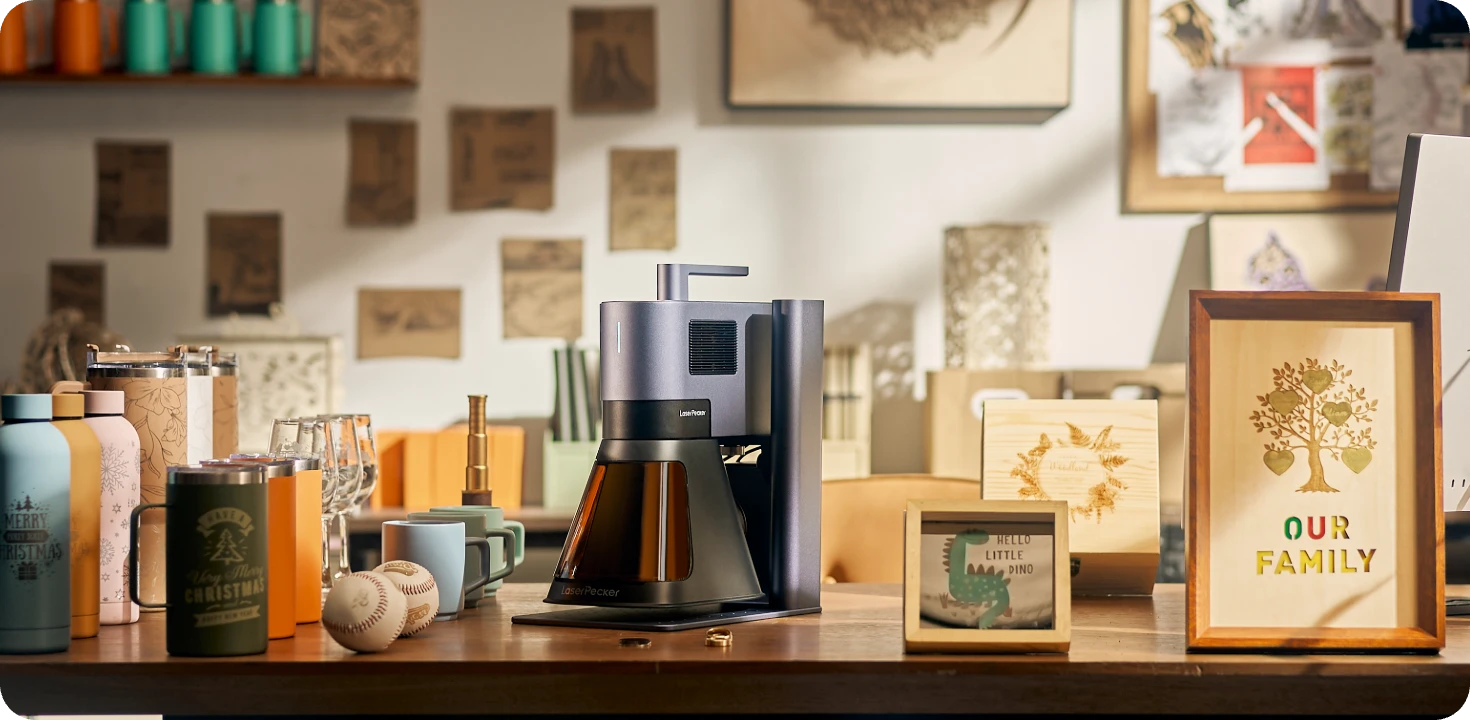
Recommended Laser Engraver for Charm Necklace Projects: LaserPecker LP5
The LaserPecker LP5 is designed for makers who need high-precision engraving and multi-material compatibility for jewelry making and personalized accessory production.
Featuring a dual-laser system with both Fiber and Diode lasers, the LP5 is suitable for engraving stainless steel, titanium, gold-plated jewelry, leather, acrylic, wood, and many other materials commonly used for custom charm necklaces.
-
20W Fiber + 20W Diode Dual Laser System
Combines Fiber and Diode laser technologies for engraving both metals and non-metal materials commonly used in jewelry making. -
High-Speed Galvo Engraving up to 10,000 mm/s
Enables fast engraving of detailed jewelry designs, names, logos, and decorative artwork. -
0.0027 mm Engraving Precision
Ultra-fine precision helps create sharp details and clean engraving results on small jewelry surfaces. -
120 × 160 mm Working Area
Provides enough workspace for batch engraving pendants, charms, tags, and small jewelry accessories. -
Expandable to 160 × 300 mm with Slide Extension
Optional slide extension supports larger projects and batch production workflows. -
Rotary Extension Compatibility
Supports optional rotary accessories for engraving rings, bracelets, tumblers, and other curved objects. -
Wide Material Compatibility
Supports stainless steel, titanium, brass, acrylic, leather, wood, coated metals, and many other jewelry materials.
FAQs About Making Charm Necklaces
Q1: What Is the Best Chain for a Charm Necklace?
Cable chains and rollo chains are among the most popular choices for charm necklaces because they allow charms to be attached easily along different points of the chain.
These chain styles also provide good flexibility, durability, and spacing for multiple charms.
Q2: How Many Charms Should a Charm Necklace Have?
There is no fixed rule for the number of charms on a necklace.
Minimalist charm necklaces may only feature one or two pendants, while layered or maximalist styles can include many charms grouped together for a more decorative appearance.
Q3: Can You Make a Charm Necklace Without Jewelry Pliers?
Yes, it is possible to assemble a charm necklace without jewelry pliers by using fingers or household tools.
However, jewelry pliers are strongly recommended because they help prevent scratches on metal parts and allow jump rings to close more securely.
Q4: How Do You Keep Charms from Tangling?
Proper spacing between charms can help reduce tangling and overlapping.
Leaving approximately 1/2 inch of space between charms allows each pendant to move more freely and remain visible on the necklace.
Q5: What Materials Are Best for DIY Charm Necklaces?
Stainless steel, gold-filled materials, sterling silver, acrylic, leather, and wood are all popular choices for DIY charm necklace projects.
For laser engraving projects, materials such as 304 stainless steel, anodized aluminum, acrylic, and leather work especially well because they allow clean and highly detailed engraving results.
Conclusion
Making a charm necklace can be a simple DIY craft project or a highly detailed jewelry production process depending on the method you choose.
Resin and clay crafting are beginner-friendly and highly creative, while laser engraving offers greater precision, faster customization, and more professional-looking results.
Whether you are creating handmade gifts, personalized accessories, or custom jewelry products for sale, choosing the right method will help you achieve better quality and a more efficient workflow.