


Acrylic earrings are lightweight, stylish, and easy to customize at home. Whether you want bold statement pieces or simple everyday designs, there are several ways to create custom acrylic earrings with professional-looking results.
In this guide, you'll learn how to make acrylic earrings using three popular methods: a laser engraver, a Cricut or vinyl cutter with acrylic blanks, and a UV printer. Each option works for different budgets, skill levels, and design styles.

In this article:
Part 1: How to Make Acrylic Earrings With a Laser Engraver or Cutter?
Using a laser cutter is one of the best ways to make professional-looking acrylic earrings. This method allows you to cut custom shapes precisely compared with other acrylic cutting machines, engrave detailed patterns, and create clean finishes with excellent precision.
Situation 1: Cut Opaque Acrylic Earrings
Opaque acrylic sheets are one of the easiest materials to work with when making acrylic earrings. They engrave cleanly, cut smoothly, and produce sharp details without extra preparation.
What You'll Need
- Laser Cutter
- Opaque acrylic sheets (black, white, or solid colors)
- Design software such as LightBurn, Illustrator, or LDS
- Earring hooks, jump rings, and pliers
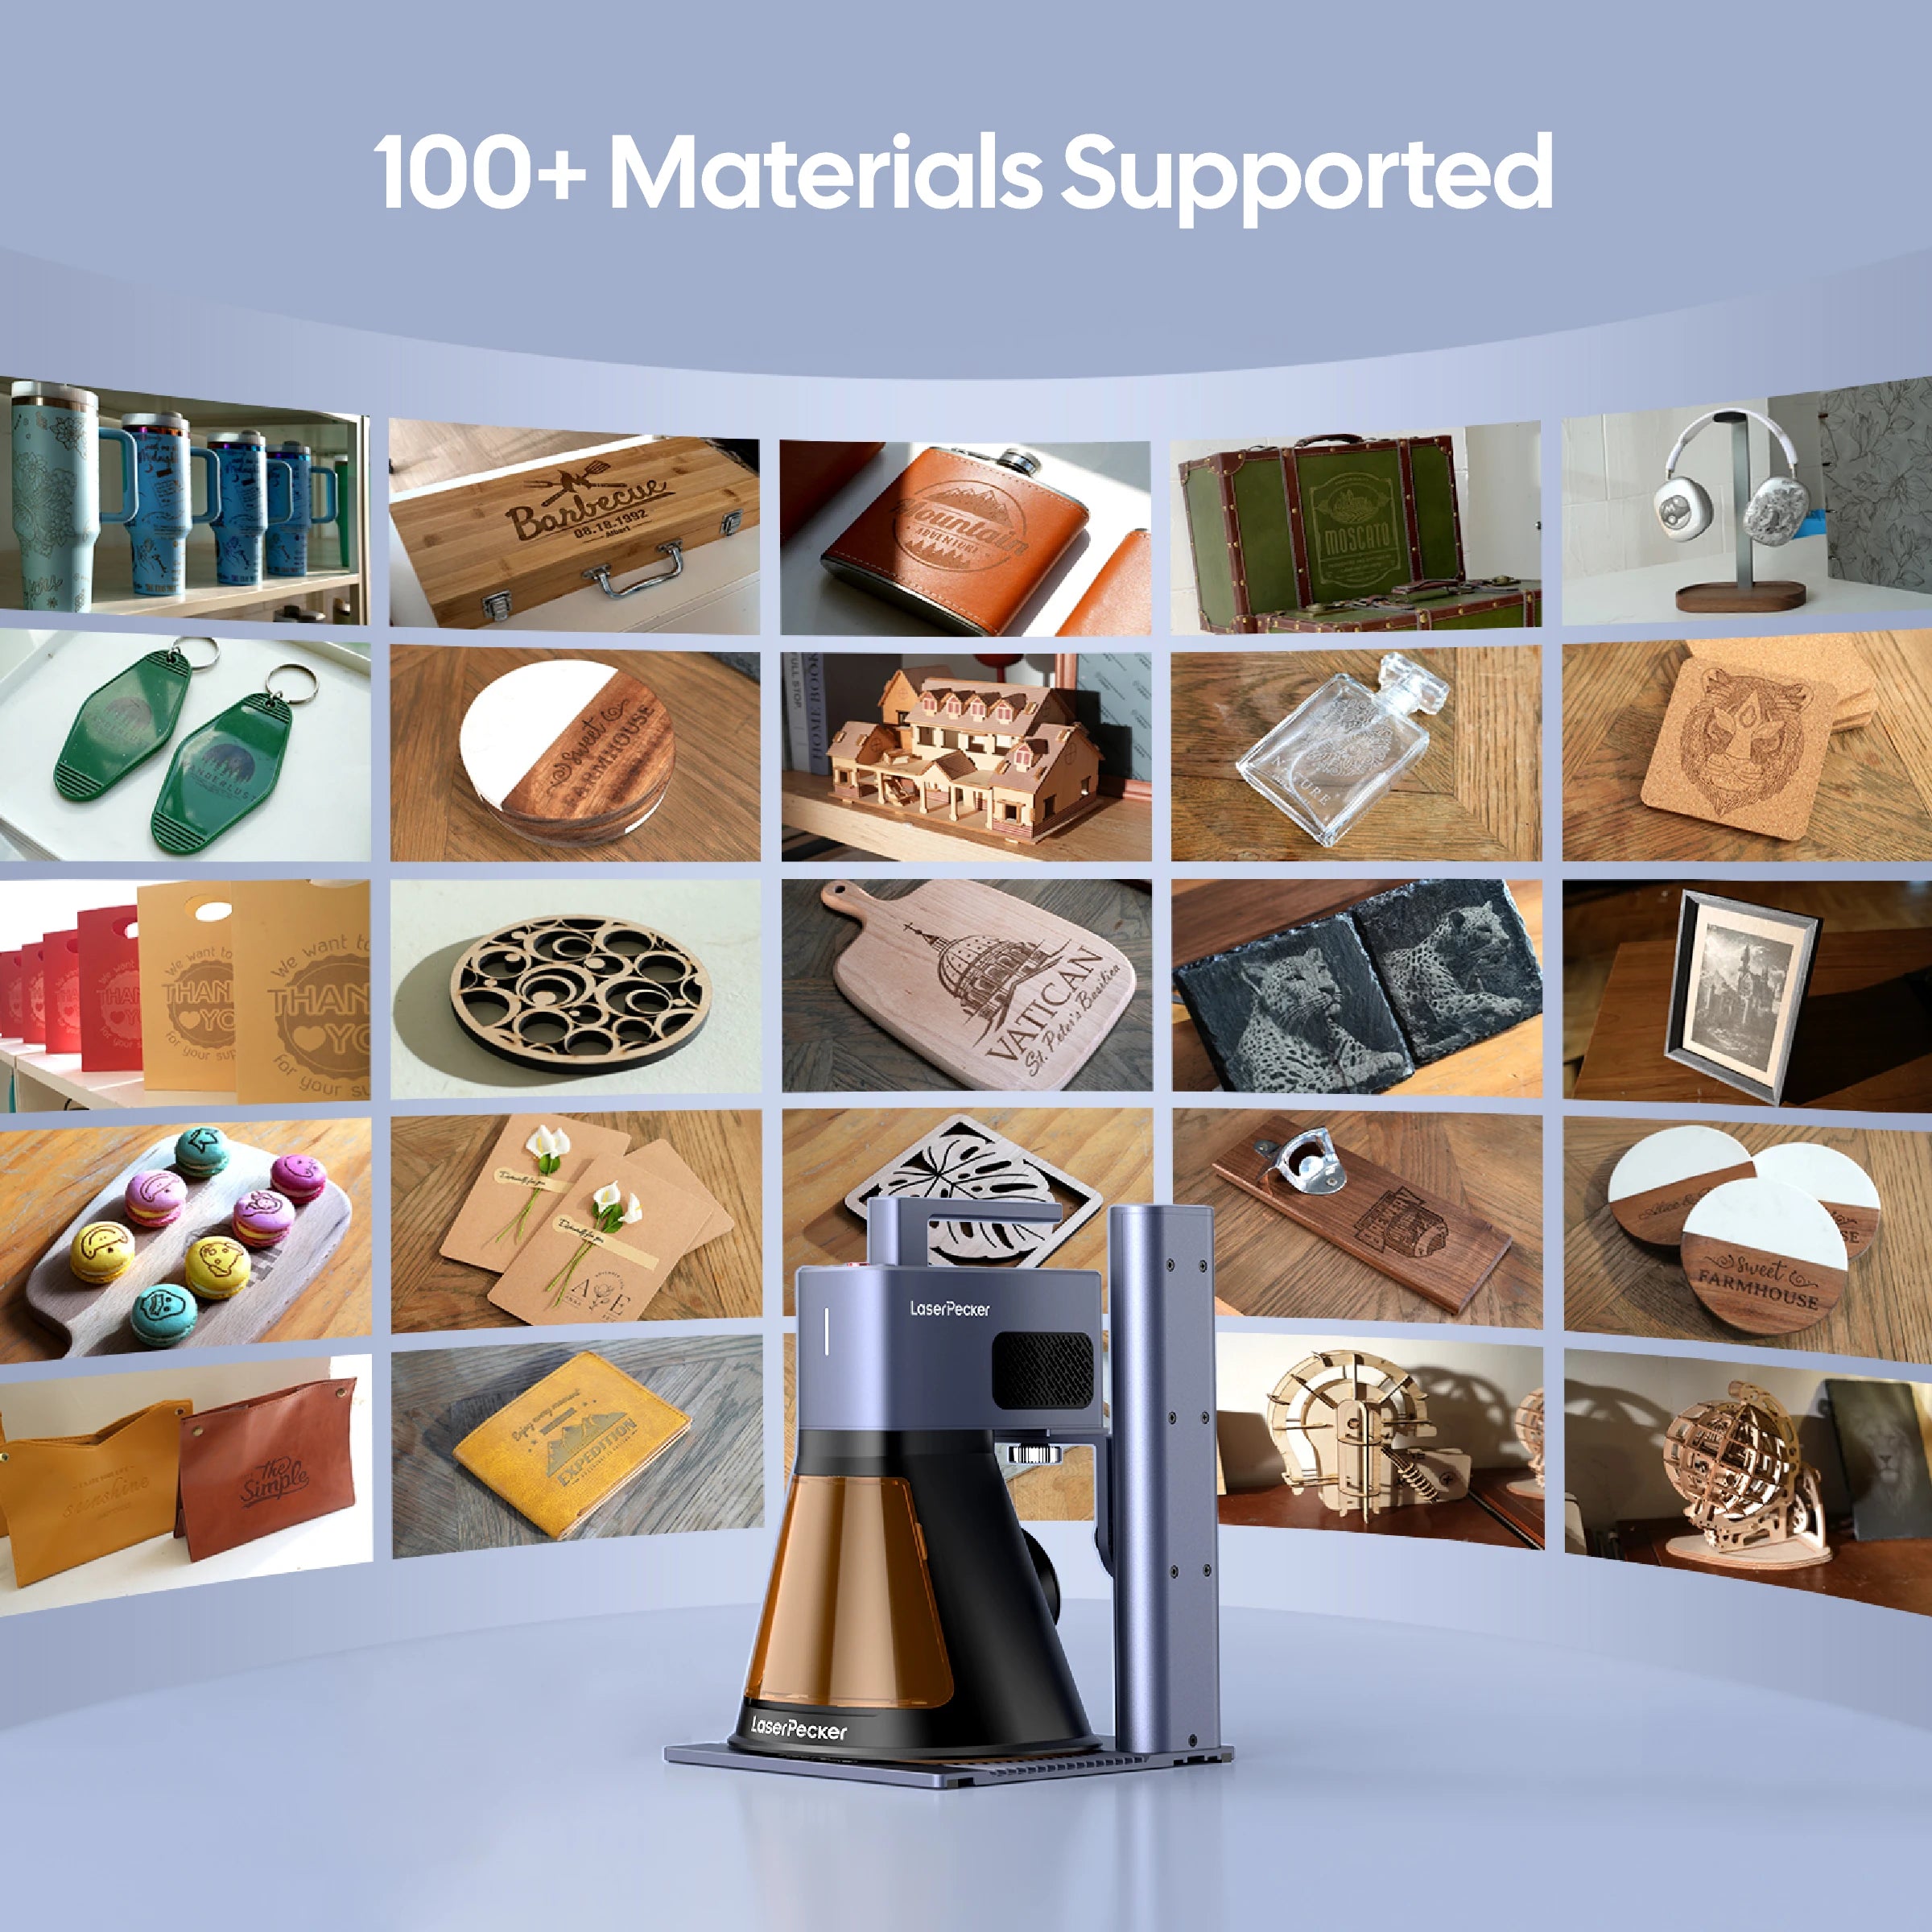
Recommended Laser Cutter for Acrylic Earrings: LaserPecker LP2 Plus
The LaserPecker LP2 Plus is designed for detailed engraving and thin acrylic cutting. Its compact size and fast engraving speed make it a great option for DIY creators, home studios, and small jewelry businesses.
-
10W Diode Laser
Supports clean engraving and precise cutting on dark and painted acrylic sheets commonly used for custom acrylic earrings. -
Fast Engraving Speed
The high-speed galvo system helps create detailed earring designs quickly and efficiently. -
High Precision for Small Designs
Ideal for intricate patterns, tiny lettering, and decorative jewelry details. -
Compact Desktop Design
Works well in small craft rooms, workshops, and portable creative setups.
*Choose LaserPecker LX2 for Batch Production
Making Acrylic Earrings With a Laser Cutter (Step-by-Step)
Step 1: Create Your Design
Import or create your artwork in your preferred design software. Bold shapes and high-contrast details usually produce the best engraving results on acrylic.
Step 2: Position the Acrylic Sheet
Place the acrylic sheet securely on the laser bed to prevent movement during engraving or cutting.
Step 3: Adjust Laser Settings
Use moderate power and higher speed settings for surface engraving. Test settings on scrap acrylic before starting your final design.
Step 4: Engrave and Cut the Earrings
Engrave the design first, then cut the earring shape. Remember to include holes for jump rings or hooks.
Step 5: Clean the Acrylic
Wipe away dust or smoke marks using a microfiber cloth or alcohol wipe.
Step 6: Attach the Hardware
Use pliers to attach jump rings and earring hooks to complete your custom acrylic earrings.
Bonus Tips:
Besides acrylic earrings, you can also make custom wooden earrings using a laser cutter like the LaserPecker LP2 Plus. Wood is lightweight, easy to engrave, and works well for natural-style jewelry designs.
Situation 2: Engraving Transparent Acrylic Earrings
Clear acrylic can be more difficult to engrave because the laser passes through the material more easily. Applying masking tape or a coating helps improve engraving visibility and creates a frosted effect.
What You'll Need
- Laser engraver
- Transparent acrylic sheets (Choose the right type of acrylic sheet for better engraving effect)
- Design software
- Masking tape or marking paper
- Earring hardware
- Polishing cloth or fine sanding tools (optional)
Engraving Clear Acrylic Earrings (Step-by-Step)
Step 1: Prepare Your Design
Use slightly thicker lines and stronger contrast since fine details can be harder to see on transparent acrylic.
Step 2: Apply Masking Tape
Cover the engraving area with masking tape to improve contrast and reduce glare during engraving.
Step 3: Adjust the Laser Settings
Lower the engraving speed slightly to help create deeper and more visible marks.
Step 4: Engrave and Cut
Engrave the design first, then cut the shape carefully to avoid cracking delicate sections.
Step 5: Remove the Masking and Clean
Peel away the tape and gently clean the acrylic surface for a polished finish.
Part 2: How to Make Acrylic Earrings With a Cricut or Vinyl Cutter?
If you want to learn how to make acrylic earrings with Cricut machines or other vinyl cutters, this is one of the easiest and most beginner-friendly methods available.
Instead of cutting acrylic yourself, you'll decorate pre-cut acrylic earring blanks using adhesive vinyl or heat transfer vinyl (HTV). This approach is affordable, colorful, and perfect for DIY jewelry projects at home.
This method is especially popular for DIY acrylic earrings because it requires less equipment than laser engraving while still allowing plenty of customization.
What You'll Need
- Pre-cut acrylic earring blanks in your preferred shapes and sizes
- Vinyl cutter or Cricut machine
- Adhesive vinyl or heat transfer vinyl (HTV)
- Transfer tape for adhesive vinyl
- Weeding tools
- Earring hooks, jump rings, and pliers
- Optional resin or sealer for added durability
Making Acrylic Earrings With a Cricut (Step-by-Step)
Step 1: Create Your Design
Open your Cricut or vinyl cutter software and design small graphics, patterns, or text that fit the acrylic blanks. Simple designs usually work best on smaller earrings.
Step 2: Cut the Vinyl
Load the vinyl into your machine and select the correct material settings before cutting.
Step 3: Weed the Excess Vinyl
Carefully remove the unwanted vinyl while leaving your design attached to the backing sheet.
Step 4: Apply the Design to the Acrylic Blank
For adhesive vinyl:
- Place transfer tape over the vinyl design.
- Lift the design carefully.
- Position it on the acrylic blank and press firmly.
- Slowly peel away the transfer tape.
For HTV:
- Place the vinyl face-up on the acrylic blank.
- Use a heat press or iron on low heat with a protective sheet.
- Allow the vinyl to cool before removing the carrier sheet.
Step 5: Attach the Jewelry Hardware
Use pliers to connect jump rings and earring hooks securely.
This method is ideal if you want to create colorful custom acrylic earrings quickly without using a laser engraver. It's simple, budget-friendly, and great for beginners starting their first jewelry projects.
Part 3: How to Make Acrylic Earrings With a UV Printer?
Want to create bright, colorful, and highly detailed acrylic earrings? A UV printer is one of the best tools for producing professional-quality designs directly on acrylic surfaces.
Unlike laser engraving, UV printing adds full-color graphics, illustrations, and patterns to pre-cut acrylic earrings. This method works especially well for artists, small businesses, and anyone creating custom acrylic earrings with complex artwork.
What You'll Need
- UV printer
- Pre-cut acrylic earring blanks
- Design software such as Photoshop or Illustrator
- UV printing ink
- Adhesive tape or acrylic positioning jig
- Earring hooks, jump rings, and pliers
How to Make Acrylic Earrings With a UV Printer (Step-by-Step)
Step 1: Create Your Design
Design your artwork based on the shape and size of your acrylic blanks. High-resolution graphics and bold colors usually deliver the best print quality.
Step 2: Clean and Position the Acrylic
Wipe the acrylic blanks to remove dust, fingerprints, or oils. Secure them firmly on the printer bed using adhesive or a jig to prevent movement during printing.
Step 3: Print Directly Onto the Acrylic
Send the design file to the UV printer and print directly onto the acrylic surface.
For clear or dark acrylic earrings, apply a white ink base layer first to make colors appear brighter and more vibrant.
Step 4: Inspect the Finished Print
The UV light cures the ink instantly while printing. After printing, check the earrings for sharp details, clean edges, and complete color coverage.
Step 5: Attach the Jewelry Hardware
Add jump rings and earring hooks using pliers. If your blanks do not include holes, drill small openings before assembly.
Comparison Table: Best Ways to Make Acrylic Earrings
| Method | Main Equipment | Design Style | Difficulty | Best Use |
|---|---|---|---|---|
| Laser Engraver or Cutter | Laser machine | Engraved and precision-cut | Medium | Professional acrylic earrings |
| Cricut or Vinyl Cutter | Vinyl cutter and blanks | Colorful vinyl graphics | Easy | DIY acrylic earrings for beginners |
| UV Printer | UV printer | Full-color printed artwork | Medium | Custom acrylic earrings with detailed graphics |
If you want the cleanest cuts and the most precise details, laser engraving is still one of the best options for making acrylic earrings. For colorful designs and photo-quality artwork, UV printing delivers excellent results. Cricut and vinyl cutter methods remain a great choice for affordable and beginner-friendly DIY projects.
Conclusion
Now you know several easy ways to make acrylic earrings at home or for your business. Whether you prefer laser engraving, Cricut vinyl designs, or UV printing, each method offers different creative possibilities.
From simple DIY acrylic earrings to highly detailed custom acrylic earrings, the right method depends on your tools, budget, and design goals.
Start experimenting with shapes, colors, and finishes to create acrylic earrings that match your personal style or brand. If you want to expand your handmade accessories further, you can also explore creative jewelry making/engraving methods.