


Acrylic invitations are a stylish and modern choice for weddings, parties, business events, and special celebrations. Compared with traditional paper invitations, they offer a more premium look, better durability, and a unique transparent, frosted, or glossy finish.
In this guide, we will compare four popular methods for making acrylic invitations and help you choose the best option for your project.

In this article:
Method 1: Make Acrylic Invitations via UV Printing
UV printing is one of the most professional ways to make acrylic invitations. It uses ultraviolet light to cure ink directly onto the acrylic surface, creating sharp text, vivid colors, and detailed patterns.
This method is especially suitable for wedding invitations, event invitations, luxury cards, and full-color designs. Compared with vinyl or hand lettering, UV printing offers better color performance and a cleaner finished look.
Materials and Tools Needed
- Clear or frosted acrylic sheets
- UV printer
- UV ink
- Design software
- Acrylic cleaner or lint-free cloth
- Protective gloves
Steps to Make Acrylic Invitations via UV Printing
- Create the Invitation Design: Design the text, names, date, venue, and decorative elements using graphic design software.
- Prepare the Acrylic Sheet: Clean the acrylic surface carefully to remove dust, fingerprints, or oil.
- Set Up the UV Printer: Load the acrylic sheet into the printer and adjust the print position, size, and color settings.
- Print the Design: Print the artwork directly onto the acrylic surface. The UV light will cure the ink as it prints.
- Inspect the Finished Invitation: Check the text clarity, color accuracy, and surface finish after printing.
- Add Final Details: Pair the acrylic invitation with envelopes, ribbons, wax seals, or backing cards for a more elegant presentation.
Method 2: Make Acrylic Invitations via Foil Transfer
Foil transfer is a popular method for creating elegant acrylic invitations with metallic finishes. Instead of printing directly onto the acrylic, this technique applies metallic foil—such as gold, silver, rose gold, or holographic foil, to selected areas of the design.
Foil acrylic invitations are especially popular for weddings, luxury events, and formal celebrations because they create a premium look that is difficult to achieve with standard printing methods.
Materials and Tools Needed
- Clear or frosted acrylic sheets
- Foil transfer machine or cricut
- Heat-transfer foil
- Foil transfer adhesive or toner-based design
- Design software
- Lint-free cloth
Steps to Make Acrylic Invitations via Foil Transfer
- Create the Invitation Design: Design the invitation layout, including text, borders, monograms, and decorative elements that will receive the foil finish.
- Prepare the Acrylic Surface: Clean the acrylic sheet thoroughly to remove dust, fingerprints, and debris.
- Apply the Adhesive Design: Print or transfer the adhesive pattern onto the acrylic surface using a compatible foil-transfer method.
- Position the Foil: Place the foil sheet over the adhesive design with the metallic side facing outward.
- Apply Heat and Pressure: Run the acrylic through a foil transfer machine or laminator to bond the foil to the design.
- Remove Excess Foil: Carefully peel away the foil carrier sheet, leaving the metallic finish only on the desired areas.
- Inspect and Finish: Check for complete foil coverage and package the invitations with envelopes, ribbons, or wax seals if desired.
Method 3: Make Acrylic Invitations via Screen Printing
Screen printing is a traditional printing method that transfers ink onto acrylic through a mesh stencil. It is widely used for producing large quantities of acrylic invitations because it offers consistent results and lower per-unit costs for bulk orders.
Unlike UV printing, which prints directly from a digital file, screen printing requires a custom screen to be created for each design. While the setup process takes more time, it becomes highly efficient when producing dozens or hundreds of invitations with the same artwork.
Materials and Tools Needed
- Clear or frosted acrylic sheets
- Screen printing frame and mesh
- Photo emulsion and exposure unit
- Screen printing ink
- Squeegee
- Design transparency film
- Acrylic cleaner
Steps to Make Acrylic Invitations via Screen Printing
- Create the Invitation Design: Design the text, graphics, and decorative elements in graphic design software.
- Prepare the Screen: Coat the screen with photo emulsion and expose it using the design transparency to create a stencil.
- Clean the Acrylic Sheets: Wipe the acrylic surface thoroughly to remove dust and fingerprints.
- Position the Acrylic: Secure the acrylic sheet beneath the screen and align the design properly.
- Apply the Ink: Pour ink onto the screen and use a squeegee to push the ink through the stencil onto the acrylic.
- Allow the Ink to Dry: Let the printed invitation cure according to the ink manufacturer's recommendations.
- Inspect the Finished Invitations: Check print quality, alignment, and ink coverage before packaging.
Method 4: Make Acrylic Invitations via Laser Engraving
Laser engraving is one of the best ways to create elegant acrylic invitations with a clean frosted effect. Instead of adding ink or vinyl to the surface, the laser engraver removes a thin layer of acrylic to form permanent text, patterns, and decorative details.
This method is especially suitable for wedding invitations, luxury event cards, name cards, and keepsake invitations. It creates a refined, minimalist look that works well on clear, frosted, or colored acrylic sheets.
Materials and Tools Needed
- Cast acrylic sheets
- Laser engraver
- Design software
- Masking tape or protective film
- Acrylic cleaner
- Lint-free cloth
Steps to Make Acrylic Invitations via Laser Engraving
- Create the Invitation Design: Prepare the text, names, date, venue, and decorative elements in vector design software.
- Choose the Right Acrylic: Use cast acrylic for better engraving results and a smoother frosted finish.
- Prepare the Acrylic Sheet: Keep the protective film on or apply masking tape to reduce smoke marks during engraving.
- Set Up the Laser Engraver: Place the acrylic sheet on the work area, focus the laser, and adjust the engraving position.
- Adjust the Engraving Settings: Set the proper power, speed, and resolution based on the acrylic thickness and desired engraving depth.
- Engrave the Design: Start the laser engraving process and allow the machine to engrave the invitation design onto the acrylic surface.
- Clean the Finished Invitation: Remove the protective film or masking tape, then wipe the acrylic gently with a lint-free cloth.
- Add Final Decoration: Pair the engraved acrylic invitation with envelopes, ribbons, backing cards, or wax seals for a more premium presentation.
Recommended Laser Engraver for Acrylic Invitation Making: LaserPecker LP4
If you're creating personalized acrylic invitations with engraved text, monograms, and decorative artwork, the LaserPecker LP4 offers an excellent balance of precision, speed, and versatility. Its compact design and dual-laser system make it a practical choice for wedding invitation makers, event planners, and small creative businesses.
-
Ideal for Acrylic Invitations
The diode & ir laser can engrave crisp text, elegant monograms, and intricate decorative patterns on acrylic, creating invitations with a clean and professional appearance. -
Fine Detail Engraving
With 0.01 mm positioning precision and up to 8K resolution, the LP4 can reproduce fine text, elegant borders, and decorative patterns for black acrylic invitation designs. -
High-Speed Engraving Performance
With engraving speeds up to 4000 mm/s, the LP4 helps improve workflow efficiency for personalized invitation projects and small-batch production. -
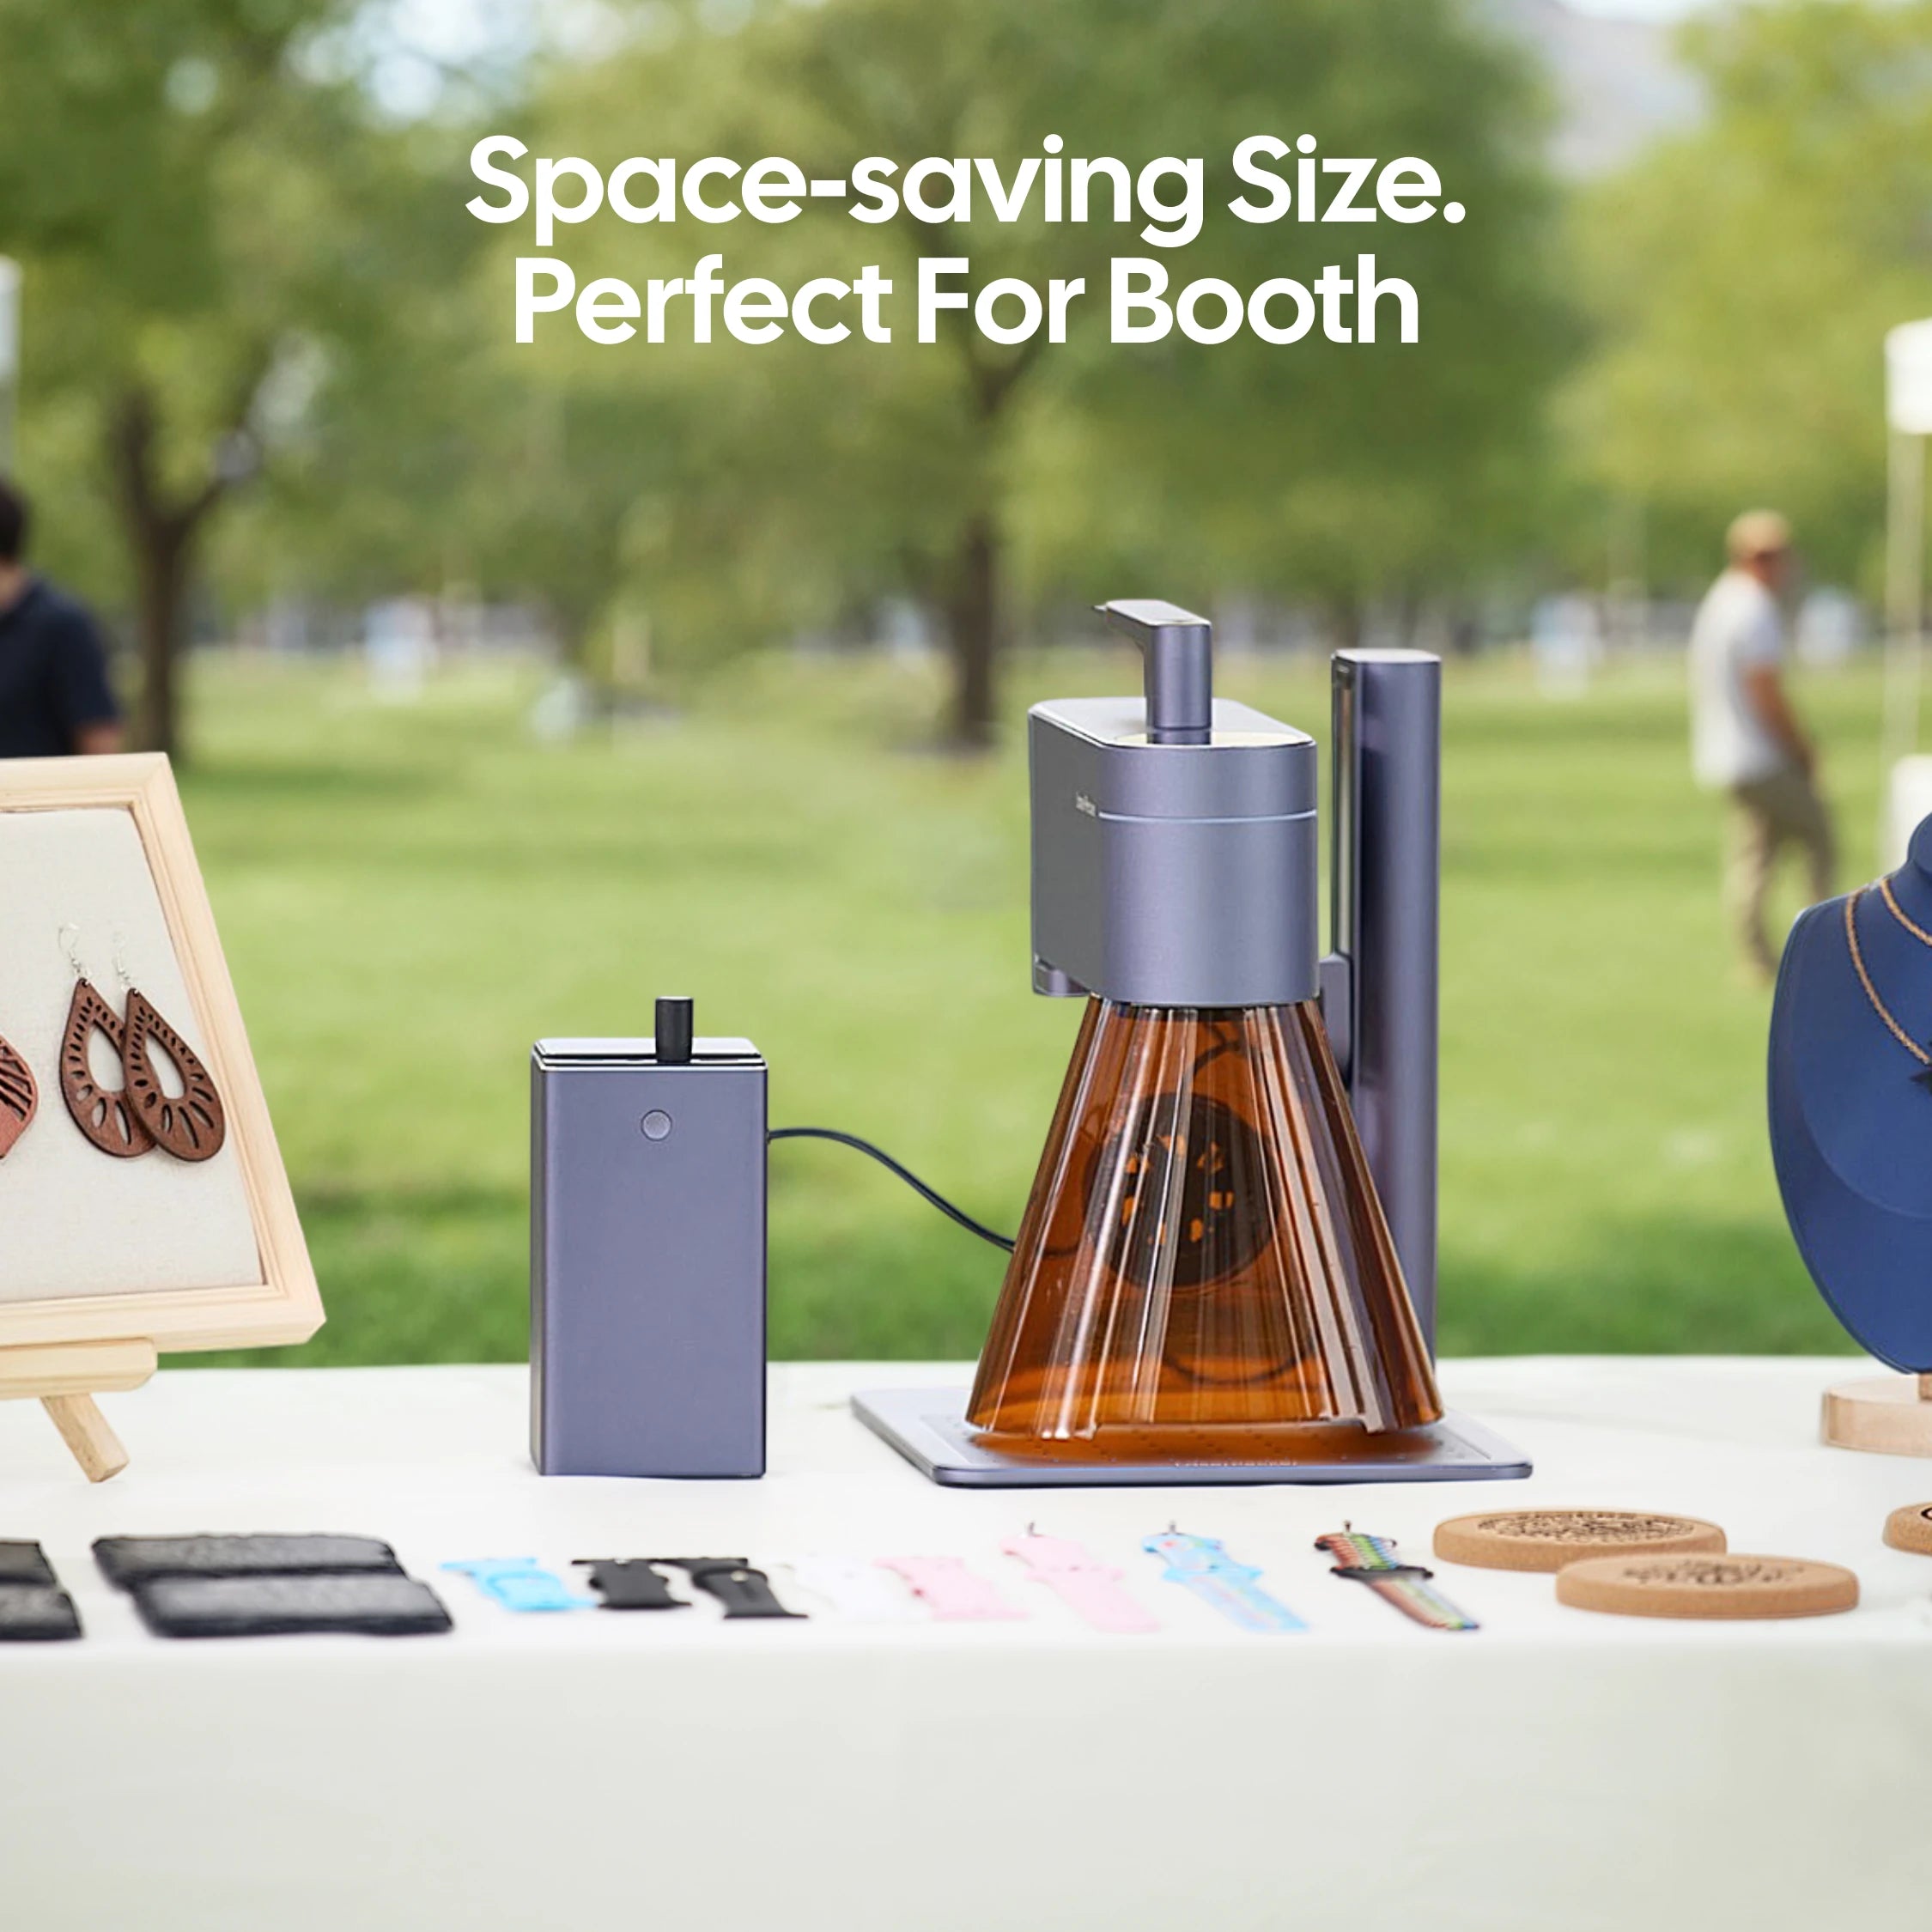
Compact and Space-Saving Design
The LP4 takes up minimal workspace, making it ideal for home-based creators, craft businesses, and personalized invitation studios. -
Versatile Material Compatibility
Beyond acrylic invitations, the LP4 can also engrave wood, leather, coated metal, paper, and other materials commonly used for wedding stationery and event decorations.
FAQs: Hot Questions about Making Acrylic invitations
Q1. What is the best way to make acrylic invitations?
The best method depends on your design style and budget. UV printing is ideal for full-color designs, foil transfer works well for metallic details, and laser engraving is a great choice for creating permanent or high-contrast designs on acrylic.
Q2. Can I make acrylic invitations at home?
Yes. You can make acrylic invitations at home using vinyl decals, foil transfer, or a desktop laser engraver. For simple DIY projects, vinyl and hand lettering are easier to start with. For cleaner and more professional results, laser engraving is a better option.
Q3. Can you laser engrave acrylic invitations?
Yes. Acrylic invitations can be laser engraved to create names, dates, monograms, borders, and decorative patterns. For black acrylic, a diode laser can create sharp and high-contrast engraving results. For best results, always test the settings on a sample piece first.
Q4. Can you laser cut acrylic invitations into custom shapes?
Yes. A laser cutter like LaserPecker LX2 or other acrylic cutting machines can cut acrylic invitations into custom shapes such as arches, circles, rectangles, scalloped edges, or floral outlines. This is especially useful for wedding invitations, event cards, and premium stationery designs.
Q5. What thickness is best for acrylic invitations?
Most acrylic invitations use thin acrylic sheets, commonly around 1 mm to 3 mm thick. Thinner sheets are lighter and easier to mail, while thicker sheets feel more premium but may increase cost and shipping weight.
Q6. How do you make acrylic invitations look more elegant?
You can make acrylic invitations look more elegant by using gold foil, white lettering, frosted engraving, floral borders, ribbon wraps, wax seals, or layered backing cards. Matching envelopes and decorative packaging can also improve the final presentation.
Conclusion
Making acrylic invitations gives you many creative options, whether you want a colorful printed design, a luxury foil finish, a clean screen-printed look, or a permanent laser-engraved effect.
UV printing is best for full-color artwork, foil transfer is ideal for metallic accents, screen printing works well for bulk production, and laser engraving is a great choice for personalized acrylic invitations with sharp details.