


Custom belt buckles are popular among leatherworkers, metal artists, designers, and small businesses—and for good reason. Whether you're crafting a Western-style buckle, adding branding to a product line, or creating a meaningful, personalized gift, making your own buckle is easier than ever with today's tools.
In this guide, you'll learn how to make custom belt buckles, explore the best materials and tools, and compare popular production methods for creating a personalized buckle.
Whether you're interested in making your own belt buckle for personal use or looking into making belt buckles for a business, this guide will help you choose the right approach.

In this article:
- Part 1: 4 Best Materials for Making Custom Belt Buckles
- Part 2: 5 Best Tools for Making Custom Belt Buckles
- Tool 1: Laser Engraver
- Tool 2: CNC Router
- Tool 3: Rotary Tool (Dremel)
- Tool 4: Metal Stamping Tools
- Tool 5: Chemical Etching Kit
- Part 3: Why Laser Engraving Is the Best Way to Personalize Belt Buckles
- Part 4: FAQs About Making Custom Belt Buckles
Part 1: 4 Best Materials for Making Custom Belt Buckles
Various metals have different advantages in durability, appearance, and feel. Here are typical choices:
Material 1: Zinc Alloy
Zinc alloy is a popular choice because it's affordable, lightweight, and easy to cast into different shapes. It can be polished to a bright finish or treated with antique-style coatings to create vintage-looking buckles.
Material 2: Brass
Brass is one of the most popular materials for custom belt buckles because of its classic gold appearance and excellent engraving characteristics. It can be polished, carved, embossed, or laser engraved with fine detail.
Material 3: Stainless Steel
Stainless steel is highly durable, corrosion-resistant, and ideal for everyday wear. Its strength makes it suitable for long-lasting belt buckles that can withstand heavy use.
Material 4: Aluminum
Aluminum is lightweight and easy to machine, making it a practical option for custom buckle projects. While it is softer than brass or stainless steel, it can still be engraved and finished attractively.
Part 2: 5 Best Tools for Making Custom Belt Buckles
Once you've selected a material, the next step in learning how to make a custom belt buckle is choosing the right tool. The best option depends on the level of detail you want, your budget, and whether you're creating a single buckle or producing multiple pieces.
Here are five of the most popular tools used for making belt buckles, from beginner-friendly methods to professional engraving systems.
Tool 1: Fiber Laser Engraver
Fiber Laser engravers are one of the most precise and versatile tools available for custom belt buckle projects. They use a focused laser beam to engrave names, logos, artwork, textures, and decorative patterns directly onto metal surfaces or even deliver a 3d embossing effect on brass.

Tool 2: CNC Router
CNC routers use computer-controlled cutting tools to carve metal surfaces. They are excellent for creating deep engravings, textured backgrounds, and three-dimensional relief effects.
Although CNC machining offers impressive precision, it generally requires more setup time and technical knowledge than laser engraving.
Tool 3: Rotary Tool (Dremel)
A rotary tool is a popular choice for hobbyists who want to learn how to make your own belt buckle without investing in expensive equipment. With engraving bits and polishing attachments, you can create simple custom designs by hand.
While affordable and accessible, rotary tools require practice and a steady hand to achieve clean, repeatable results.
Tool 4: Metal Stamping Tools
Metal stamping uses hardened punches and a hammer to imprint letters, symbols, and patterns into the buckle surface. This method creates a classic handcrafted appearance that many makers prefer for Western, rustic, and vintage-style buckles.
Because the design is physically pressed into the metal, the results can be durable and visually distinctive.
Tool 5: Chemical Etching Kit
Chemical etching removes metal from selected areas using an etching solution and protective resist. This process can produce detailed designs and textured surfaces that would be difficult to create manually.
Although effective, chemical etching requires careful handling and typically takes longer than engraving or stamping methods.
Comparison table for making custom belt buckles
| Tool Type | Detail Precision | Best For | Speed | Cost |
|---|---|---|---|---|
| Fiber Laser Engraver | ★★★★★ | Fine detail, text, logos, deep engraving | Very Fast | Medium |
| CNC Router | ★★★★☆ | Deep carving & shaping | Medium | High |
| Rotary Tool (Dremel) | ★★☆☆☆ | Hand-engraving & texture | Slow | Low |
| Metal Stamping Tools | ★★★☆☆ | Vintage embossed designs | Medium | Low |
| Chemical Etching Kit | ★★★★☆ | Intricate patterns | Slow | Low |
Each tool offers a different level of precision, speed, and craftsmanship. CNC routers are great for deep carving, rotary tools give a handmade look, metal stamps create classic embossed designs, and chemical etching works well for detailed patterns—though it takes more time.
But if you want the best balance of quality, speed, and flexibility, a fiber laser engraver is the top choice. It delivers the sharpest detail, works extremely fast, and handles everything from text to complex logos with ease, making it the most reliable tool for creating custom belt buckles.
Part 3: Why Laser Engraving Is the Best Way to Personalize Belt Buckles
If you're looking for the most effective way to make custom belt buckles, laser engraving offers the best combination of precision, speed, durability, and design flexibility.
While methods such as hand engraving, metal stamping, CNC machining, and chemical etching all have their place, laser engraving consistently delivers the cleanest and most professional results.
Reason 1. Exceptional Detail and Precision
Laser engravers can reproduce fine text, intricate artwork, logos, patterns, and decorative borders with remarkable accuracy. This level of detail is difficult to achieve consistently using manual engraving or stamping techniques.
If you're researching how to make a custom belt buckle with professional-quality graphics, laser engraving is one of the most reliable options available.
Reason 2. Permanent and Durable Markings
Unlike printed or coated designs, laser engraving permanently marks the metal surface. The engraving won't peel, chip, or fade over time, making it ideal for belt buckles that are worn regularly.
This durability is especially important for personalized gifts, branded products, and custom accessories designed for long-term use.
Reason 3. Fast Production and Repeatability
Once a design file is prepared, laser engravers can reproduce the same artwork repeatedly with consistent quality. This makes the process ideal for:
For anyone interested in making belt buckles for sale, repeatability is one of the biggest advantages of laser engraving.
Reason 4. Works with Multiple Metals
Modern laser engravers can engrave many of the most common buckle materials, including:
- Brass
- Stainless steel
- Aluminum
- Zinc alloy
This versatility allows makers to choose the best material for their design without sacrificing engraving quality.
Reason 5. Easy Personalization
One of the biggest reasons people search for how to make your own belt buckle is the ability to create something unique. Laser engraving makes personalization simple by allowing you to add:
- Names
- Initials
- Monograms
- Logos
- Artwork
- Dates and special messages
This flexibility makes laser engraving ideal for custom gifts, commemorative pieces, and branded accessories.
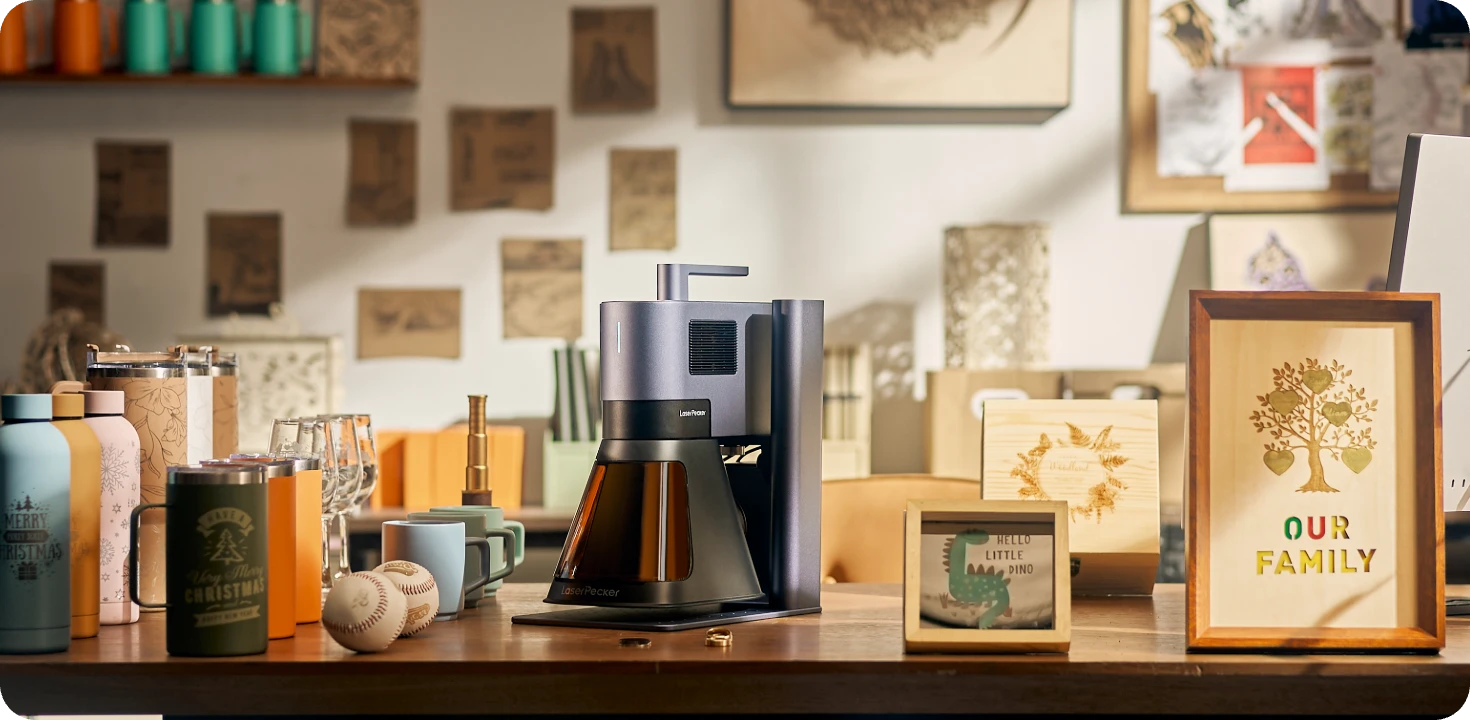
Recommended Fiber Laser Engraver for Custom Belt Buckles: LaserPecker LP5
The LaserPecker LP5 is a high-precision dual-laser engraver designed for creating custom belt buckles, western accessories, metal badges, jewelry, and personalized fashion products.
-
20W Fiber Laser for Metal Buckle Engraving
The 20W fiber laser is optimized for engraving stainless steel, brass, titanium, anodized aluminum, and other metals commonly used in custom belt buckles. -
Deep Engraving and Embossing Capability
The LP5 can create deeper engravings and textured effects, making it ideal for western-style belt buckles, raised-look artwork, logos, and decorative metal designs. -
High-Precision Engraving for Intricate Artwork
The LP5 delivers detailed engraving performance suitable for fine lettering, monograms, ranch brands, decorative scrollwork, and custom buckle graphics. -
10,000 mm/s Ultra-Fast Engraving Speed
The high-speed galvo system allows users to quickly produce personalized belt buckles while maintaining professional engraving quality.
Part 4: FAQs About Making Custom Belt Buckles
Q1. What Is the Best Metal for Custom Belt Buckles?
The best material depends on your budget, style, and intended use.
- Brass: Excellent for premium and Western-style buckles because of its attractive appearance and engraving quality.
- Stainless Steel: Extremely durable and resistant to corrosion, making it ideal for everyday wear.
- Aluminum: Lightweight and easy to customize.
- Zinc Alloy: Affordable and commonly used for cast belt buckles.
Q2. Does Laser Engraving Last on Belt Buckles?
Yes. Laser engraving permanently marks the metal surface, making it one of the most durable customization methods available.
Unlike printed graphics or surface coatings, laser engravings won't peel, crack, or fade under normal use. With proper care, the design can last for the entire life of the buckle.
Q3. How Thick Should a Belt Buckle Be?
Most belt buckles are typically made from metal that ranges between 3 mm and 6 mm thick, depending on the design and material.
Thicker buckles generally offer greater durability and support deeper engravings, while thinner buckles reduce weight and material costs.
Q4. Can You Add Logos and Artwork to Belt Buckles?
Absolutely. Modern engraving methods make it easy to add logos, custom artwork, company branding, monograms, family crests, and decorative patterns.
This is one reason many businesses and creators explore how to make custom belt buckles for promotional products, retail sales, and personalized gifts.
Conclusion
From traditional techniques such as metal stamping and hand engraving to advanced options like CNC machining and laser engraving, each method offers its own advantages. The right choice depends on your budget, skill level, production goals, and desired level of detail.
With the right materials, tools, and design, it's easier than ever to make your own belt buckle and create a unique piece that reflects your style, brand, or creativity.